
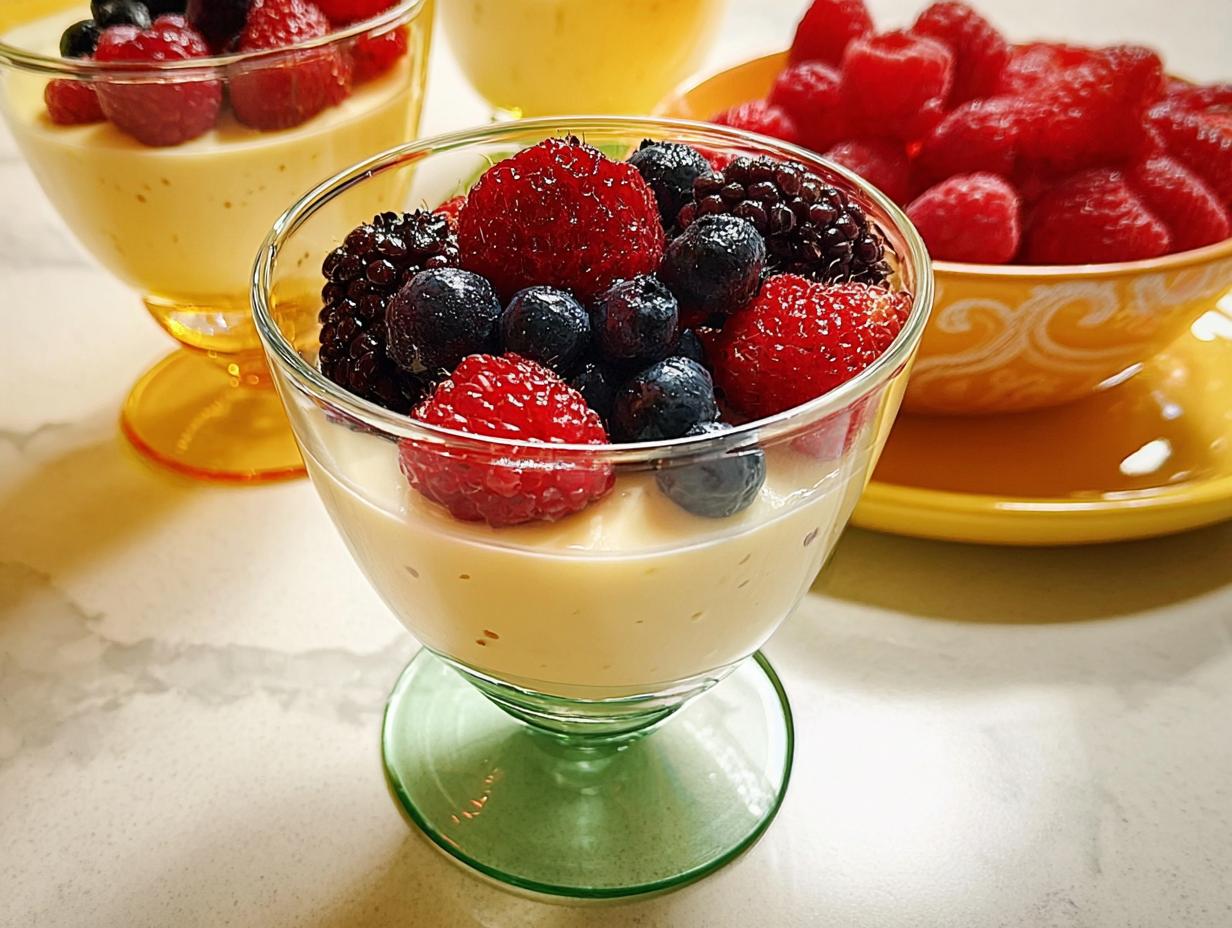
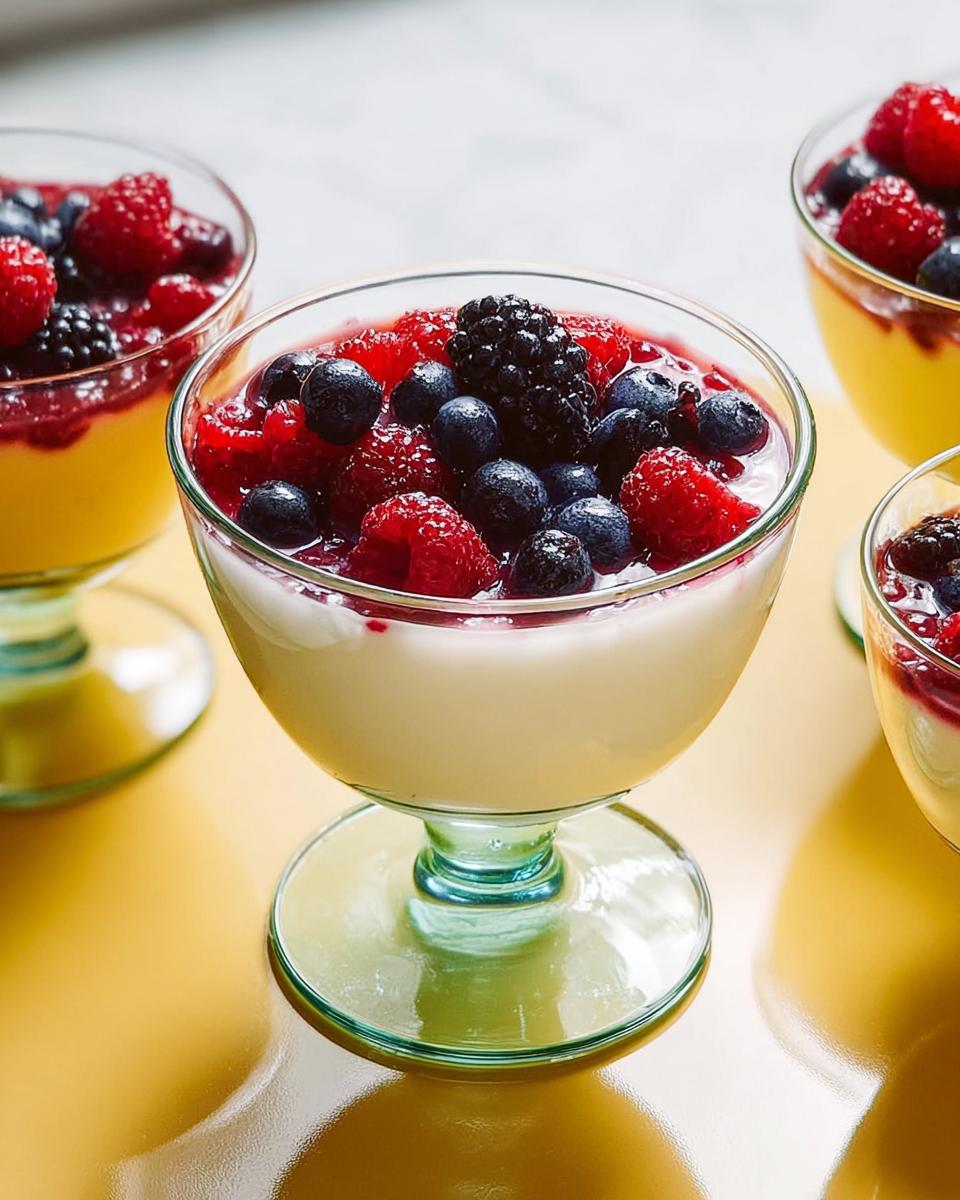
When you need an elegant dinner party idea that looks like you spent hours fussing over it but actually takes minimal active time, this dessert is your secret weapon. I’m talking about that silky smooth, just-barely-set perfection that melts instantly—my **Classic Vanilla Bean Panna Cotta with Berries**. I remember tasting this on a night out, long before I started focusing on performance nutrition; it was pure, creamy bliss!
When I first transitioned to eating keto, I seriously mourned the loss of dishes like this. That rich vanilla flavor was just nowhere to be found without the sugar. So, I got busy in the kitchen, finding the right balance of cream and natural sweeteners to bring back that delightful texture. This recipe isn’t just about making a gorgeous dessert; for me, it’s proof that you don’t have to sacrifice wonderful, comforting flavors just because you’re eating clean. I hope you love dipping your spoon into this creamy treat as much as I do!
If you’re looking for more comforting, smarter recipes, check out my collection right here: all my favorite performance kitchen creations.
Why You Will Love This Classic Vanilla Bean Panna Cotta with Berries
You are going to absolutely adore how straightforward this recipe is, especially when you see the results! This isn’t some fussy, complicated pastry; it’s pure, elegant decadence made easy. I promise you, if you can heat milk, you can master this!
- It feels incredibly luxurious, but it’s shockingly simple to make! Trust me, this is my go-to for elegant dinner party ideas without the stress.
- It’s the ultimate make ahead dessert. Mix it up the day before your guests arrive, and you’re totally free on party night. Pop them out of the molds, throw on some berries, and done!
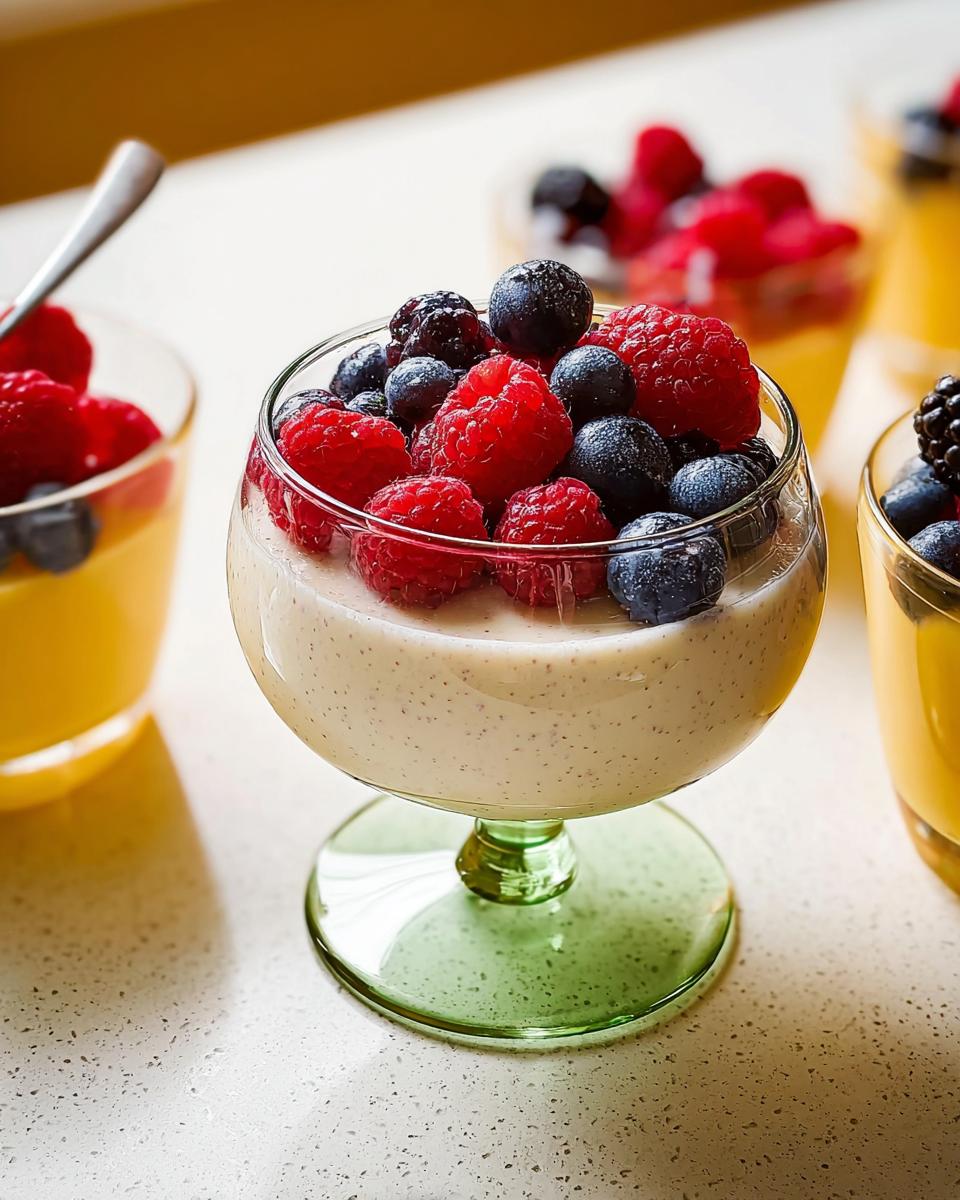
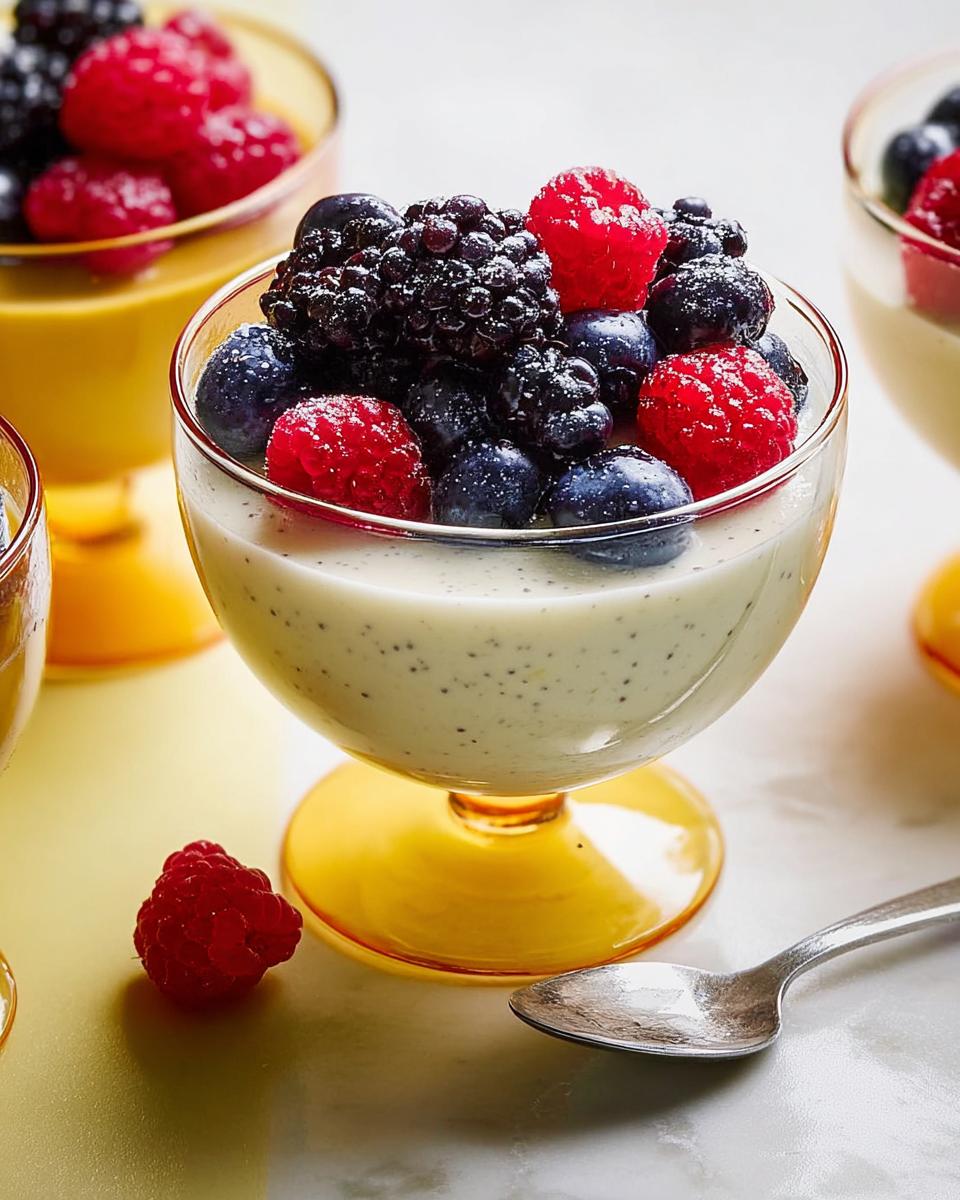
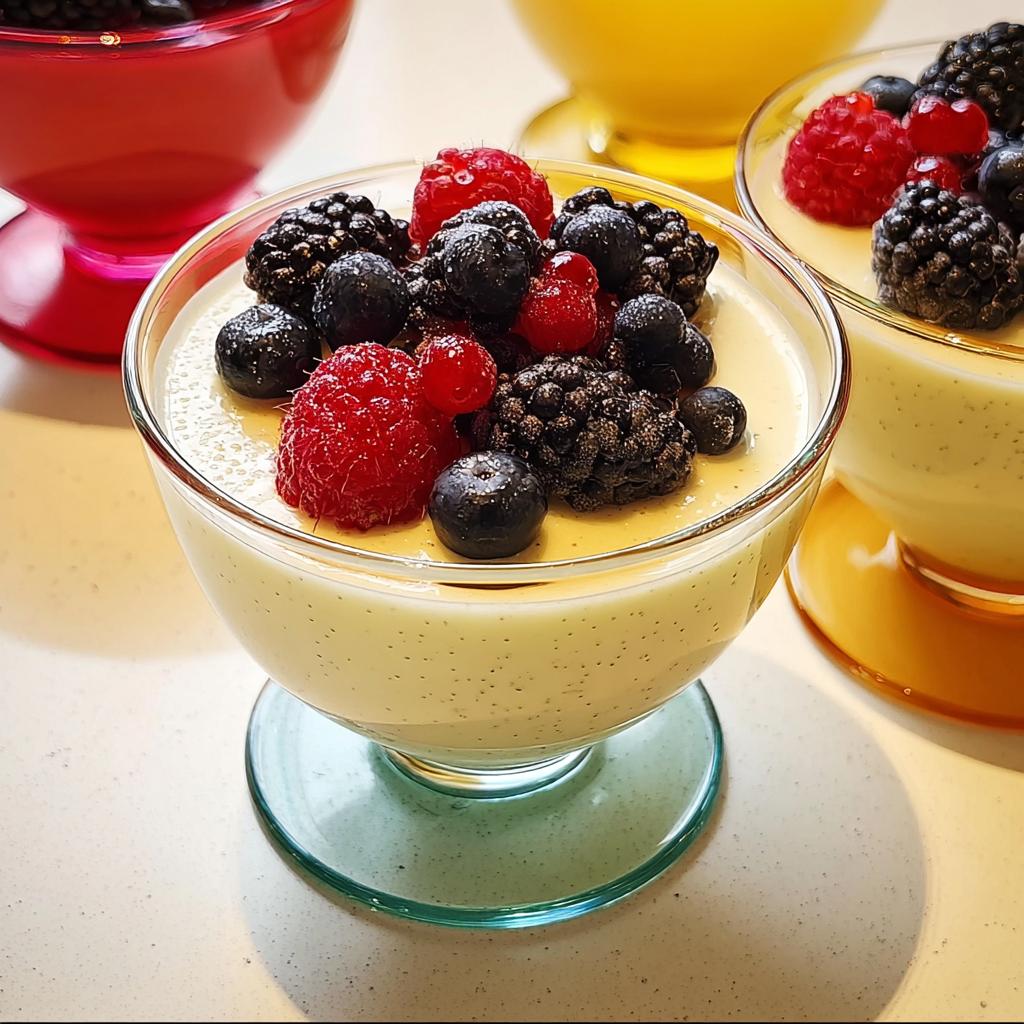
- That beautiful, authentic flavor comes from real vanilla bean seeds speckled throughout. You can actually see the quality shining through every spoonful.
- The texture is just perfect—silky, smooth, and firm enough to hold its shape, but never rubbery or tough. It’s all about getting that gelatin just right!
- Since we’re using heavy cream, these rival any restaurant dessert for richness. They are wonderfully creamy vanilla sweets that satisfy that craving immediately.
- Cleanup is minimal! You mix everything in one saucepan, and then your servings are already portioned out in ramekins. Easy peasy.
When you see the glossy sheen on these beauties chilling in the fridge, you’ll feel like a culinary genius. It’s so satisfying to serve something this beautiful!
Essential Equipment for Your Classic Vanilla Bean Panna Cotta with Berries
Look, you don’t need a ton of fancy gear here, which is another reason I love this make ahead dessert so much! The beauty of panna cotta is its simplicity. You mostly just need things to heat and things to chill in.
Make sure you have a good, sturdy saucepan—nothing too thin that will scorch the cream! You’ll also need a small bowl for blooming that gelatin, which is super important for getting that perfect set. And finally, grab your ramekins or cute little serving glasses. I usually use four-ounce glass jars for easy serving.
Ingredients for the Creamy Vanilla Sweets panna cotta recipe
Okay, these ingredients are incredibly straightforward, but that means the quality really shines through! Since there aren’t many components, you really want to focus on that vanilla bean. I mean, you can’t call it Classic Vanilla Bean Panna Cotta without really treating that vanilla right, right? That beautiful pod gives you those tiny black specks that signal pure indulgence.
Here’s what you’ll need to gather for four perfect servings of these creamy vanilla sweets:
- One full quart of heavy cream. Don’t even think about substituting that, it’s the backbone of the texture!
- Half a cup of sugar. (If you are following my keto path, you’d swap this for your favorite granular zero-calorie sweetener.)
- One whole vanilla bean, and you must split it lengthwise so you can scrape out all those amazing seeds.
- Two and one-quarter teaspoons of unflavored powdered gelatin. This is the magic binder!
- Three tablespoons of plain water to bloom that gelatin before it goes in.
- And finally, a generous helping of mixed berries when it’s time to serve them up. That’s it!
See? So simple! It’s amazing what four main ingredients can do when handled with care. Just make sure your gelatin is fresh.
Step-by-Step Instructions for Classic Vanilla Bean Panna Cotta with Berries
Alright, let’s get mixing! This is where the magic starts. Because these make ahead desserts rely on gelatin, the order of operations is important. Don’t rush these first couple of steps; they set up the whole creamy experience. Pay close attention to how warm the cream gets, too. We want it hot enough to work, but never boiling over!
Blooming the Gelatin
First thing, grab that small bowl. Sprinkle your powdered gelatin right over the plain water. Don’t stir it! Just let it sit there undisturbed for about five to ten minutes. This is called blooming, and it’s vital! If the gelatin doesn’t get nice and spongy first, you’ll end up with weird little lumps in your beautiful, smooth custard. Trust me on this part—let the water do its job.
Heating the Cream Base for Classic Vanilla Bean Panna Cotta with Berries
Next, get your saucepan on the stove. Pour in that whole quart of heavy cream—yes, the whole thing! Add your sugar and, this is the best part, scrape all those lovely vanilla bean seeds right into the cream. Toss the scraped-out pod in there too; it’s going to infuse everything with the best scent. Heat this mixture over medium heat, just stirring gently until that sugar disappears and the cream feels nice and hot. It should steam, but you absolutely *must* pull it off the heat before a boil starts. Once it’s warm and sweet, yank that pod out before you continue!
Combining and Pouring the Panna Cotta Mixture
Now, that gelatin should be looking plump and jiggly. Add that bloomed gelatin directly into your warm cream base. Whisk it gently but thoroughly until every single grain has melted away. You can’t see it, but the mixture needs to be completely uniform before you move on. Once it’s smooth as silk, pour that gorgeous vanilla liquid evenly into your four prepared ramekins or glasses.
Chilling and Setting the Elegant Dinner Party Ideas Dessert
This is the hardest part: waiting! Cover those little cups tightly with plastic wrap—I usually drape it right over the top so it doesn’t stick to where the panna cotta will rise. Pop them into the fridge. They absolutely need a minimum of four hours to chill and firm up completely, but honestly, for the best results for your elegant dinner party ideas, I always aim for overnight chilling. When you take them out, they should be perfectly set and ready for those beautiful berries!
Tips for Perfect Classic Vanilla Bean Panna Cotta with Berries Texture
It sounds intimidating, doesn’t it? Getting that lovely, gentle wobble without ending up with something that looks like sweet rubber? Don’t sweat it! Texture is everything with panna cotta, and achieving that creamy perfection is mostly about temperature control and being precise with your binder. I learned the hard way that even a tiny mistake can turn this elegant dessert into a sad, soupy mess!
If you followed the heating instructions correctly, your biggest enemy is usually the gelatin itself, or maybe adding it when the cream is too hot. Remember, we need it warm enough to dissolve, but if it gets too hot, the gelatin structure can break down, and that’s when you get a soft set.
Here are a few things I’ve learned from my wobbly practice runs:
- Don’t Squeeze the Bloomed Gelatin: When it’s bloomed, the gelatin is spongy. You don’t need to press the water out of it excessively before adding it to the cream. Just add the whole spongy mass. Squeezing too hard can make the powder clump up later when you try to whisk it in. Give it a gentle introduction to the warm cream!
- Whisk Continuously While Dissolving: Once that bloomed gelatin hits the warm (but not boiling!) cream, start whisking right away. You are whisking to ensure every tiny granule dissolves. If you leave it alone for even 30 seconds, you might find a little undissolved lump stuck at the bottom of your saucepan.
- The Cream’s Temperature is Key: If your cream is scalding hot when you add the gelatin, you risk rendering the gelatin ineffective, leading to a very loose final product. Conversely, if it cools too much, the gelatin will seize up before it fully melts, leaving you with white threads in your custard. Aim for the heat just after you take it off the stove but before it starts cooling significantly.
- Don’t Scrape the Edges: When you’re pouring the mixture into your ramekins, try not to pour down the sides where the mixture might be setting up already. Pour evenly into the center. This prevents streakiness on the sides of your final dessert.
If you’re chasing that perfect restaurant-quality wobble, make sure you’re using the full amount of gelatin for the volume of cream. Too little, and it won’t set right. Too much, and you lose that wonderful creamy mouthfeel. If you want to dive even deeper into the science behind gelatin ratios, I saw a great explanation over at Food & Wine for easy vanilla bean panna cotta that really breaks down the physics of the set.
Honestly, if you chill it overnight—which I highly recommend for any panna cotta recipe—you’ll almost always get that beautiful, silky texture that just begs for a spoonful of bright berries on top!
Ingredient Notes and Vanilla Bean Substitute Options
This is where we talk about housekeeping items in case you’re missing that precious vanilla bean. In our line of work—creating incredibly delicious food that supports a healthy lifestyle—you learn quickly that substitutions are sometimes necessary, especially when running low on specialty items. But I want you to know, if you **can** use the bean, please do!
The vanilla bean gives you those lovely flecks and a depth of flavor that extract, while super convenient, just can’t quite replicate. But since I wrote the recipe to be flexible, let’s talk substitutes, especially if you’re stocking up your pantry or just need to make this on a Tuesday night!
If you don’t have a vanilla bean on hand, don’t panic! You can absolutely swap it out. The note mentioned using about 2 teaspoons of pure vanilla extract. This is a perfect substitute, but **when** you add it matters a whole lot! You want that strong vanilla flavor to mix in evenly with the cream, but you don’t want the alcohol component to cook off or potentially interact with the cream heat.
Here’s my rule for extract:
- Do NOT add the extract while the cream and sugar are heating on the stove.
- Wait until you have removed the saucepan completely from the heat. This is after you’ve removed the pod (if you were using one) and right before you add the bloomed gelatin.
- Stir in those 2 teaspoons of pure vanilla extract right then. The residual heat is plenty warm enough to blend it perfectly without harsh cooking.
This ensures you get all the sweet, round vanilla notes without losing any intensity. If you’re curious about other foundational ingredients for low-carb cooking that make these creamy desserts possible, I have a huge guide to essential pantry items that I think you’ll find really helpful!
And listen, if you skip the bean, you miss out on some amazing visual appeal, sure, but the flavor of this panna cotta recipe will still be fantastic. It’s a winner either way!
Berry Pairing Ideas for Your Classic Vanilla Bean Panna Cotta with Berries
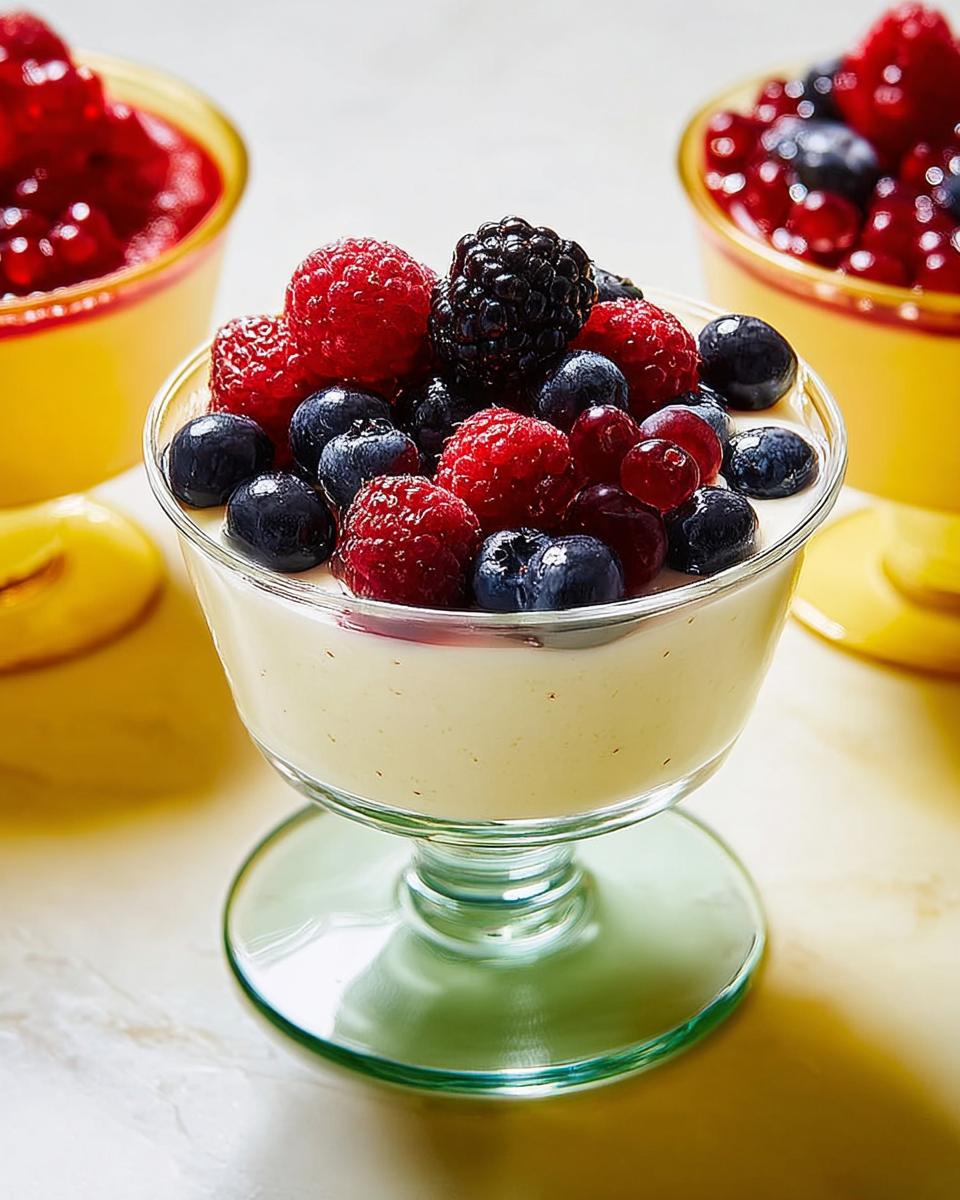
This creamy vanilla base is like a beautiful, quiet canvas just begging for a pop of color and flavor! We stick to mixed berries usually because they give you that lovely textural contrast, but you can really get creative here depending on what you love. Since the panna cotta is rich and sweet, you want a little bright zing from the fruit.
If you’re aiming for pure elegance, I love just using beautiful, ripe raspberries. Their slight tartness just cuts through the richness of the heavy cream so perfectly. They look stunning scattered across the white surface, too!
But don’t stop there! My favorite combination for a truly luxurious finish involves three things: tart blueberries, sweet sliced strawberries, and maybe just a few slivers of kiwi for an unexpected green color. If you want something really festive, try topping them with macerated blackberries—letting them sit in a tiny splash of vanilla extract and a micro-pinch of sugar for about twenty minutes really brings out their deep flavor.
Honestly, any combination of fresh, bright berries sings alongside this panna cotta recipe. It’s all about that contrast between the cool, silky sweet and the fresh acidity of the fruit!
Serving Suggestions for This Make Ahead Desserts Recipe
So, you’ve got your gorgeous, perfectly set panna cotta, shimmering beautifully in the little glass—but now what? We’re going for *elegant*, remember? Just dropping a handful of berries on top is great, but if you’re serving this for a special occasion or one of those elegant dinner party ideas, we can step up the presentation game just a touch without adding any work!
Since this is a make-ahead dessert, all the presentation work happens right before you serve it, which is honestly the dream. Here are a few little tricks I use to take these from “tasty homemade treat” to “restaurant-worthy finale”:
Elevating with Sauces and Drizzles
While the berries bring acidity, a drizzle of something extra can look fantastic. Especially if you’ve gone keto, you can make a quick glaze!
- A Thin Balsamic Glaze: This sounds weird with vanilla, but trust me! If you reduce balsamic vinegar until it’s syrupy (or use a keto-friendly syrup alternative), that deep, sharp tang is incredible next to the sweet cream. Drizzle it in an artistic swirl around the edges of the plate, not over the top of the panna cotta itself.
- Mint Oil: If you have a blender, blend a handful of fresh mint leaves with a neutral oil (like light olive oil or avocado oil) and strain it through cheesecloth. A few drops of that vibrant green oil dotted around the rim of the plate makes the presentation pop!
Garnishes Beyond Berries
Sometimes, presentation needs height, or maybe you want a little crunch for textural balance. Think about what you can sprinkle on top!
If you aren’t worried about keeping them strictly keto, a tiny, tiny sprinkle of toasted slivered almonds or finely chopped pistachios adds just the right bit of crunch right before serving. For a beautiful finish that screams fancy, shave delicate curls of high-quality dark chocolate over the top using a vegetable peeler. If you keep them chilled, they won’t melt immediately against the cool panna cotta.
Plating for Maximum Impact
How you put it on the plate makes a huge difference for this make ahead desserts recipe. If you served it in the ramekin, great! But if you’ve unmolded it:
- Very lightly dip the bottom of the ramekin in warm water for about 5 seconds—no more!
- Place a chilled serving plate upside down over the ramekin, and with one swift motion, flip the whole thing over. It should release onto the plate.
- Artfully spoon your mixed berries right next to the settled panna cotta, allowing some of the berry juices to naturally pool around the base.
It’s all about simple touches that show you thought through the whole experience. These classic, creamy sweets deserve a beautiful final look!
Frequently Asked Questions About the panna cotta recipe
It’s normal to have a few questions when you’re making a creamy custard like this for the first time, especially since texture is everything in this panna cotta recipe! I’ve gathered up the most common things people ask me about these elegant treats. Don’t hesitate to reach out if yours looks a little different than expected!
How long can I store Classic Vanilla Bean Panna Cotta with Berries?
This is one of the best parts about this make ahead desserts situation! If you have finished panna cotta, sealed tightly in its ramekin, it will keep beautifully in the fridge for up to 4 days. The gelatin holds up really well, so you don’t need to stress about making it look perfect until shortly before serving. If, for some reason, you have leftover *un-set* panna cotta mixture in the pan (maybe you made too much!), that liquid mixture will last about 2 days in the fridge. Just gently reheat it with a splash more water or cream if you need to re-dissolve the gelatin more thoroughly before pouring it into final molds.
Can I make this panna cotta recipe ahead of time for a party?
Yes, please do! If you’re planning any kind of celebration, this is your best friend. I find that chilling it overnight—so, about 12 to 16 hours—gives the absolute best, most resilient set for these creamy vanilla sweets. Making it the day before means all you have to worry about serving those beautiful berries on top right before your guests arrive. It truly is the perfect stress-free finish to any meal!
What if my panna cotta does not set properly?
Oh, the dreaded wobble that won’t stop! Most of the time, if your panna cotta doesn’t set firmly enough—maybe it’s a little too soupy or soft—it all goes back to the gelatin. Did you bloom it long enough? That’s step one! It needs those full five minutes to hydrate.
The second big reason is heat. Did the cream get too hot when you added the bloomed gelatin? If the cream is boiling or even simmering hard, it can break down the gelatin’s structure before it has a chance to set. If your panna cotta is too soft after a full overnight chill, you can actually save it! Gently scoop the soft mixture back into your saucepan, add about half a teaspoon more gelatin (bloomed separately in one tablespoon of water first!), heat just until dissolved, and re-pour into clean dishes to chill again. It usually fixes everything!
Estimated Nutritional Data for Creamy Vanilla Sweets
Since I focus on performance eating, people always want to know where this indulgence fits in, even though it leans on heavy cream! Remember, this recipe is typically made with *sugar*, but if you use granular zero-calorie sweeteners specific to keto baking, the carb count drops dramatically. This estimation is based on using standard granulated sugar for the recipe as written.
For one serving (1/4 of the recipe), here is an estimate based on traditional ingredients:
- Calories: Approximately 410-440 kcal
- Total Fat: 38g
- Protein: 8g
- Total Carbohydrates: 18g (This is where keto sweeteners make a huge difference!)
This is a rich, satisfying dessert for sure, but remember that when you use an erythritol blend or monk fruit sweetener, you slash those carbs way down, making these creamy vanilla sweets a guilt-free pleasure after a workout!
Share Your Classic Vanilla Bean Panna Cotta with Berries Creations
I truly hope you loved making this recipe as much as I loved developing my own version of this classic over the years! Seeing your creations is honestly the best part of running this kitchen. I love experimenting, and I always want to see how you guys decorate yours!
When you serve up your **Classic Vanilla Bean Panna Cotta with Berries**, snap a picture! Tag me and show off your favorite berry pairings—did you go for lemon zest drizzle? Did you manage a perfect unmolding? Let me know!
Please take a moment to rate this recipe below; five stars tells me you’re ready for more elegant, easy desserts just like this one. If you have any lingering questions or need advice on scaling up for a huge crowd, don’t hesitate to reach out via my contact page here to chat: Let’s connect!
Classic Vanilla Bean Panna Cotta with Berries
Ingredients
Equipment
Method
- In a small bowl, sprinkle the gelatin over the 3 tablespoons of water. Let it sit for 5 to 10 minutes to allow the gelatin to bloom.
- In a medium saucepan, combine the heavy cream, sugar, and the scraped vanilla bean seeds along with the pod.
- Heat the cream mixture over medium heat, stirring occasionally, until the sugar dissolves and the mixture is hot but not boiling. Remove the pan from the heat.
- Remove and discard the vanilla bean pod from the cream mixture.
- Add the bloomed gelatin to the warm cream mixture. Whisk until the gelatin is completely dissolved and no granules remain.
- Pour the mixture evenly into four small ramekins or serving glasses.
- Cover the ramekins with plastic wrap and refrigerate for at least 4 hours, or preferably overnight, until the panna cotta is firm.
- To serve, top each panna cotta with mixed berries.


