
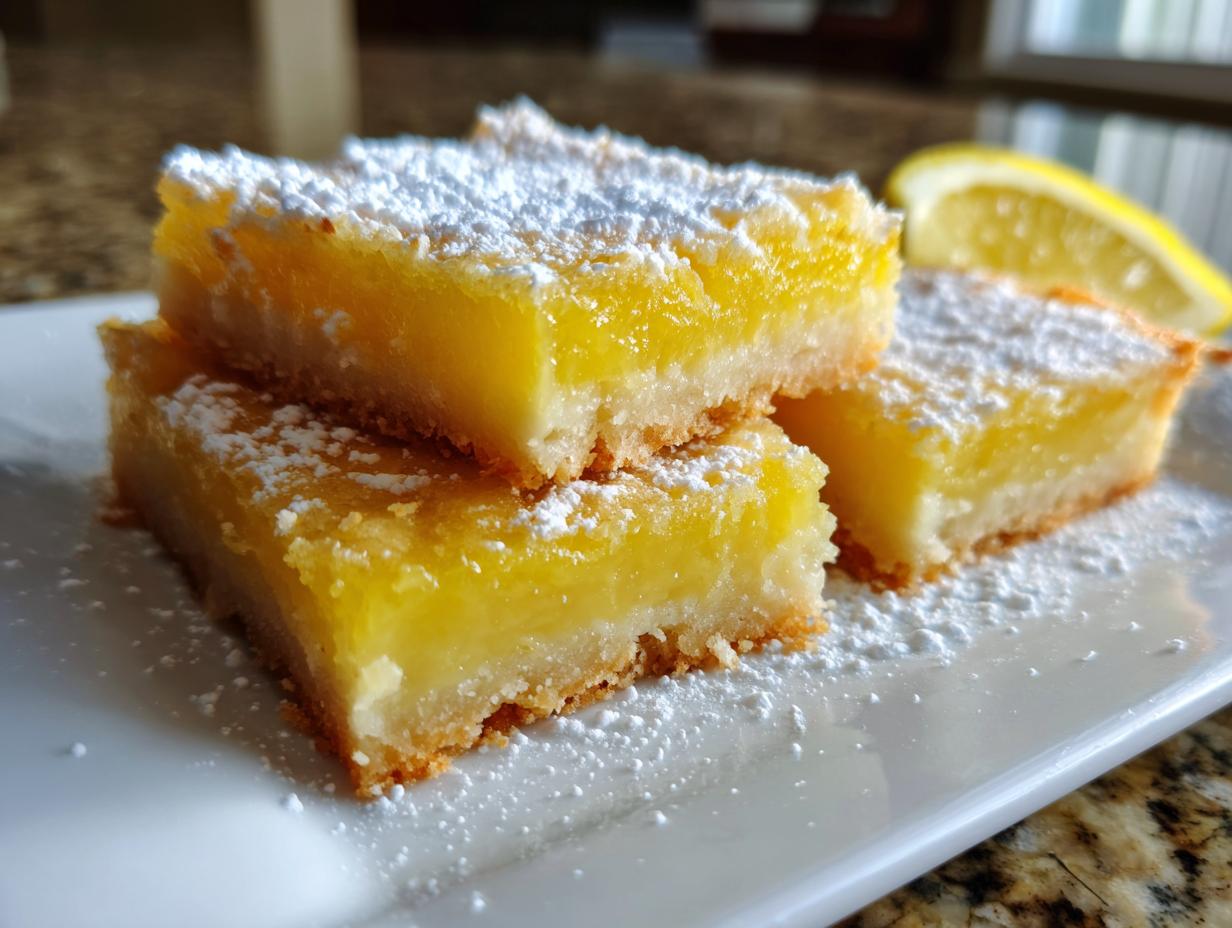
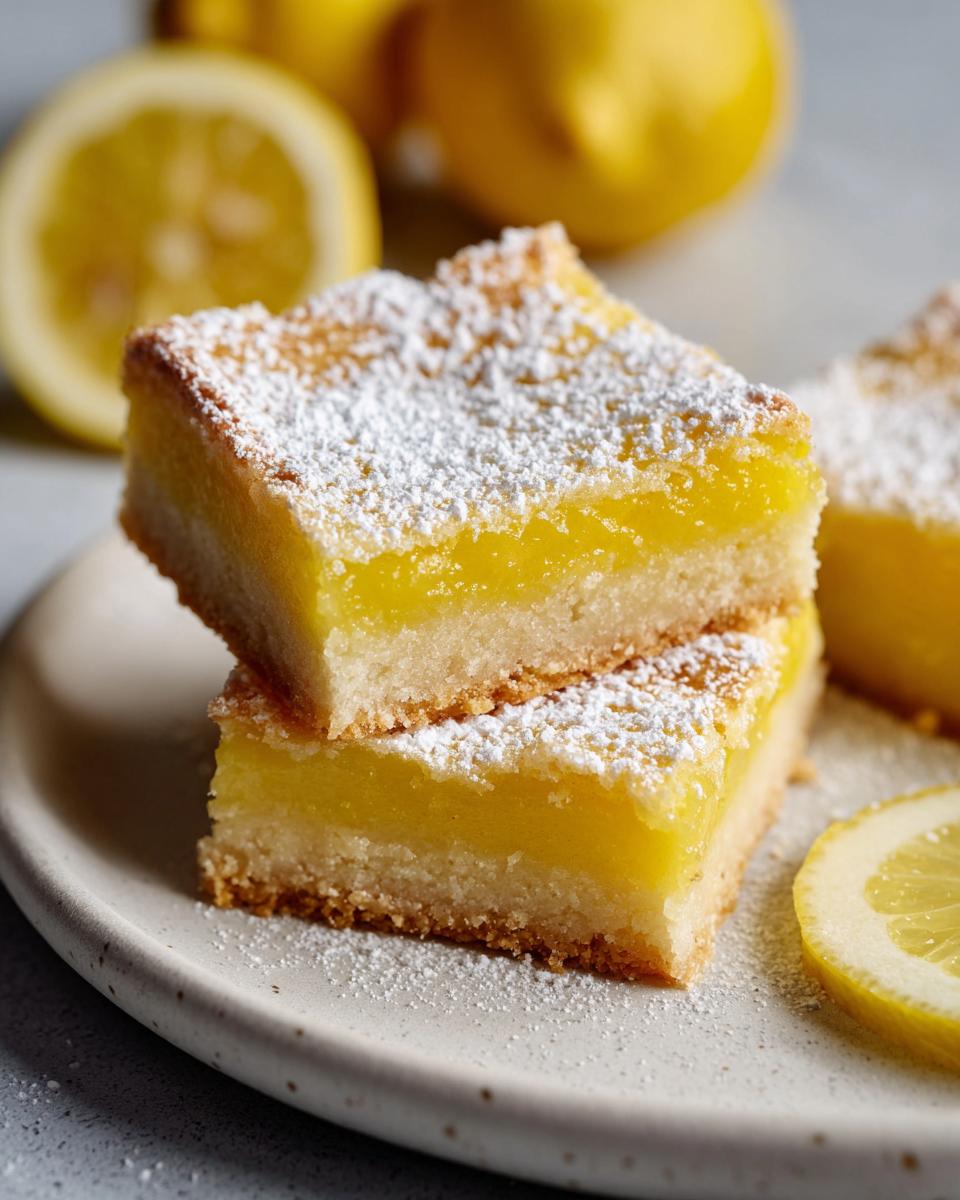
Oh, lemon bars! Just the thought of them makes my mouth water. There’s something so incredibly satisfying about that perfect bite – the crumbly, buttery shortbread crust giving way to a tangy, sunshine-yellow lemon filling that’s just the right amount of tart. And trust me, getting that balance just right is key! This recipe for Dessert Recipes With Lemon Bars and Bright Citrus Flavor is my go-to. It’s the kind that makes you close your eyes and savor every single tangy-sweet moment. I remember making these for a summer picnic once, and people were practically fighting over the last few bars. They’re that good!
Why You’ll Love These Dessert Recipes With Lemon Bars and Bright Citrus Flavor
These lemon bars are an absolute winner for so many reasons:
- Super Easy to Make: Honestly, you don’t need to be a baking genius for these. The crust is a simple mix-and-press, and the filling comes together in minutes.
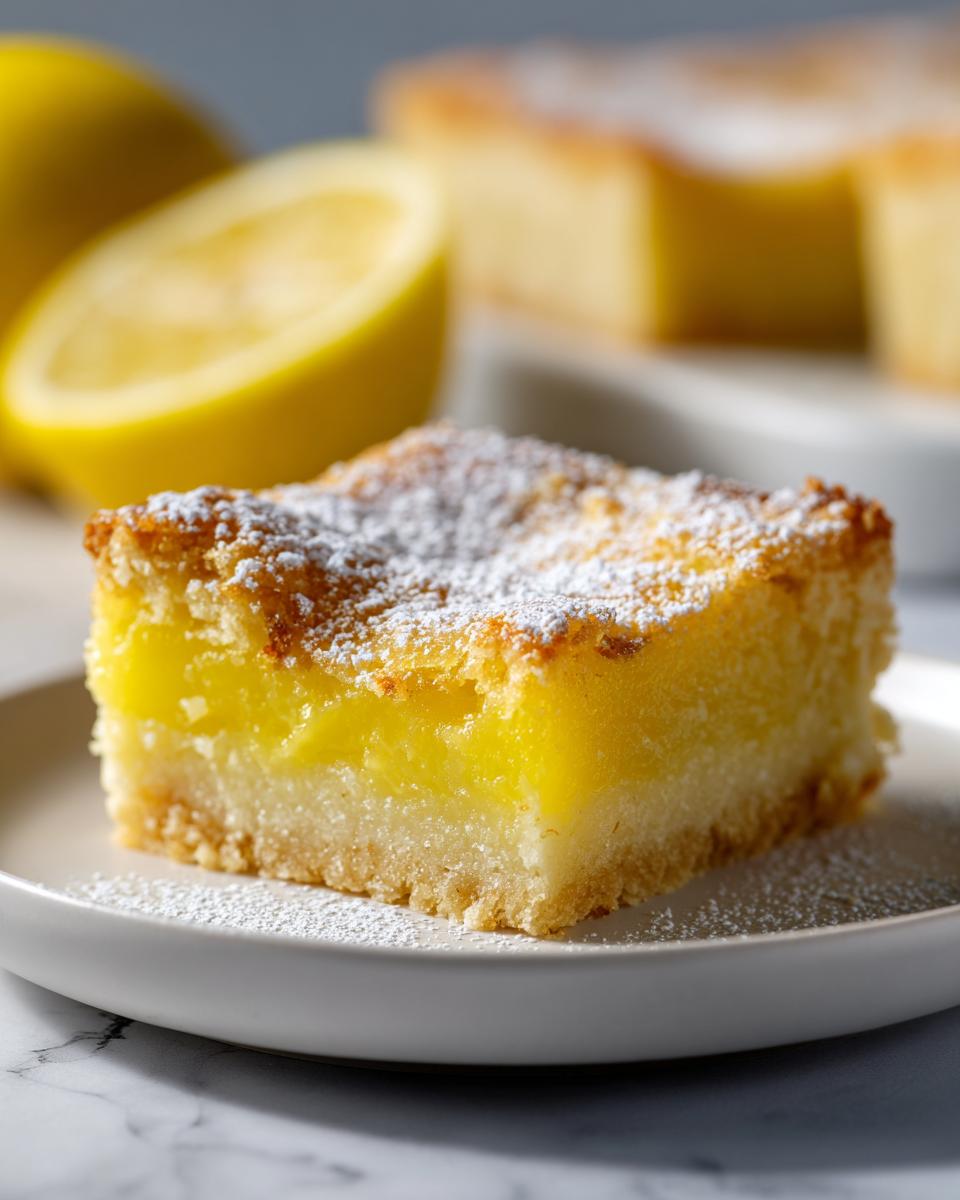
- Perfectly Balanced Flavor: That delightful sweet-tart balance is what makes lemon bars so addictive. This recipe nails it every single time.
- Crowd-Pleaser Guaranteed: Bring these to any gathering, and I promise they’ll disappear fast. They’re loved by just about everyone!
- Bright & Cheerful: That gorgeous yellow color just screams sunshine and happiness. They’re like little rays of citrus goodness.
- Versatile Treat: Perfect for dessert after dinner, a sweet afternoon pick-me-up, or even special occasions and picnics.
Gather Your Ingredients for the Perfect Lemon Bars
Alright, let’s get our ingredients together for these little bites of sunshine! Having everything ready makes the whole process so much smoother, trust me. For the crust, we’re keeping it simple and buttery: one cup of all-purpose flour, half a cup of softened unsalted butter (make sure it’s truly softened, not melted!), and a quarter cup of granulated sugar. That’s it! For the star of the show, the lemon filling, you’ll need three large eggs, one full cup of granulated sugar, another quarter cup of all-purpose flour, a third of a cup of *freshly squeezed* lemon juice – and please, please don’t use that bottled stuff, it makes all the difference! Finally, we’ll need one tablespoon of finely grated lemon zest for that extra punch of bright citrus flavor. And for dusting? Just a little powdered sugar to make them look pretty.
Step-by-Step Guide to Making Lemon Bars with Bright Citrus Flavor
Okay, let’s get our hands dirty and make some magic happen! Making these lemon bars is really straightforward, and I promise, the result is so worth it. First things first, you’ll want to preheat your oven to 350°F (175°C). Then, grab your 9×13 inch baking pan and line it with parchment paper. Leaving a little overhang on the sides is a brilliant trick – it makes lifting the whole thing out so much easier later on, saving you from those heart-stopping moments of trying to cut them in the pan. I always find this step helps avoid any sad, broken bars. If you’re looking for other bright recipes, check out these lemon garlic drumsticks – they’re another favorite!
Preparing the Buttery Shortbread Crust
Now for that amazing crust! In a mixing bowl, just throw in your flour, the softened butter, and that quarter cup of sugar. Use your fingers, a fork, or even a pastry blender if you have one. You want it to get nice and crumbly, like wet sand. Press this mixture down really firmly and evenly into your parchment-lined pan. Don’t be shy with the pressing – you want a solid base! This is my little secret for avoiding a soggy bottom later on. Pop that into the preheated oven for about 15 to 20 minutes, just until it’s a lovely pale golden color around the edges.
Creating the Bright Lemon Filling
While your crust is doing its thing in the oven, let’s whip up that glorious lemon filling. Grab another bowl – no need to wash the first one if you’re feeling lazy like me! Whisk those three eggs until they’re nicely beaten. Then, toss in the cup of granulated sugar, the quarter cup of flour, your fresh lemon juice (remember, fresh is best!), and that tablespoon of lemon zest. Whisk it all together until it’s super smooth and well combined. It should look like a lovely, bright yellow liquid. For more inspiration on delicious citrus treats, take a peek at this classic lemon bar recipe. Once your crust is out of the oven and looks golden, carefully pour this filling right over the hot crust. Don’t worry, it’s supposed to go on hot!
Baking and Cooling for Perfect Lemon Bars
Back into the oven it goes! Bake for another 15 to 20 minutes. You’re looking for the filling to be set – it won’t be super firm, but it shouldn’t be jiggly like jelly anymore. Some people poke with a knife, and if it comes out mostly clean with maybe a few moist crumbs, you’re golden. The absolute hardest part? Letting them cool completely. I know, I know! But they need to cool down in the pan on a wire rack for at least an hour, maybe even two. This lets the filling firm up properly. If you try to cut them too soon, they’ll just fall apart. Trust me on this one!
Tips for Perfect Dessert Recipes With Lemon Bars and Bright Citrus Flavor
Okay, so you’ve got the basic recipe down, but let me share a few little tricks I’ve learned over the years that really make these lemon bars sing! First off, don’t skip the parchment paper; that overhang is a lifesaver for lifting them out cleanly. If you’re ever worried about the crust feeling too crumbly to press, just pop it in the fridge for about 10 minutes before pressing – it makes it much more manageable. Also, about that lemon zest? Make sure you’re only zesting the yellow part of the peel, not the bitter white pith underneath. Zest it *before* you juice the lemons, it’s so much easier! If a recipe for something like lemon blueberry cheesecake cookies catches your eye, remember that fresh citrus zest is usually the secret weapon.
For the filling, if you find your bars are still a bit too jiggly after the suggested baking time, just give them a few more minutes. Ovens can be so funny like that! I’ve found that letting them cool completely, and I mean *completely*, is the absolute key to a nice, clean cut. If you’re impatient (like me sometimes!), you can pop them in the fridge for an hour after they’ve cooled a bit on the counter. It really helps set them up. And for a super clean cut, use a really sharp knife, and wipe it clean with a damp cloth between each cut. You can even run the knife under hot water for a second! It transforms them into those perfect bakery-style squares. For more amazing lemon takes, this lemon bar recipe is a classic!
Ingredient Notes and Substitutions for Your Lemon Bars
Let’s chat a bit about some of these ingredients because, honestly, they can make or break your lemon bars! That fresh lemon juice? It’s non-negotiable for that bright, zippy flavor. Bottled lemon juice just doesn’t have that same zing, so please, seek out fresh lemons! You can always toss them in the microwave for about 10-15 seconds before juicing – it helps get way more juice out. For the zest, make sure you’re only getting the yellow part of the peel; the white pith underneath is super bitter and nobody wants that. If you’re curious about other yummy lemon treats, you should totally check out this lemon tiramisu recipe; it’s divine!
As for the butter, unsalted is usually best in baking so you can control the salt level yourself. Make sure it’s softened to room temperature – not melted! This helps it cream nicely with the sugar for that tender crust. If you’re in a pinch and only have salted butter, just cut back a tiny bit on any other salt you might add (though this recipe doesn’t call for extra salt, so you’d be okay either way). And when it comes to sugar, we’re using granulated for both the crust and the filling. Easy peasy!
Serving and Storing Your Delicious Lemon Bars
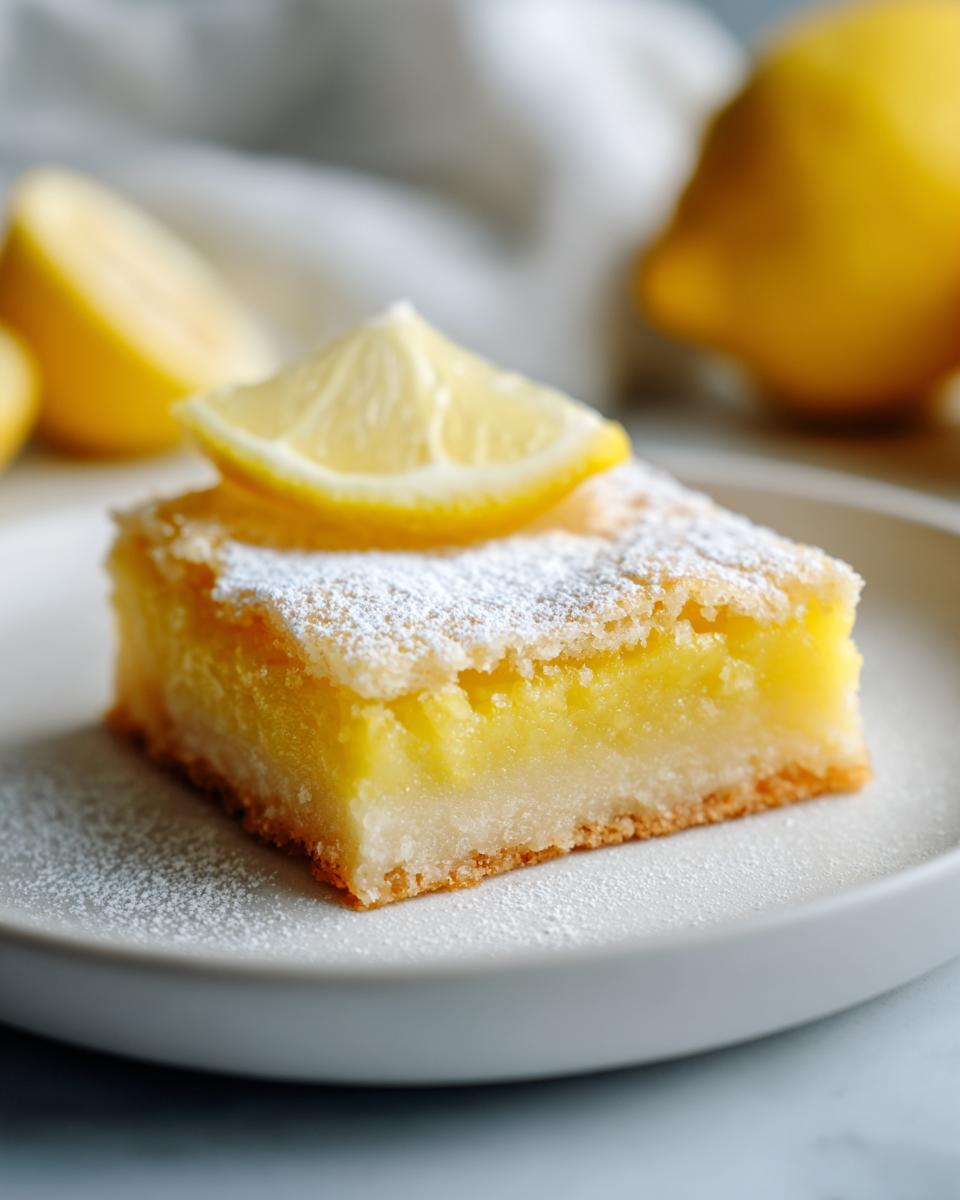
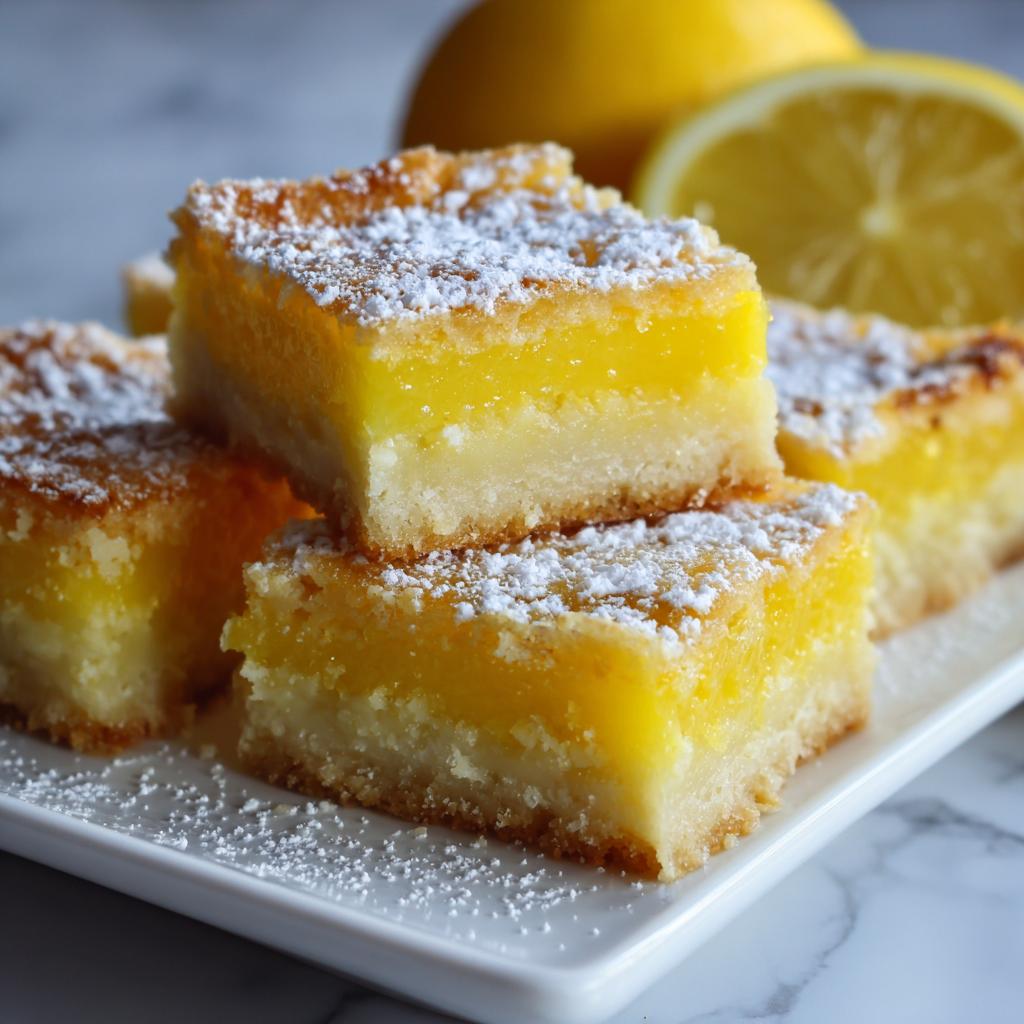
Alright, the moment of truth! Once those gorgeous lemon bars are completely cooled, use the parchment paper overhang to lift them out of the pan. Then, it’s time for the grand finale: a good dusting of powdered sugar! It makes them look so professional, doesn’t it? They’re just perfect on their own, but they also pair wonderfully with a light salad for a sweet finish, or even alongside some fresh berries. If you happen to have any leftovers (big if!), store them in an airtight container in the fridge. They’ll stay delicious for about 3 days, though the crust might soften slightly over time. For more simple, delightful ideas, check out these easy yogurt granola bowls!
Frequently Asked Questions About Lemon Bars
Got questions about these sunny little squares? I’ve got answers!
Why are my lemon bars not setting?
Oh no, a jiggly situation! Usually, this happens if the filling wasn’t baked quite long enough. The eggs and flour need time to set up. Don’t worry, though! Often, they’ll firm up more as they cool completely. If they’re still super liquidy after cooling, you can try popping them back in the oven for another 5-10 minutes. Next time, just make sure the filling no longer has a visible wobble when you gently shake the pan. For more zesty ideas, check out this lemon cream chia pudding!
Can I make lemon bars ahead of time?
Absolutely! These are actually *better* when made ahead. The flavors really meld together beautifully, and the texture firms up perfectly. I usually make them a day in advance. Just let them cool completely, dust with powdered sugar (or wait to dust), and store them in an airtight container in the fridge. They’ll stay delicious for about 3 days.
What’s the best way to get a clean cut?
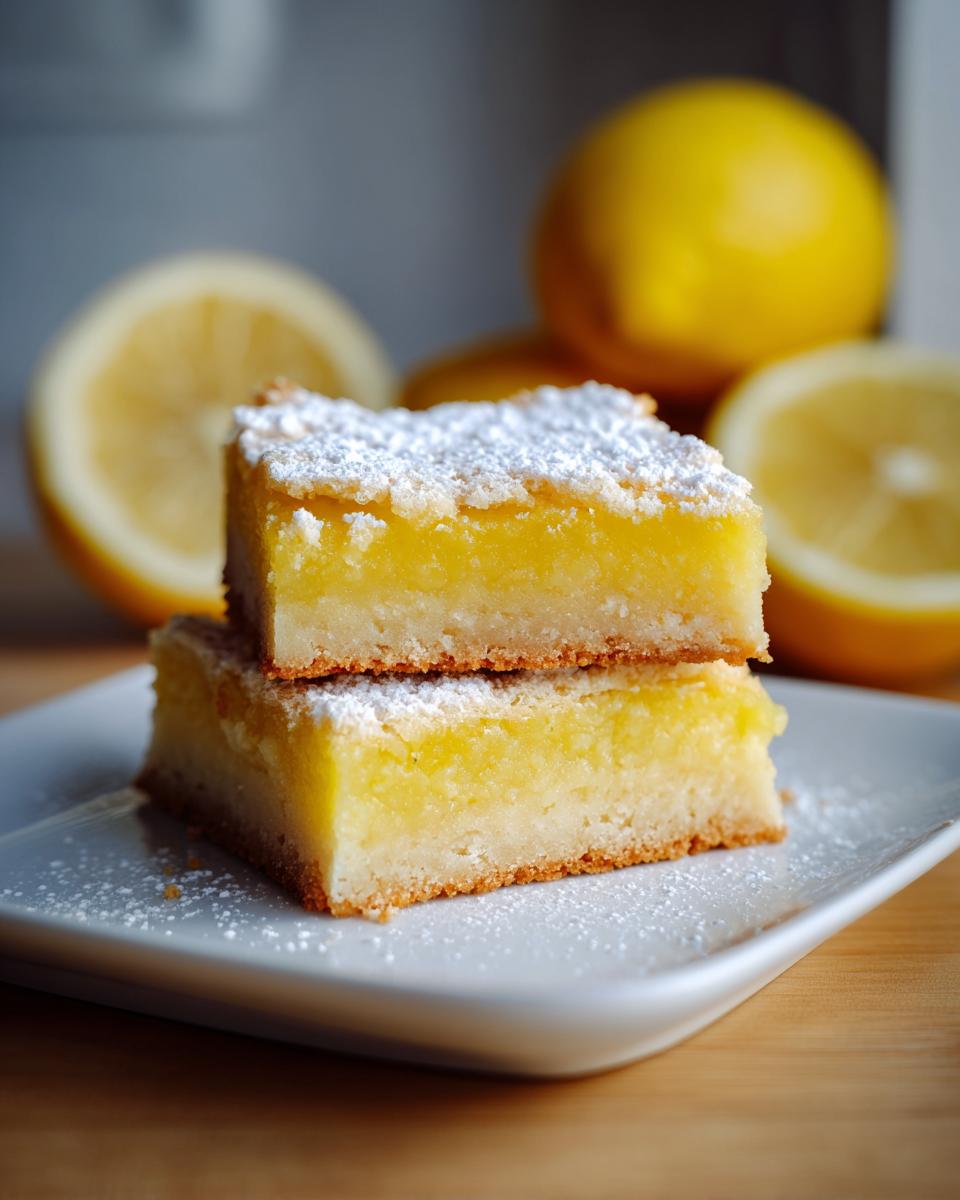
This is my big secret to pro-looking lemon bars! First, make sure they are completely cooled. Then, use a long, sharp knife. Wipe the knife clean with a damp paper towel after *each* cut. Seriously, it makes a world of difference. For an extra clean cut, you can even run the knife under hot water for a few seconds before wiping and cutting – just be careful not to get too much water on the bars!
Can I use a different citrus fruit instead of lemon?
You can totally play around with it! Lime bars are fantastic – just use fresh lime juice and zest instead. Orange or grapefruit zest can also add a lovely twist, though you might want to adjust the sugar slightly depending on the tartness of the fruit. Just remember, lemon is the classic for a reason, but feel free to get creative with your bright citrus flavors!
Nutritional Information
Here’s an estimate of the nutritional info for these delightful lemon bars, based on roughly 16 servings. Remember, this can change a bit depending on the exact ingredients you use!
- Calories: 200
- Fat: 8g
- Saturated Fat: 5g
- Cholesterol: 40mg
- Sodium: 20mg
- Carbohydrates: 30g
- Sugar: 25g
- Protein: 2g
- Fiber: 1g
Lemon Bars
Ingredients
Equipment
Method
- Preheat your oven to 350°F (175°C). Line a 9×13 inch baking pan with parchment paper, leaving an overhang on the sides.
- For the crust, combine the flour, softened butter, and 1/4 cup sugar in a bowl. Mix until crumbly.
- Press the crust mixture evenly into the bottom of the prepared baking pan.
- Bake the crust for 15-20 minutes, or until lightly golden.
- While the crust bakes, prepare the lemon filling. In a separate bowl, whisk together the eggs, 1 cup sugar, 1/4 cup flour, lemon juice, and lemon zest until smooth.
- Pour the lemon filling over the hot crust.
- Bake for another 15-20 minutes, or until the filling is set and no longer jiggly.
- Let the lemon bars cool completely in the pan on a wire rack.
- Once cooled, use the parchment paper overhang to lift the bars out of the pan. Dust with powdered sugar before cutting into squares.


