
Okay, confession time! There are few things I love more than a truly decadent dessert. But let’s be real, sometimes you’re craving something rich, chocolatey, and straight-up fancy, and you just don’t have hours to spend in the kitchen. That’s exactly where these amazing chocolate lava cakes come in! Seriously, when I first figured out how to whip these up in under 30 minutes, it was a game-changer. I remember one time, unexpected guests showed up right before dinner, and I panicked. But then I remembered this recipe, and bam! Within minutes, we had these warm, gooey molten chocolate cakes ready to impress. They feel so gourmet, but the secret is this super simple method. It’s proof that you don’t need a ton of time to create something truly special. If you’re looking for more quick dessert ideas, check out some dessert recipes that are surprisingly fast!
Why You’ll Love These Dessert Recipes for Chocolate Lava Cakes in Under 30 Minutes
Seriously, these chocolate lava cakes are a total winner for so many reasons. You’re going to want to bookmark this one, trust me!
- It’s SUPER Fast! We’re talking decadent dessert in less than 30 minutes, start to finish. Perfect for those last-minute cravings.
- Incredibly Easy Prep. No fancy techniques here! Just a few simple steps that anyone can follow – even if you’re new to baking.
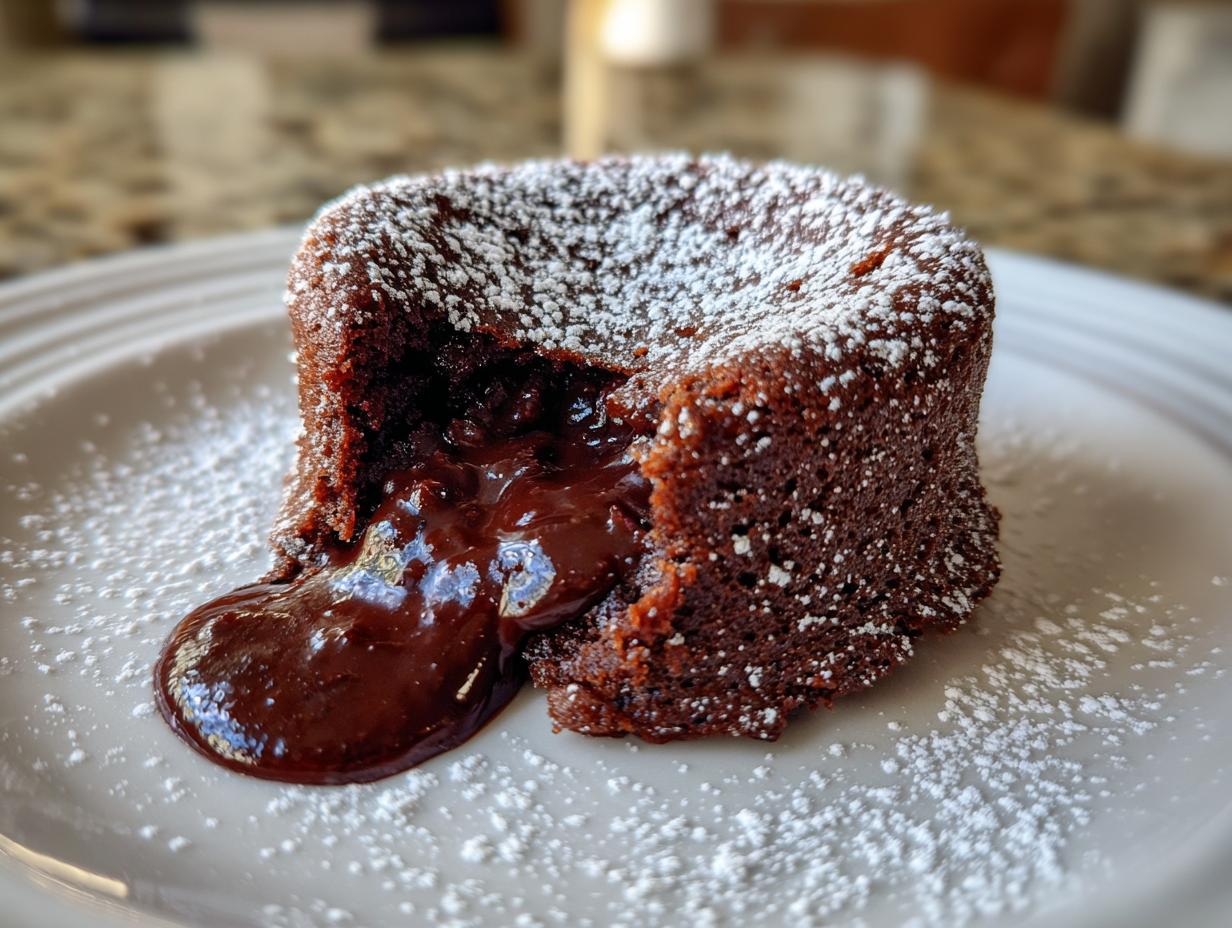
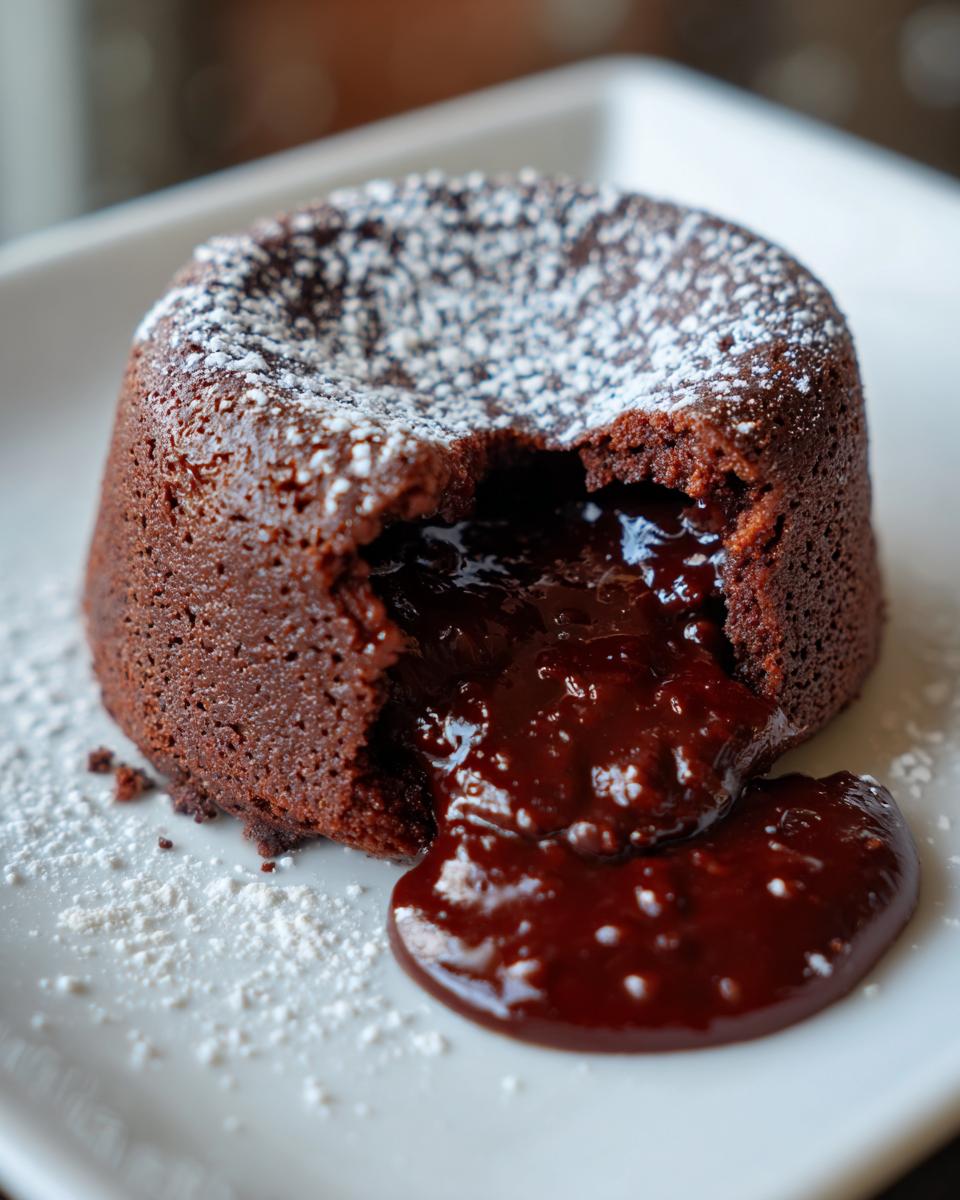
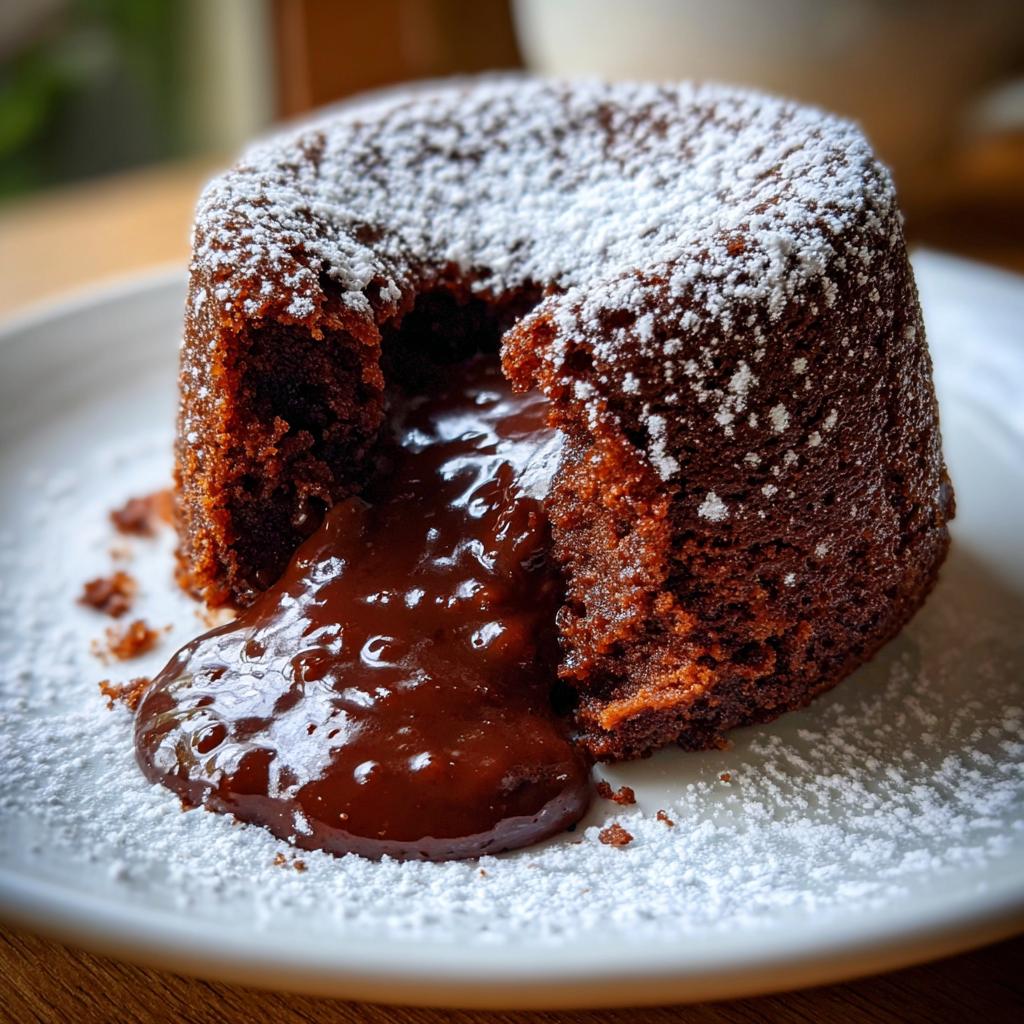
- Gooey, Molten Perfection. That warm, liquid chocolate center? It’s pure magic and tastes like you spent hours on it.
- Impressive Results. These look and taste so gourmet, your guests will think you’re a pastry chef!
- Minimal Cleanup. Seriously, with just a few bowls and ramekins, you’re done!
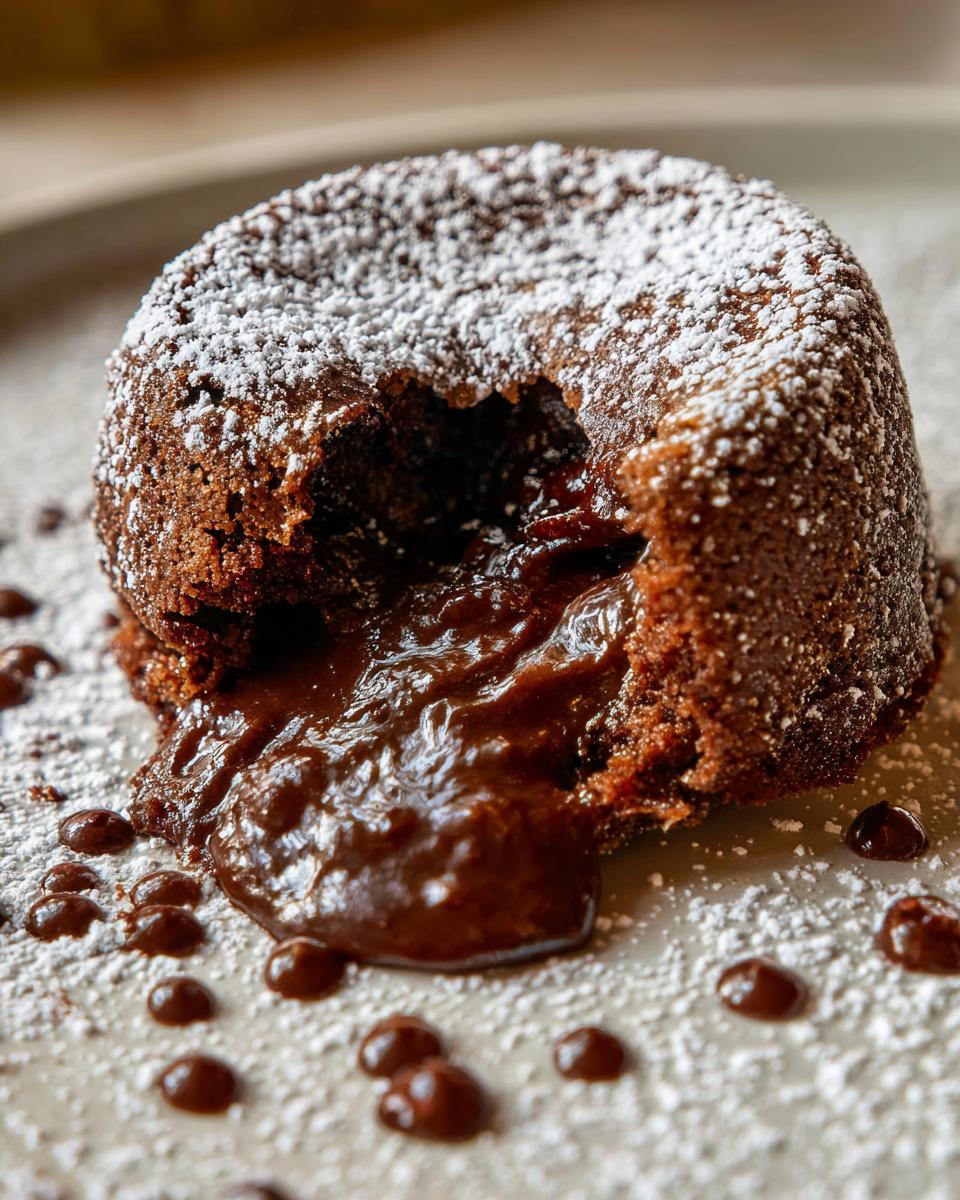
- Pure Chocolate Bliss. Rich, intense chocolate flavor that satisfies any sweet tooth.
Gather Your Ingredients for Quick Chocolate Lava Cakes
Alright, let’s get down to business! To whip up these absolutely divine chocolate lava cakes in a flash, you’ll only need a few simple things. I always try to keep these stalwarts in my pantry because, honestly, you never know when a molten chocolate craving might strike! Make sure you’ve got:
- 1/2 cup (that’s one stick!) unsalted butter, plus a little extra for greasing those little ramekins.
- 4 ounces of good quality bittersweet chocolate, chopped up nice and fine. Using good chocolate really makes a difference here, trust me!
- 2 large eggs.
- 2 large egg yolks (these add extra richness, folks!).
- 1/4 cup granulated sugar.
- Just a tiny pinch of salt to make all those chocolate flavors really pop.
- 2 tablespoons all-purpose flour. Yes, just that little bit! It’s what helps give it structure without making it a dense cake.
- And for dusting, 1/4 cup powdered sugar.
That’s it! See? Nothing too crazy. Having these on hand means you can have a fancy dessert ready faster than you can decide what movie to watch.
Step-by-Step Guide to Making Dessert Recipes for Chocolate Lava Cakes in Under 30 Minutes
Alright, ready to make some magic happen? This is where we turn those simple ingredients into pure, molten chocolate heaven. Follow these steps, and you’ll be digging into warm lava cakes before you know it!
Preparing Your Ramekins and Oven
First things first, let’s get that oven nice and toasty. Preheat it to 425°F (220°C). Now, grab your four 4-ounce ramekins. You want to be generous with the buttering here – get it all into every nook and cranny. Then, dust them with a little flour or, for an extra chocolatey touch, cocoa powder. This little step is super important so our precious lava cakes don’t get stuck. Pop those prepped ramekins onto a baking sheet; it makes them easier to move around in and out of the oven.
Melting Chocolate and Butter for the Lava Cake Base
Time for the heart of the chocolatey goodness! You’ve got two easy options here. You can either set a heatproof bowl over a saucepan with simmering water (making sure the water doesn’t touch the bottom of the bowl!) or just use your microwave. Add your butter and the chopped bittersweet chocolate to the bowl. Gently melt them together, stirring occasionally until it’s all smooth and glossy. Once it’s melted and beautifully combined, take it off the heat and let it cool down just a smidge. We don’t want to scramble those eggs! For more baking tips, check out resources from places like King Arthur Baking.
Creating the Egg and Sugar Mixture
While that chocolate cools, let’s work on the next part. Grab a separate medium bowl. Whisk together your whole eggs, those lovely extra egg yolks, the granulated sugar, and that pinch of salt. You want to whisk this vigorously for about 2 minutes. Keep going until the mixture looks pale yellow and is a little bit thicker and fluffier. It’s not quite stiff peaks, but you should see it start to hold its shape for a second when you lift the whisk.
Combining Wet and Dry Ingredients for the Perfect Batter
Now for the delicate part! Gently fold that slightly cooled chocolate and butter mixture into your egg and sugar base. Use a spatula and a light hand – we’re not trying to deflate all that air we just whipped in! Just fold until it’s *just* combined. You don’t want to go crazy here. Once that’s nicely incorporated, sift your 2 tablespoons of all-purpose flour right over the top. Gently fold that in too, until you can’t see any more white streaks of flour. Remember, overmixing is the enemy of tender cakes, so be gentle!

Baking Your Chocolate Lava Cakes to Molten Perfection
The moment of truth! Carefully divide your glorious batter evenly among those prepared ramekins. They should be about two-thirds full. Now, slide that baking sheet into your preheated oven. Bake them for exactly 10 to 12 minutes. This is where the magic happens! You’re looking for the edges to be set and look cooked, but the very center should still be soft and jiggly. Seriously, set a timer! It’s better to underbake slightly than to overbake – we want that lava flow! If you’re unsure, a toothpick inserted about halfway between the edge and the center should come out with moist crumbs, not wet batter.
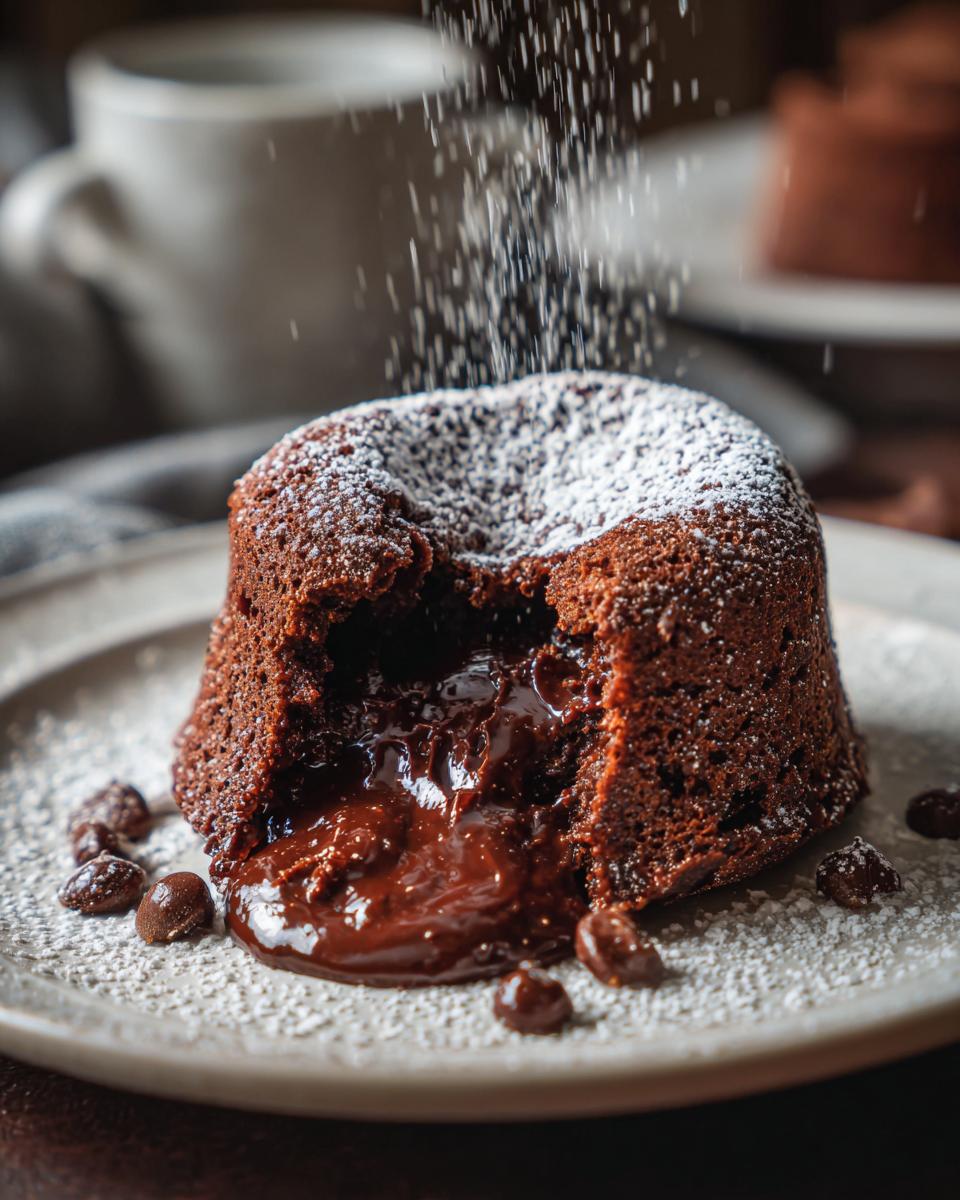
Serving Your Quick Chocolate Lava Cakes
Okay, they’re out of the oven! Let them sit in the ramekins for just a minute – this helps them release a bit better. Now, carefully take a serving plate and place it upside down over a ramekin. With oven mitts still on (they’re hot!), you’re going to quickly and confidently flip the whole thing over. Lift off the ramekin, and ta-da! Your perfect lava cake should slide right out. Do this for all of them. A little dusting of powdered sugar makes them look extra special. Serve these beauties piping hot right away for the ultimate molten experience!
Tips for Success with Dessert Recipes for Chocolate Lava Cakes
Alright, let’s talk about getting these chocolate lava cakes absolutely perfect every single time. I’ve messed up a few batches in my day, so I’ve learned a thing or two! Following these little tips will make sure you get that glorious molten center without any drama. You want to use good quality chocolate – seriously, it makes a world of difference! I usually go for a bittersweet or semi-sweet chocolate with at least 60% cacao. Avoid chocolate chips if you can; they often have stabilizers that make them not melt as smoothly. And don’t be tempted to overmix the batter, especially after you add the flour! That’s how you get tough cakes instead of tender ones. If you’re looking for more chocolatey goodness, you might like my dark chocolate mousse cake or even this cottage cheese chocolate mousse. Oh, and remember that baking time? It’s crucial! Ovens can be quirky, so really watch for those set edges and a still-soft center. If you accidentally overbake them, don’t panic! They’ll still taste amazing, they just won’t have that iconic liquid core. You can find great baking ingredient tips from sites like King Arthur Baking too!
Ingredient Notes and Substitutions for Your Chocolate Lava Cakes
Let’s chat a bit about the ingredients because using the right ones can make these lava cakes sing! For the chocolate, I really, really recommend using good quality bittersweet or semi-sweet chocolate, ideally in a bar that you chop yourself. This gives you the best flavor and the creamiest melt. Those chocolate chips? They often have stuff in them to help them keep their shape in cookies, which can make them not melt quite as luxuriously for our lava cakes. If you absolutely have to use chips, make sure they’re good ones! When it comes to butter, unsalted is best so you can control the saltiness. If you only have salted butter, just skip the pinch of salt in the recipe. And don’t stress if you don’t have a fancy specific type of chocolate; a good quality dark chocolate bar will work wonderfully!
Frequently Asked Questions about Dessert Recipes for Chocolate Lava Cakes in Under 30 Minutes
Got questions? I’ve got answers! These little molten chocolate cakes are pretty straightforward, but I know how it is – sometimes you just need that little extra reassurance. Here are some things people often ask about these quick dessert recipes:
Can I make the batter ahead of time for these chocolate lava cakes?
Oh, totally! This is one of my favorite tricks. You can totally make the batter earlier in the day, even up to 24 hours ahead of time. Just whip it up, divide it into your greased ramekins, cover them really well with plastic wrap (press it right onto the surface to prevent a skin from forming), and pop them in the fridge. When you’re ready to bake, just add a couple of extra minutes to the baking time. Easy peasy! If you love chocolate but want something a bit different, you should totally check out my high-protein chocolate pudding recipe too!
What if I don’t have ramekins for my lava cakes?
No worries if you don’t have ramekins! You can totally adapt this recipe. Muffin tins work in a pinch! Just make sure to really grease and flour (or cocoa powder) the cups well. You might need to adjust baking time slightly – keep an eye on them, as they might bake a *little* faster. You could also try a small oven-safe mug if you have one. Just remember to grease it well!
How do I know if my chocolate lava cake is ready?
This is the MOST important part! You want the edges to look set and slightly puffed, like a regular cake. But the *center* should still look soft, maybe even a little jiggly. It’s almost like a beautiful little chocolate souffle! If you gently nudge the side, it should have a little give. It’s better to pull them out too early than too late – a little overbaked is still delicious, but you lose that glorious liquid center. Trust your eyes!
Can I use milk chocolate instead of bittersweet chocolate?
You *can*, but I really recommend sticking with bittersweet or semi-sweet for the best flavor. Milk chocolate tends to be much sweeter, and since the recipe already has sugar, it might turn out way too sweet. Plus, bittersweet chocolate gives you that deep, rich chocolate flavor that really makes these cakes special. If you do try milk chocolate, maybe cut back on the sugar a tiny bit and be prepared for a sweeter outcome.
Serving Suggestions for Your Molten Chocolate Cakes
Okay, so you’ve got these ridiculously amazing, warm, gooey chocolate lava cakes. What do you do now? You make them even BETTER! Honestly, they’re pretty spectacular all on their own, especially with that dusting of powdered sugar. But if you want to take them to the next level, some fresh berries are always a fantastic idea – raspberries or strawberries add a lovely brightness that cuts through the richness. A dollop of fluffy whipped cream is classic for a reason, and a scoop of good vanilla ice cream? Pure heaven! It’s like the perfect warm-and-cold combo. And hey, if you’re looking for more ways to enjoy simple, refreshing treats, you should totally check out these watermelon recipes for sorbet. Keep it simple, keep it delicious!
Storage and Reheating Instructions
Okay, so ideally, these lava cakes are best served IMMEDIATELY after they come out of the oven. That molten center is just… well, it’s everything! But if, by some miracle, you have leftovers, don’t despair! Just let them cool completely in their ramekins. Once they’re cooled, you can cover them tightly with plastic wrap and pop them in the fridge for about a day. To reheat, I usually pop them back into a 350°F (175°C) oven for about 5-8 minutes, just until they’re warm through and you can *feel* that center getting gooey again. Keep a close eye on them so you don’t accidentally bake them solid!
Estimated Nutritional Information
So, here’s the nitty-gritty on what you’re looking at, nutritionally speaking! These numbers are estimates, of course, because everyone uses slightly different brands and brands can be sneaky with their ingredients. But for one of these decadent little chocolate lava cakes, you’re generally looking at around 350 calories, about 22g of fat (lots of that is from the butter and chocolate, which is worth it!), 5g of protein, and about 30g of carbohydrates. Remember, these are just ballpark figures, but hopefully, it gives you a good idea! If you’re looking for more lighter chocolate treats, you might want to check out this high-protein chocolate pudding recipe!
Chocolate Lava Cakes
Ingredients
Equipment
Method
- Preheat your oven to 425°F (220°C). Generously grease four 4-ounce ramekins with butter and dust with flour or cocoa powder. Place the ramekins on a baking sheet.
- In a heatproof bowl set over a saucepan of simmering water (or in the microwave in 30-second intervals), melt the butter and chopped bittersweet chocolate together. Stir until smooth, then remove from heat and let cool slightly.
- In a separate medium bowl, whisk together the whole eggs, egg yolks, granulated sugar, and salt until pale and slightly thickened, about 2 minutes.
- Gently fold the slightly cooled chocolate mixture into the egg mixture until just combined. Be careful not to overmix.
- Sift the flour over the chocolate-egg mixture and gently fold it in until no streaks of flour remain.
- Divide the batter evenly among the prepared ramekins.
- Bake for 10-12 minutes, or until the edges are set but the center is still soft and molten. Do not overbake.
- Let the cakes cool in the ramekins for 1 minute. Carefully invert each ramekin onto a serving plate. Dust with powdered sugar before serving.


