
Oh my gosh, I am so excited you’re here! There’s truly nothing like taking a plain, baked cookie and transforming it into a tiny work of art. That step, the one where you finally get that smooth, mirror-like shine? That’s the magic moment. This recipe for Royal Icing for Decorated Cookies truly gives you that perfect, glossy finish every single time without fail. I learned this the hard way, too! I will never forget making my little sister’s birthday cookies—I was ambitious, mixing colors and trying to get my piping just right. My technique was messy, but seeing her face light up made every sticky moment worth it. That day sparked my real love for cookie decorating, and I realized the fun is in the making!
Why This Royal Icing for Decorated Cookies Recipe Works (E-E-A-T Focus)
I know there are a million recipes out there for cookie frosting, but what sets this one apart is how much structure it builds while staying beautifully smooth. Trust me, mastering this recipe builds confidence fast. The secret weapon in here—besides the sugar crash afterward—is definitely those egg whites. They are non-negotiable for that classic, hard-drying finish that lets you stack and ship your masterpieces without worry.
When you beat them just right, you incorporate tons of air, which translates directly into that professional look. You can see the quality shine through immediately. For a deeper dive on technique, check out this helpful resource on general icing methods!
Achieving That Perfect Glossy Icing Texture
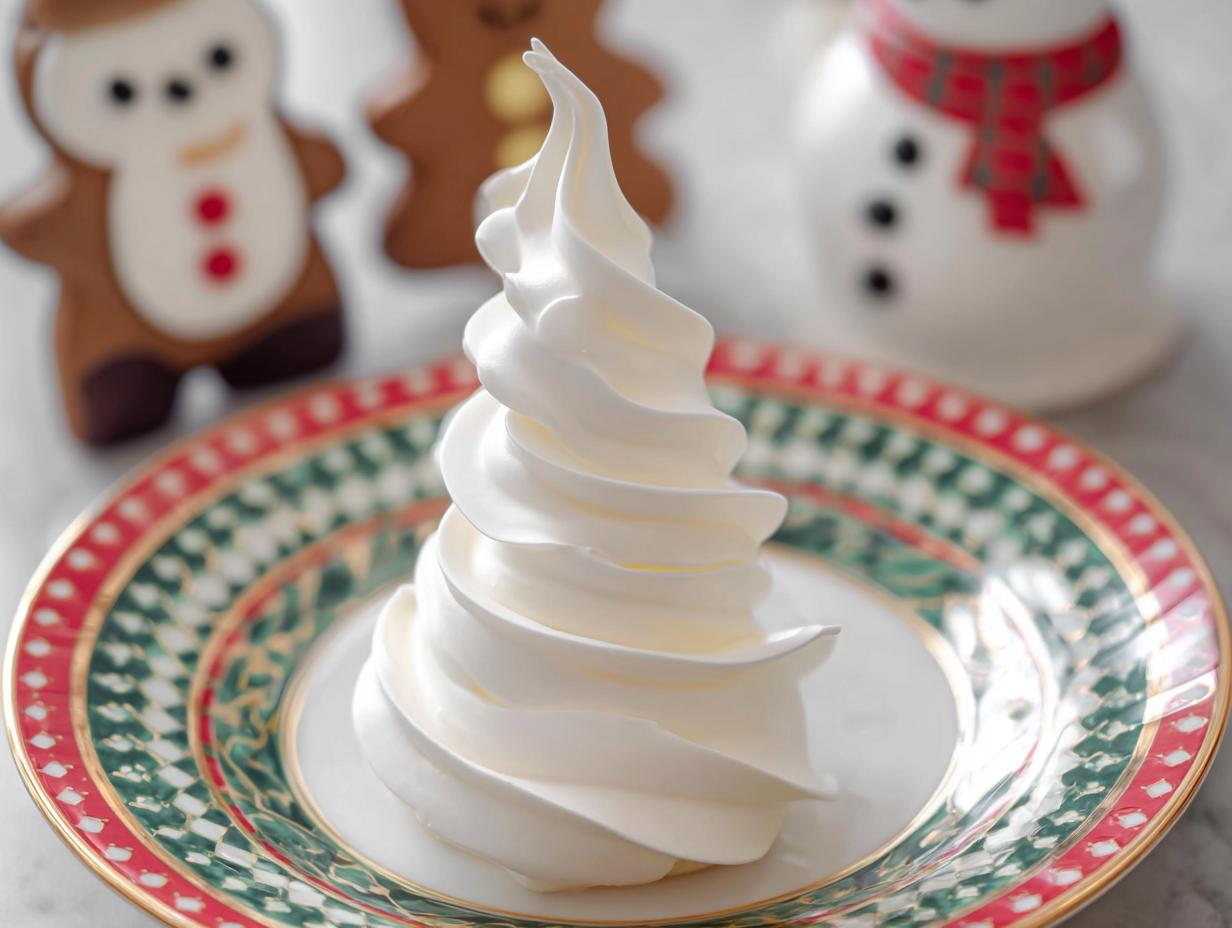
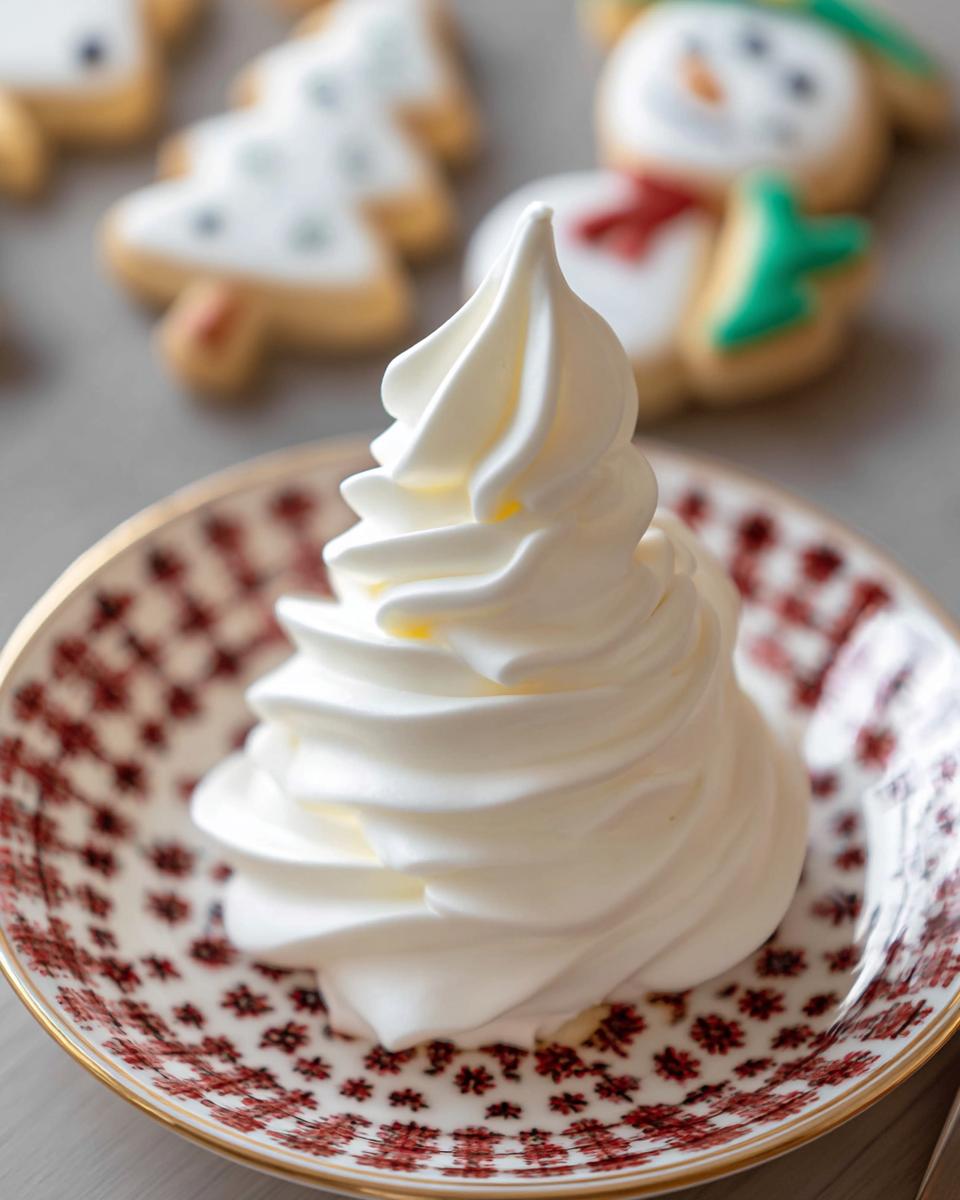
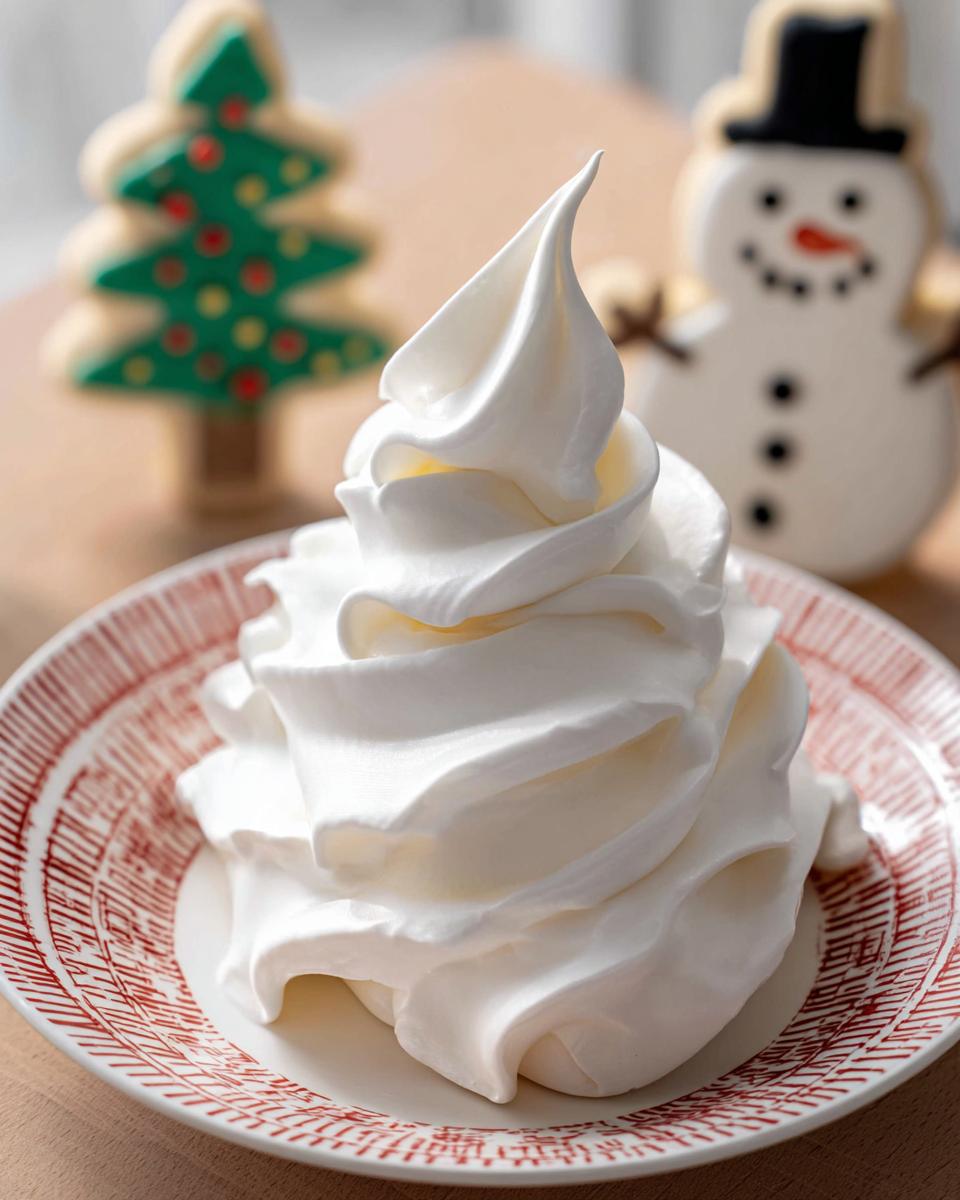
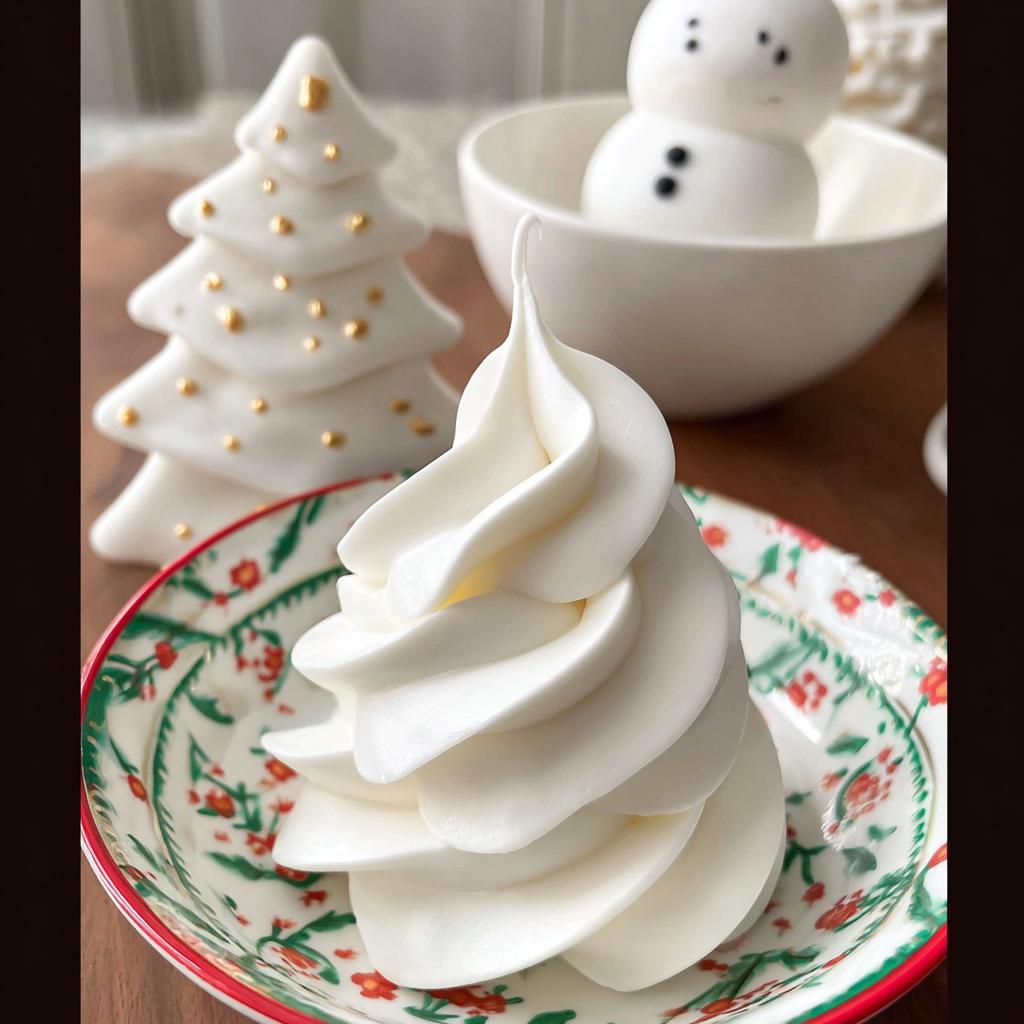
That mirror-like sheen everyone wants? It comes entirely from that final whipping stage. We aren’t just looking for soft peaks; we need stiff, shiny peaks. This means the proteins from the egg whites have fully bonded with the sugar, creating a stable network strong enough to hold intricate designs.
If you have a stand mixer, use it! Whipping until the icing almost seems too thick is exactly what you are aiming for here to guarantee that amazing structure when it finally dries hard.
Essential Ingredients for Royal Icing for Decorated Cookies
When we talk about the Best Royal Icing Recipe, it boils down to just three powerful players. You need quality ingredients because there’s nowhere for the bad ones to hide! We are using 3 egg whites, a full pound of confectioners’ sugar—that’s 450g, don’t skimp—and 1 teaspoon of vanilla extract to keep things tasting nice and bright.
The confectioners’ sugar is crucial, and I mean *crucial*. This ingredient isn’t just for sweetness; it’s what gives you that incredibly smooth, fine texture. If you tried to use granulated sugar here, you’d end up with a gritty, crumbly mess that just yells “amateur cookie decorator!” Keep that powdered sugar labeled so you don’t accidentally use regular sugar for this!
Ingredient Notes and Substitutions
Since this recipe calls for fresh egg whites, you get the best structure and gloss, but I know that makes some folks nervous about shelf life. If you’re worried about using raw eggs, you can absolutely swap in about 2 tablespoons of meringue powder mixed with 6 tablespoons of water for those 3 fresh whites. It works like a charm!
The vanilla extract? Honestly, that’s just for flavor, so use your favorite kind. It helps cut through the pure sweetness. Don’t change the sugar or the egg base, though. Those are the backbone if you want that Glossy Icing that pops!
Step-by-Step Instructions for Perfect Royal Icing for Decorated Cookies
Okay, getting this icing right is less about complex chemistry and more about patience during the mixing phase. This whole process takes maybe 10 minutes of active work—it’s super fast! We start by getting our mixer ready. Remember, your goal is beautiful Cookie Frosting that looks incredible when you finally start to Decorate Cookies.
The total time is quick, but that 5 minutes of drying time afterward feels like an eternity when you’re excited to see the results!
Mixing and Achieving Stiff Peaks
First things first: get your egg whites into the bowl. Start them on medium-low speed until they look a little foamy—just frothy, like dishwater at first. Don’t rush this! Once they start looking established, you slowly drizzle in that pound of sugar and the vanilla extract while the mixer is still running low. This slow absorption prevents a sugar cloud explosion across your kitchen, believe me!
Once everything is incorporated, crank that speed up to medium-high. You’ll see the texture change drastically. Keep beating until those stiff, shiny peaks stand straight up when you lift the whisk.
Coloring and Preparing Your Royal Icing for Decorated Cookies
This next part is where creativity comes in! Divide the blindingly white icing into smaller bowls depending on how many colors you need. Mix in your gel food coloring—use gel, not liquid, or you risk messing up the consistency!
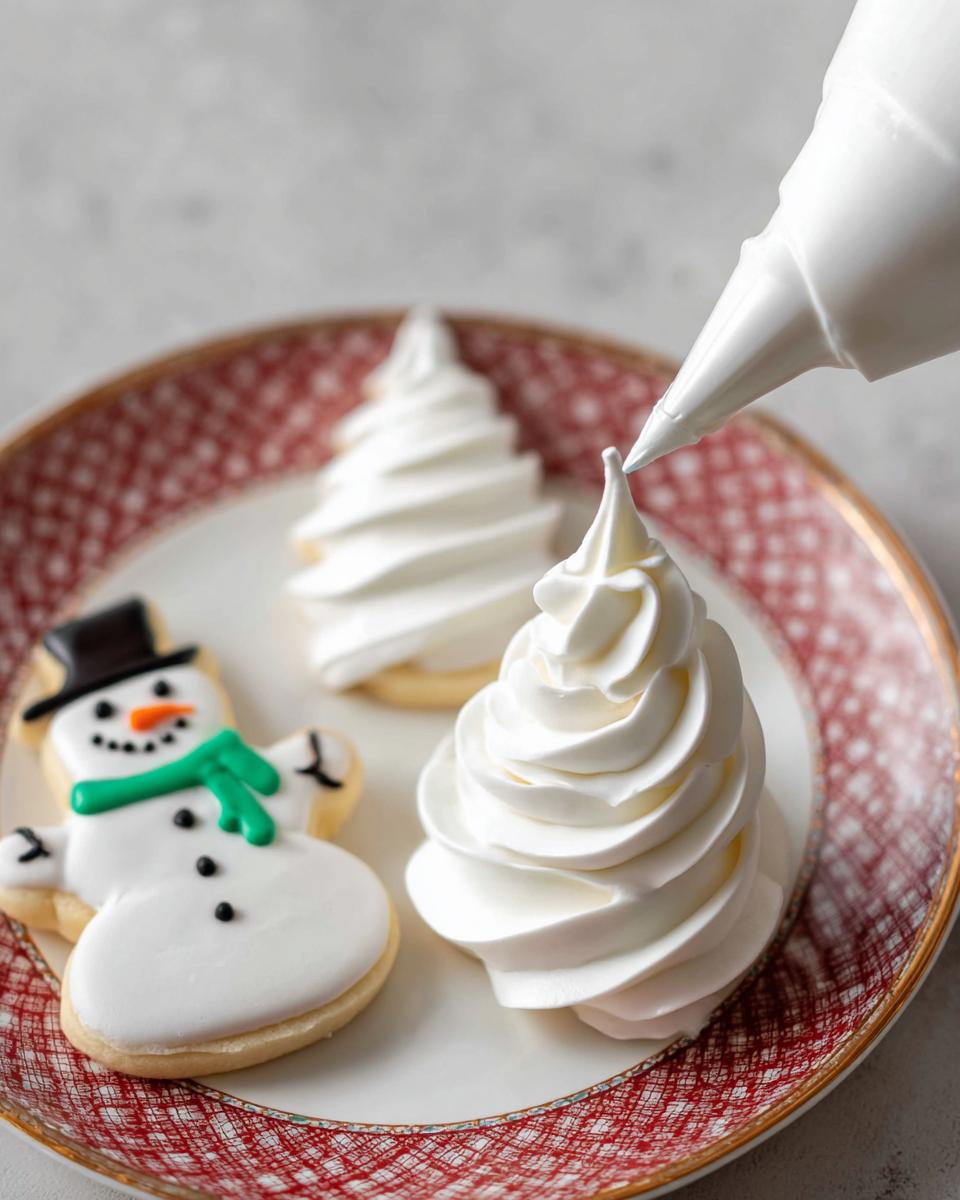
Now, here’s the tip you absolutely must remember: any icing you aren’t actively pouring or piping *must* be covered immediately with plastic wrap pressed directly onto the surface. Seriously, even 60 seconds of air exposure can start forming a crust, and that’s the enemy of smooth design work. Transfer your working colors into your Piping Tips setup right away for uninterrupted decorating!
If you want to learn some general fool-proof dinner techniques while you wait for your cookies to dry, check out these tips on foolproof dinner planning!
Mastering Consistency: Tips for Royal Icing Techniques For Decorating
Mixing the icing is only half the battle, my friends! Now we need to talk about the consistency, because this is what separates a simple frosted cookie from a truly dazzling piece of edible art. Having that stiff icing from the mixer means you can pipe beautiful scrollwork or clear borders—that’s your outline work, and it needs to hold its shape perfectly.
But for filling in those beautiful borders, we need to reach the flooding consistency. Thank goodness for the very practical notes my baking buddy left me! If you need that thinner flood icing for Royal Icing Techniques For Decorating, you just use water, drop by drop. It’s all about adding just enough moisture so the icing flows smoothly without running everywhere.
Adjusting Consistency for Outlining and Flooding
When you add a tiny bit of water to your icing and stir it gently with a spatula, you’ll see the consistency change. The real test? Lift your spatula out of the icing. If the line of icing that drips off the spatula smooths back into the main bowl surface in about ten seconds or less, you’ve hit the sweet spot for flooding! It should look like thick paint.
This is where those specialized Piping Tips really shine. Use a small round tip for outlining the cookie edge—this keeps the flood icing contained. For the interior flood, you might use a slightly larger tip or even just snip the end right off the piping bag if you’re working on a large, open area!
And hey, while you let your cookies dry, if you need some dinner inspiration that’s just as fuss-free, you might want to check out this guide on ultimate dinner ideas!
Troubleshooting Royal Icing Issues: Fixing Common Problems
Even with the best recipe, sometimes royal icing decides it has a mind of its own! Don’t panic if your beautiful designs don’t dry exactly how you planned. This is where knowing a little bit about Troubleshooting Royal Icing Issues saves the day. The biggest headaches are usually when the icing either cracks when it dries or stays stubbornly soft.
We already covered the crusting issue if you leave it out—always cover it! But if the finished cookie looks wet hours later, we need to figure out why your Cookie Frosting isn’t behaving.
Why is My Royal Icing Not Setting?
If your icing is feeling sticky or soft after a long time, humidity is a huge culprit—especially if it’s raining outside! If it’s not the weather, you may not have beaten the icing long enough to achieve those stiff peaks we talked about earlier.

Alternatively, if you used too much water when adjusting for flooding, it might just need more time or a little help. Try placing the cookies in front of a fan for an hour or two; that airflow helps harden the surface much faster!
Storing Leftover Royal Icing for Decorated Cookies
Listen up, because this is important! If you don’t use all your Royal Icing for Decorated Cookies right away, you have to treat it like gold. It dries out faster than anything, seriously! For short-term storage—say, if you’re taking a break for dinner—keep every bowl covered tightly with plastic wrap pressed right down onto the surface.
If you have icing left overnight, the fridge is okay, but you *must* put it in an airtight container first. When you take it out later, it will look weird and separated, so give it a gentle stir with a spatula instead of beating it again. I haven’t tried freezing this classic recipe myself, but generally, the texture doesn’t love the freezer, so sticking to short-term airtight storage is my solid advice!
Equipment Needed to Make This Best Royal Icing Recipe
You certainly don’t need a professional kitchen loaded with gadgets to make the Best Royal Icing Recipe, but a couple of tools really make the process smooth. The main thing you absolutely need is a stand mixer or a very strong hand mixer! You’re mixing a whole pound of sugar, and we aren’t going to achieve those stiff peaks by hand, trust me.
Also grab your mixing bowl, of course, and make sure you have your piping bags ready to go since this icing waits for no one! My little secret tip? Try to use a glass or metal bowl over plastic if you can. Plastic sometimes holds onto grease residue, even if it looks clean, and fat is the enemy of stiff, glossy icing. We want pure volume here!
If you want some great dinner inspiration while your cookies are drying, check out this guide on perfect dinner ideas!
Frequently Asked Questions About Royal Icing for Decorated Cookies
I get so many questions once people start attempting to decorate cookies, and that’s fantastic! It means you’re diving right in. Here are some of the things I hear most often when bakers are trying to nail that perfect look using this Royal Icing for Decorated Cookies recipe.
Can I use milk or water instead of egg whites for this Cookie Frosting?
Oh, that’s a common one! If you use plain milk or water, you are not making royal icing anymore; you’re making simple glace icing. The egg whites—or meringue powder if you swap them out—are critical because they contain the proteins that whip up into stiff peaks and then dry rock-hard. Milk or water just won’t give you that structural integrity you need for stacking and decorating.
How long does this Glossy Icing take to dry completely?
This is entirely dependent on how thick you make your icing and how humid it is in your kitchen that day! While the initial set time is really fast (we list about 5 minutes for a light set), for that fully hard, non-smudge finish—especially if you’ve done thick piping—you should plan on at least 6 to 8 hours, or even setting them in front of a fan. Don’t risk packaging them until they are completely hard to the touch!
If you’re looking for more wonderful inspiration for your kitchen adventures, you can always browse my full collection of awesome baking recipes!
Share Your Cookie Decorating Creations
Now that you’ve got the secrets to the best Royal Icing for Decorated Cookies, I absolutely need to see what you make! Please try this recipe out, rate it, and tell me how smooth your Glossy Icing turned out. Did you manage to avoid the dreaded crusting? Drop all your feedback below.
If you are looking for some easy-to-plan meals for those busy nights when you just don’t have time to whip up a big batch of icing, maybe check out my tips on meal prep-friendly dinner ideas!
Royal Icing for Decorated Cookies
Ingredients
Equipment
Method
- In the bowl of a stand mixer or large mixing bowl, beat egg whites on medium-low speed until frothy, about 1 minute.
- With the mixer on low speed, slowly add in confectioners’ sugar and vanilla.
- Once fully incorporated, increase speed to medium-high and beat until stiff, shiny peaks form.
- Divide icing among small bowls, and dye with gel food coloring if desired. Keep any icing that isn’t being immediately used covered with plastic wrap as it dries out very quickly. Transfer to piping bags and decorate cookies.


