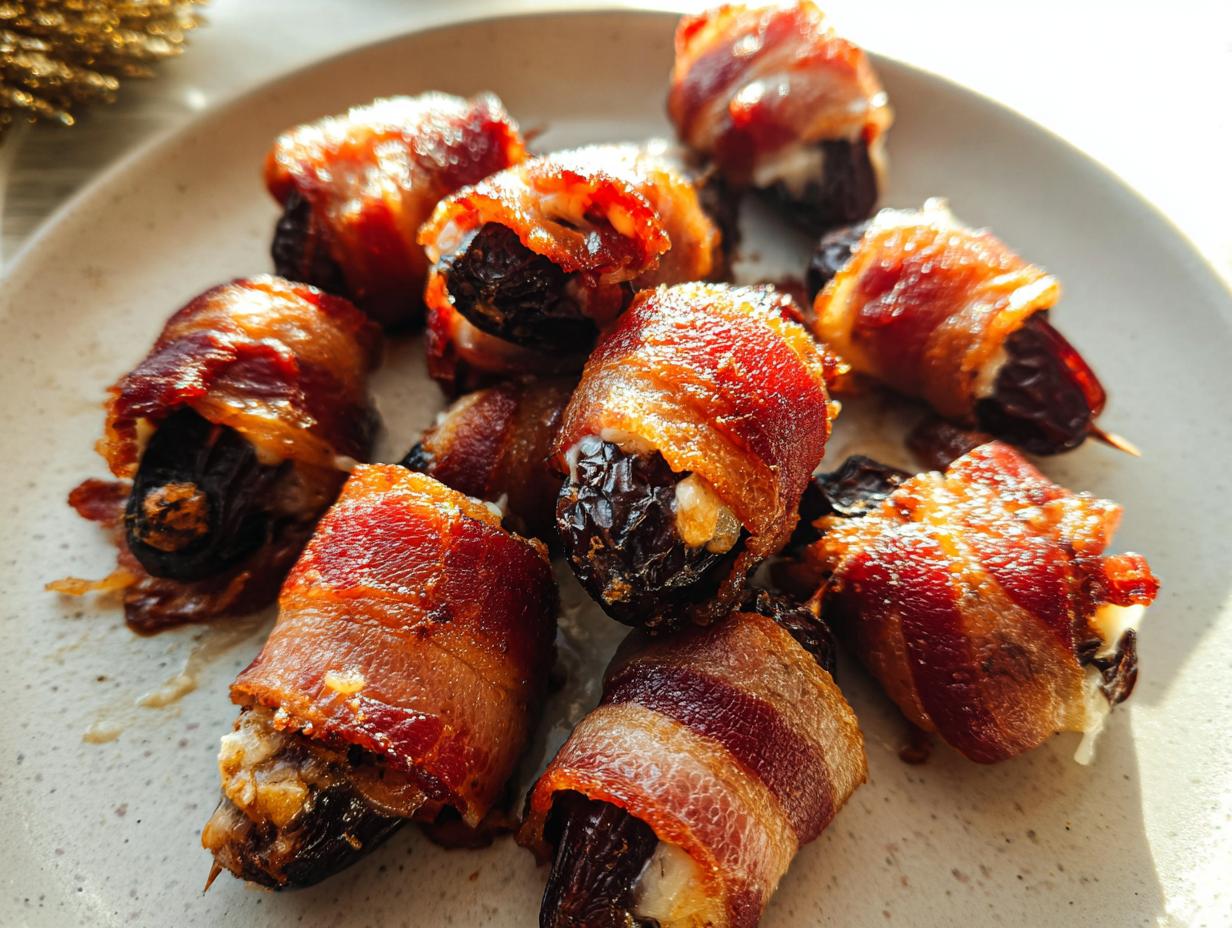
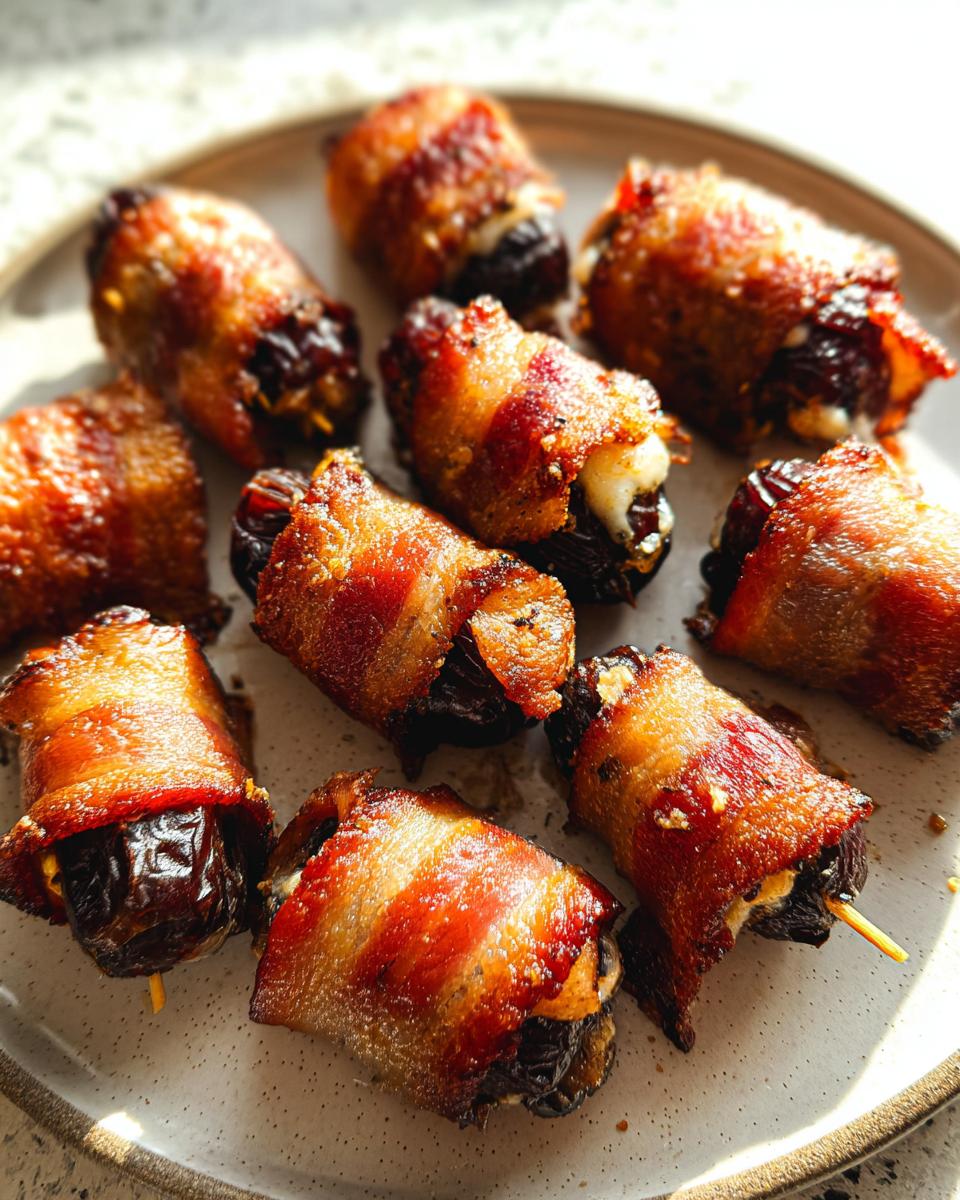
If you are anything like me, you live for those party moments where everyone gathers and starts reaching for one specific platter—you know the one! The star of the show at my house, without fail, is the Bacon-Wrapped Dates. Wow, just thinking about them makes me hungry.
These little bundles are the definition of the perfect sweet and salty snack. They look elegant, but honestly, they are shockingly simple to pull off. I remember the first time I introduced them at a potluck with friends. Everyone was curious about these little bundles of joy, and when I took my first bite, I was amazed at how perfectly the crisp, smoky bacon paired with the sweet, caramel-like flavor of the dates. It was a moment of culinary magic that ignited my passion for creating dishes that blend comfort with a gourmet touch.
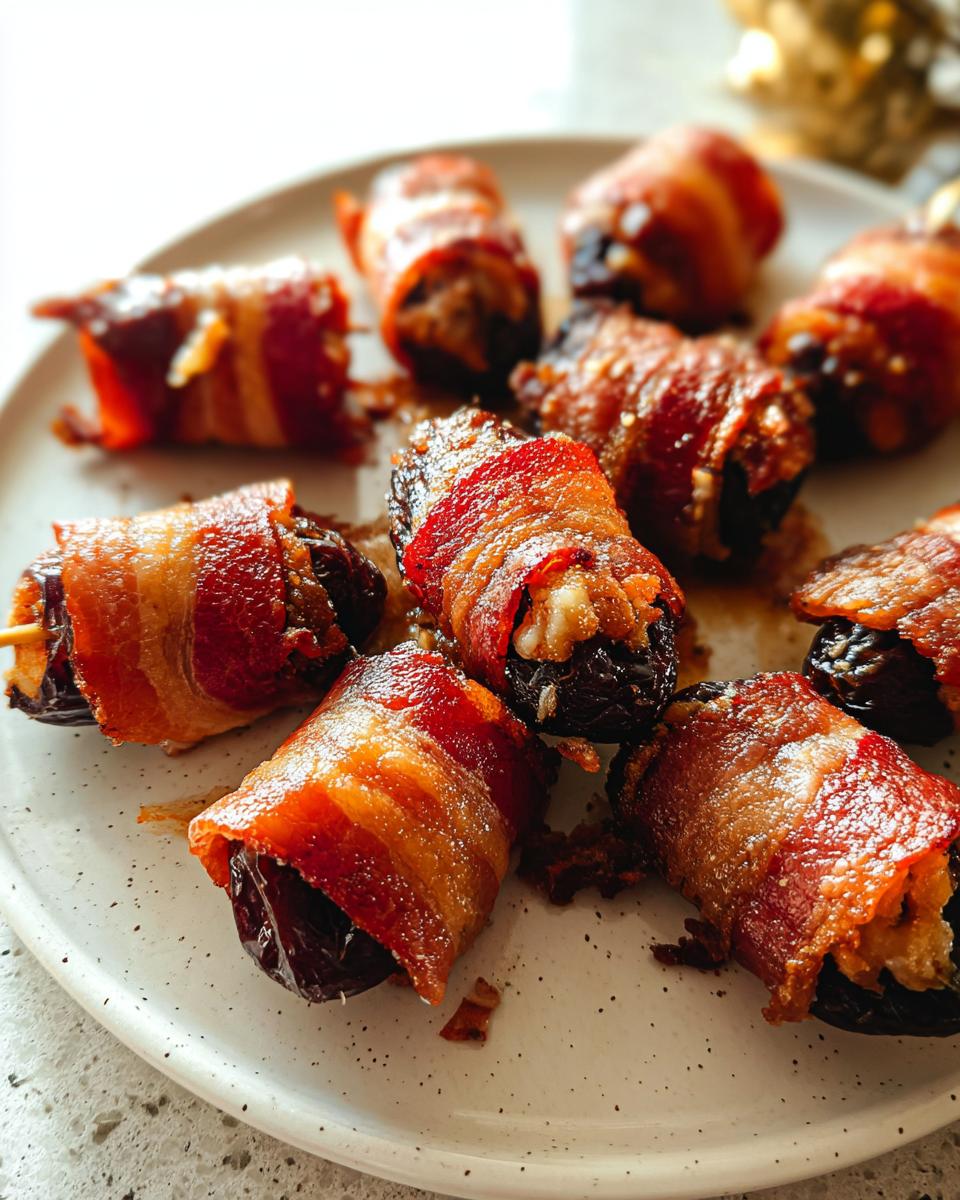
Since then, these bites of deliciousness have become a staple at my gatherings, always drawing the highest praise and prompting recipe requests that remind me of that very first bite. Seriously, get ready for compliments!
Why You Will Love These Bacon-Wrapped Dates (Easy Appetizer)
I mean, why wouldn’t you love them? These little bites are my go-to when I need something impressive with almost zero effort for Entertaining. Trust me, they deliver on flavor every single time.
- They are the absolute definition of Sweet And Salty perfection.
- You only need a few staple items to whip up a huge batch—seriously, it’s a Three Ingredient wonder!
- They freeze beautifully, which is a lifesaver for last-minute parties.
- They are incredibly versatile; serve them piping hot or just warm!
If you’re looking for more simple wins like this, you should check out my full collection of quick recipes!
Gather Ingredients for Your Bacon-Wrapped Dates
This is where the magic starts, and you’ll be floored by how few things you actually need! At their core, these are a fantastic Three Ingredient recipe, which makes party prep so much less stressful. Grab your essentials, and let’s get them ready.
Remember, high quality in these few ingredients really sings, especially those dates!
If you need more ideas for quick meals using minimal components, you absolutely must look at my list of 5 ingredient dinner ideas!
Here is exactly what you need to gather for about 20 wonderful bites:
For the Dates
- 20 plump Medjool dates – these are non-negotiable; they are big enough and sweet enough!
- 4 ounces of crumbled blue cheese (though goat cheese or nice, salty feta works beautifully too).
For the Bacon
- 10 slices of standard bacon (you’ll slice these in half later).
For Garnish (Don’t Skip This!)
- A little freshly-ground black pepper.
- A sprinkle of flaky sea salt right at the end.
Essential Equipment for Perfect Bacon-Wrapped Dates
I always lay out all my gear before I even preheat the oven. It just keeps things calm when you’re trying to assemble 20 little appetizers quickly! Since this recipe is so simple, the right tools make a huge difference in keeping things clean and ensuring that bacon gets crisp.
You won’t need a pantry full of specialty gadgets, which is another reason this works so well for Entertaining.
Here’s what you need ready to go:
- Your regular Oven, of course! We’re setting this puppy to 400°F.
- A sturdy Baking sheet. I always use two, because things get crowded fast in the oven.
- Parchment paper. This is non-negotiable for me. It prevents sticking and makes cleanup instant.
- A sharp little Paring knife for making those precise cuts in the dates.
- A big handful of Toothpicks. Make sure they’re the wooden kind that can handle the oven.
- A Wire rack. This is perfect for resting the dates briefly after they come out so they don’t sit in any excess grease.
Step-by-Step Instructions for Bacon-Wrapped Dates
Okay, let’s get cooking! This process might look like a few steps, but I promise you it moves fast once you get into the rhythm. The secret here is the initial bacon cook—don’t skip that part, or you risk a raw bacon/burnt date situation! If you want to see how I streamline complex steps in meals, take a peek at my guide on making cooking foolproof.
Preheat and Prep the Baking Surface
First things first: get that oven warmed up to 400°F (200°C). Grab your large baking sheet and line it completely with parchment paper. This is your cleanup insurance, so don’t skimp on the paper!
The Crucial Bacon Precook for Bacon-Wrapped Dates
Lay all 10 bacon strips out flat on that lined sheet. Pop them into the hot oven for about 10 minutes. We aren’t trying to crisp them up yet, just render out some of that extra fat so the final bake yields perfectly cooked bacon, not soggy bacon! Once they look halfway done and are flexible, pull them out and drain that grease right away.
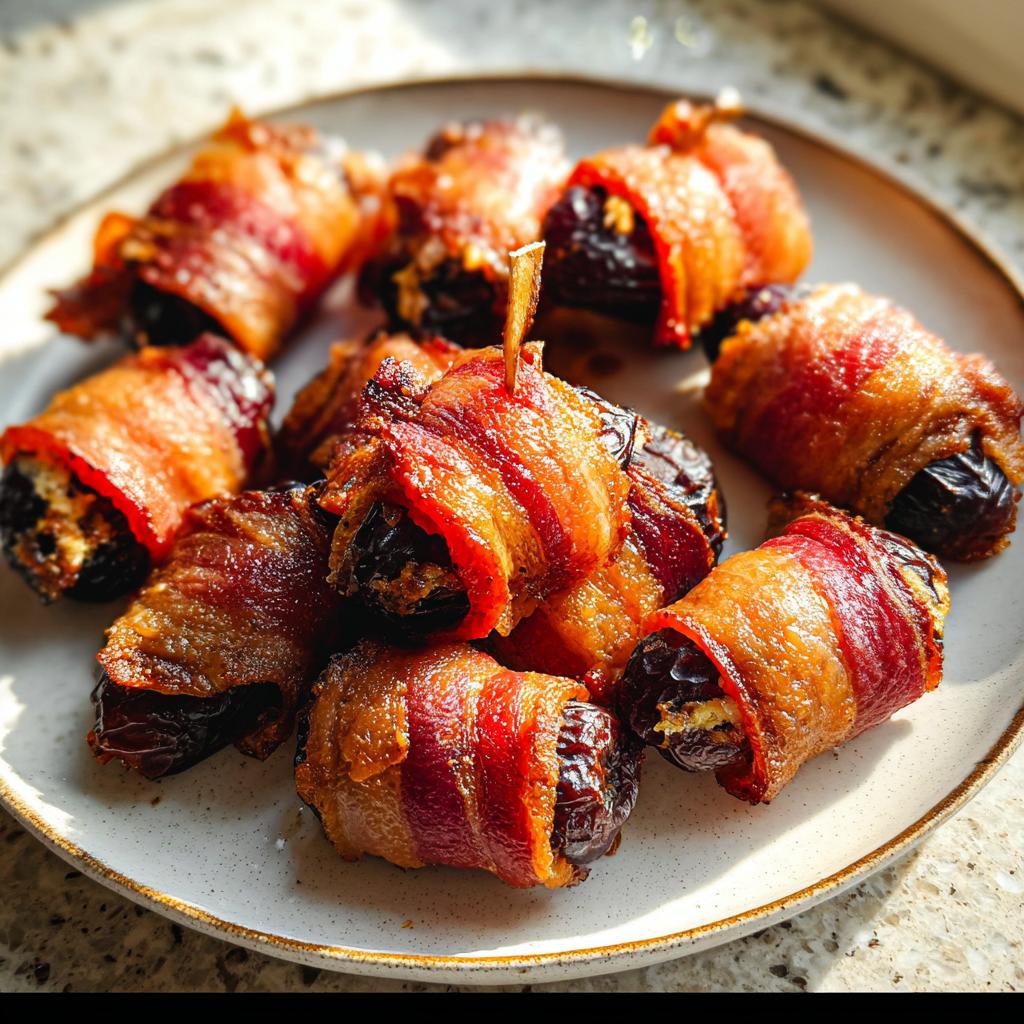
Stuffing and Wrapping the Dates
Now for the stuffing! Take your pited Medjool dates and use that small paring knife to make a shallow slit, just long enough to get the cheese in. Gently push a small spoonful of your chosen cheese into the center of each date. Then, take one of those precooked bacon halves and wrap it snugly around the stuffed date. Secure the whole package with a toothpick right through the center.
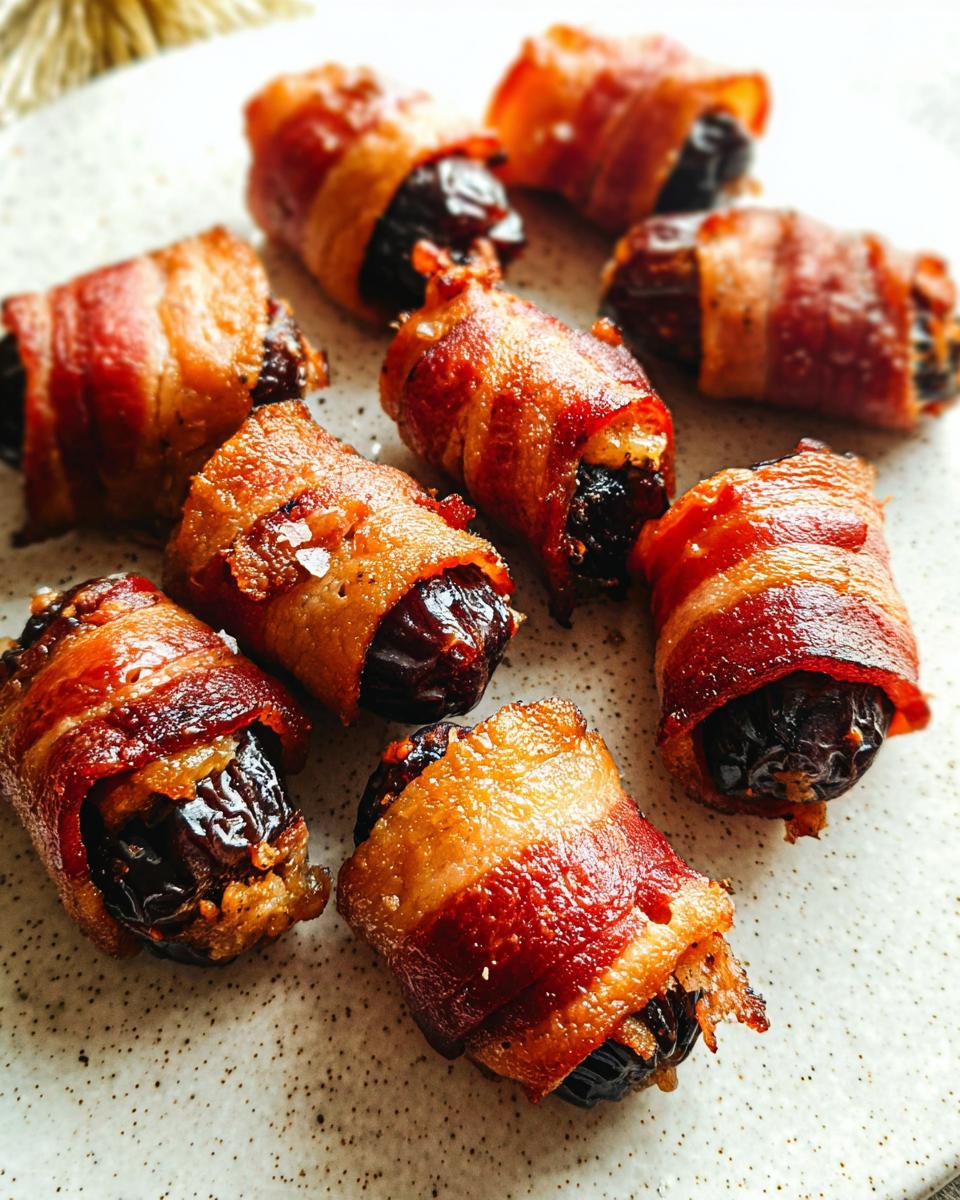
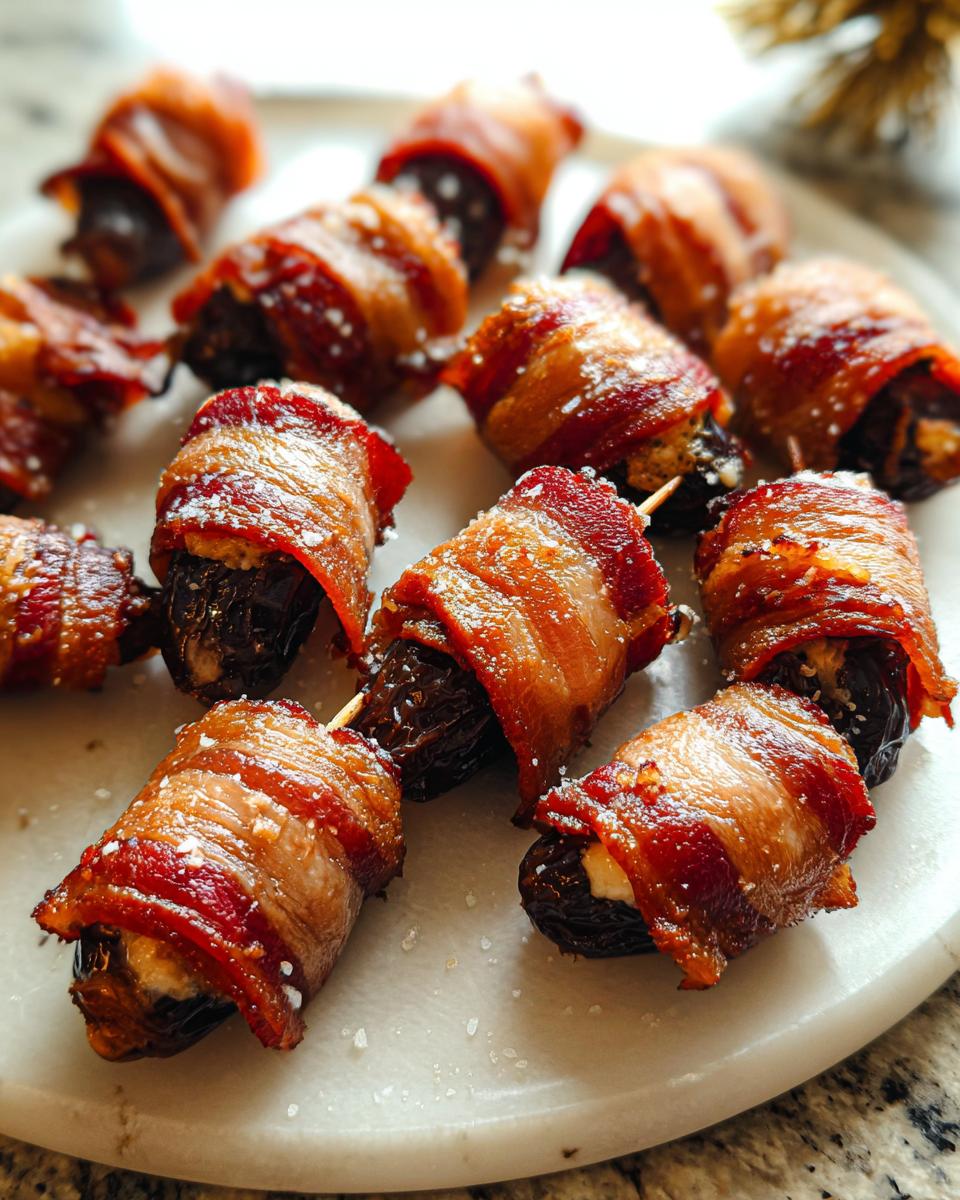
Final Bake and Seasoning of Bacon-Wrapped Dates
Place the assembled dates onto a fresh sheet of parchment-lined baking pan. Give them a good dusting of black pepper now. Bake for about 5 to 7 minutes per side. Yes, you absolutely need to flip them halfway through! Watch them closely; once the bacon looks lovely and golden, pull them out. Transfer them to the wire rack and immediately shower them with flaky sea salt. Serve them warm!
Tips for Making the Best Bacon-Wrapped Dates
I’ve tried this recipe every way imaginable, and I’ve picked up a few things that make the difference between okay dates and absolutely legendary ones. The main thing to remember is that it’s all about balancing textures so you get that gooey sweetness and the crisp snap of the bacon.
If you ever need a quick refresher on temperatures and ingredient prep for any recipe, check out my ultimate guide here!
Ingredient Notes and Substitutions for Bacon-Wrapped Dates
You simply must use Medjool dates. Those little guys are soft and caramel-like when baked, which sets them apart from firmer varieties. Don’t waste your time with anything else if you want that melt-in-your-mouth center!
When it comes to cheese, I used blue cheese the very first time, and it was magical. However, if blue cheese isn’t your jam (or if you’re serving picky eaters!), feel free to swap it out. Goat cheese provides a nice tang, or you can use a sharper cheese like Parmesan or even a good, melty aged cheddar. If you want more inspiration on flavor combos, I saw a great version recently over at Gimme Some Oven that focused on the blue cheese, too!
Serving Suggestions for Your Sweet And Salty Bacon-Wrapped Dates
These little flavor bombs are fantastic all on their own, but when you’re Entertaining a crowd, presentation and what you serve them *with* really elevates the whole appetizer spread. Since they are so rich—that smoke and that sugar—you want something to cut through all that goodness and refresh the palate.
I love pairing these with something bright, maybe even a bit acidic, to make the next bite just as exciting as the first. Think about what contrasts the texture, too! You’ve got the chewy date and the crisp bacon; a smooth dip is a great companion.
If you’re planning a big spread, especially around the holidays, you might want to check out some bright greens to balance things out. My Thanksgiving salad recipes often have exactly the tartness needed!
Here are a few serving ideas that always make people ask for seconds:
- A Little Drizzle of Tang: Honestly, a very light drizzle of balsamic glaze right before serving makes these sing. It adds a deep, tangy counterpoint to the cheese and date.
- Cooling Dip: A side of plain Greek yogurt mixed with a tiny bit of lemon zest and chives offers a cooling, creamy contrast that is just heaven with the warm, salty bacon.
- Acidic Greens: Place a few on top of a simple mound of arugula dressed lightly with olive oil and lemon juice. The peppery greens are the perfect foil for the richness.
- Fruit Platter Inclusion: Don’t just serve them on a plain white platter! Arrange them nestled between fresh apple slices or firm pear wedges. The fresh fruit cleanses your mouth wonderfully.
Storage and Reheating Instructions for Bacon-Wrapped Dates
One of the best things about making these for Entertaining is that they are actually pretty solid for leftovers, though let’s be real—they usually don’t last long! Knowing how to store them means you can enjoy your hard work, or prep ahead of time!
You get a beautiful yield of about 20 dates from this recipe, so if you do have extras, you want them to taste nearly as good the next day.
If you are planning your week ahead and looking for other meals that are great after sitting for a bit, you should definitely check out my meal prep friendly dinner ideas for busy weeknights!
Here is the lowdown on keeping them fresh:
How Long Do They Last Refrigerated?
Once they are completely cooled down after baking, you can store your Bacon-Wrapped Dates in an airtight container. They are perfectly good for up to three days in the fridge. Honestly, on day two they are still amazing, though the bacon tends to soften up a bit from the moisture of the cheese and date—it’s just less crisp, not less delicious!
The Trick to Reheating and Restoring Crispness
If you want that snap back in the bacon, you absolutely cannot microwave them. Microwaving just turns the bacon into chewy rubber, and we don’t want that! The best way to bring these back to life is a quick trip back into a hot oven.
Set your oven to about 350°F (175°C). Place the dates on a parchment-lined baking sheet—don’t overcrowd them! Bake them for just 5 to 8 minutes, or until they feel warm all the way through and you see the bacon getting a little bit shiny and crisp again. Keep an eye on them, because the dates will get softer quickly!
Can I Freeze Bacon-Wrapped Dates?
Yes, you totally can! But here’s my tip: if you’re planning to freeze them, freeze them before you bake them. Assemble the cheese-stuffed dates, wrap them in bacon, secure with toothpicks, and place them on a baking sheet lined with parchment. Freeze until solid. Then, transfer them into a sturdy freezer bag or container. When company arrives, just toss the frozen bundles directly onto the 400°F sheet and add about 5-10 minutes to the total initial cooking time!
Frequently Asked Questions About Bacon-Wrapped Dates
I always get questions when people first try this recipe! It’s totally normal—getting that balance of Sweet And Salty just right sometimes requires a little insider knowledge. Don’t worry; I’ve got the answers for all your grilling and hosting concerns right here!
Can I make Bacon-Wrapped Dates ahead of time?
You absolutely can assemble these ahead of time! That is the beauty of making this an Easy Appetizer for Entertaining. You can stuff and wrap all 20 dates, secure them with toothpicks, and lay them on a parchment-lined tray. Keep them covered tightly in the fridge for up to 24 hours. Just remember this: you MUST bake them fresh right before your guests arrive. Trying to cook them later when they are cold often leads to issues with the bacon not crisping up right.
What cheese works best in these Easy Appetizer bites?
I really pushed blue cheese at first because its sharpness cuts through the fat and sweetness so well. But let me tell you, any cheese that melts nicely is going to be fantastic here. If you’re using my suggestions for Three Ingredient bases, goat cheese is a close second because it gets beautifully creamy. If you opt for something harder like Parmesan, make sure you crumble it finely so it melts down and acts almost like a paste, holding the date closed while it bakes!
How do I get super crispy bacon on my Bacon-Wrapped Dates?
This is the question I get asked the most! The absolute key isn’t in the final bake; it’s in the precook! That initial 10-minute bake is non-negotiable. You need to render out a ton of that fat before you wrap it around the moist date. When you pull those bacon halves out after the precook, make sure you blot them on a paper towel or let them sit for a moment on the wire rack to drain off any visible grease. If the bacon starts cooking in its own liquid, it steams instead of crisps. Less goo going into the oven means better crispness coming out!
Share Your Bacon-Wrapped Dates Creations
Whew! We made it through the whole process of turning a few simple items into the most requested appetizer at parties. Now comes my favorite part: hearing from you!
When you try these Bacon-Wrapped Dates, I really, really want to know how they turned out for you. Sharing food, even digitally, is what cooking is all about. Did they disappear in under five minutes? Did you try feta instead of blue cheese this time?
Don’t be shy! Drop a star rating down below—it helps other folks know that this Sweet And Salty recipe is truly a winner for Entertaining. And if you snapped a picture of your platter looking gorgeous, please tag me on social media! Knowing that my tips helped you create amazing party food is seriously the highlight of my week.
If you ever have a burning question, or maybe you want to send encouragement my way, you can always hop over to my contact page. Happy cooking, everyone!
Bacon-Wrapped Dates
Ingredients
Equipment
Method
- Preheat your oven to 400°F (200°C). Line a large baking sheet with parchment paper.
- Lay the bacon strips side by side on the prepared baking sheet. Cook for about 10 minutes, or until the bacon is halfway cooked but still pliable. Drain any excess grease.
- While the bacon is precooking, make a shallow cut lengthwise down the top of each date, being careful not to cut all the way through. Remove the pits. Fill each date with a spoonful of cheese, then gently squeeze the date to close it.
- Once the bacon is cool enough to handle, slice each strip in half. Wrap a bacon half around each stuffed date and secure with a toothpick.
- Line the baking sheet with a fresh sheet of parchment paper. Arrange the bacon-wrapped dates evenly on the baking sheet and season with black pepper. Bake for 5-7 minutes per side, flipping halfway through, until the bacon is cooked and slightly crispy. Keep a close watch to prevent burning.
- Transfer the baking sheet to a wire rack. Sprinkle the dates with flaky sea salt. Serve warm.