Oh, I love playing in the kitchen, but let’s be real—sometimes you just need a shortcut without sacrificing that ‘wow’ factor, right? If you think box mixes are just for quick weeknight treats, you are missing out on the sheer potential hiding in that colorful cardboard box! This recipe is all about achieving seriously impressive results using some clever techniques. I call it the ultimate Box Mix Glow-Up: Fancy Finishes because we take something basic and make it look and taste like it came from a fancy bakery.
I still remember the excitement I felt when I first ventured away from basic box cakes. It was for my best friend’s birthday, and I wanted to create something memorable without starting from scratch. I decided to elevate a simple chocolate box mix with homemade ganache and a sprinkle of sea salt. The moment she took her first bite, her eyes lit up, and I realized how powerful a few simple enhancements could be. That day taught me that with a little creativity, a box mix is just the beginning of something spectacular, and I’ve been experimenting with these upgrades ever since. I’m Sarah Johnson, and I’m here to show you just how easy this transformation can be!
Why This Box Mix Glow-Up: Fancy Finishes Makes a Difference
Honestly, this whole process is about giving you the best of both worlds. You get the speed and reliability of a great boxed chocolate mix, but you skip the flat, dry texture that sometimes comes standard. This is where the Easy Elevation comes in! You truly look like a baking genius without spending hours beating eggs and separating whites. Trust me, these little additions turn a weeknight dessert into a showstopper perfect for any gathering. These steps guarantee you have a stunning, Party-Ready Cake with minimal fuss.
Achieving a Truly Moist Box Mix Upgrade
The number one complaint about boxed cakes is that they can dry out too fast, right? Well, we fix that right away with our secret weapon: the Syrup Soak. Before we even frost anything, we poke holes and let a rich peanut butter mixture seep deep into that chocolate crumb. It’s amazing how much moisture this locks in during the chill time. This step is the core of our Box Mix Upgrade—it guarantees tenderness.
Expert Presentation with Minimal Extra Effort
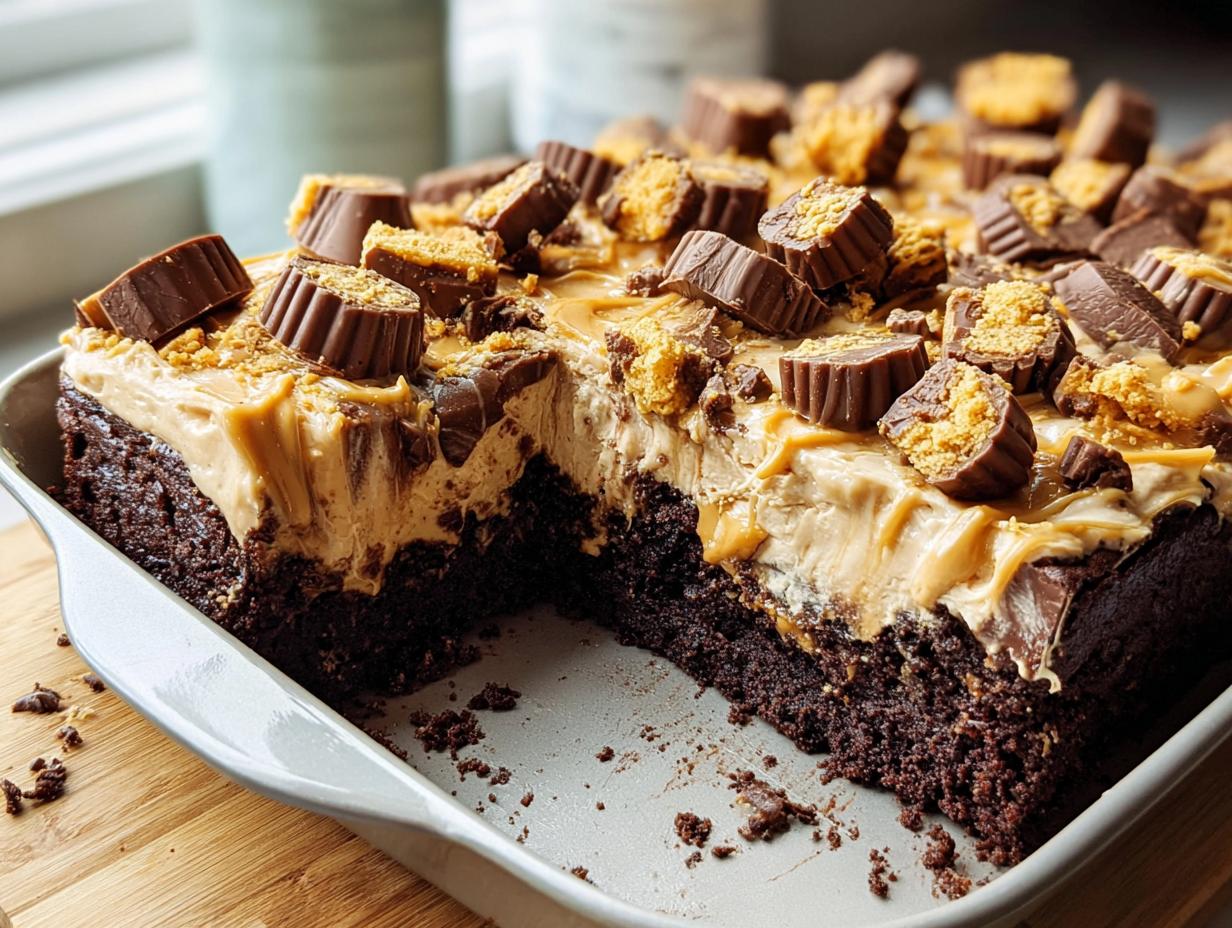
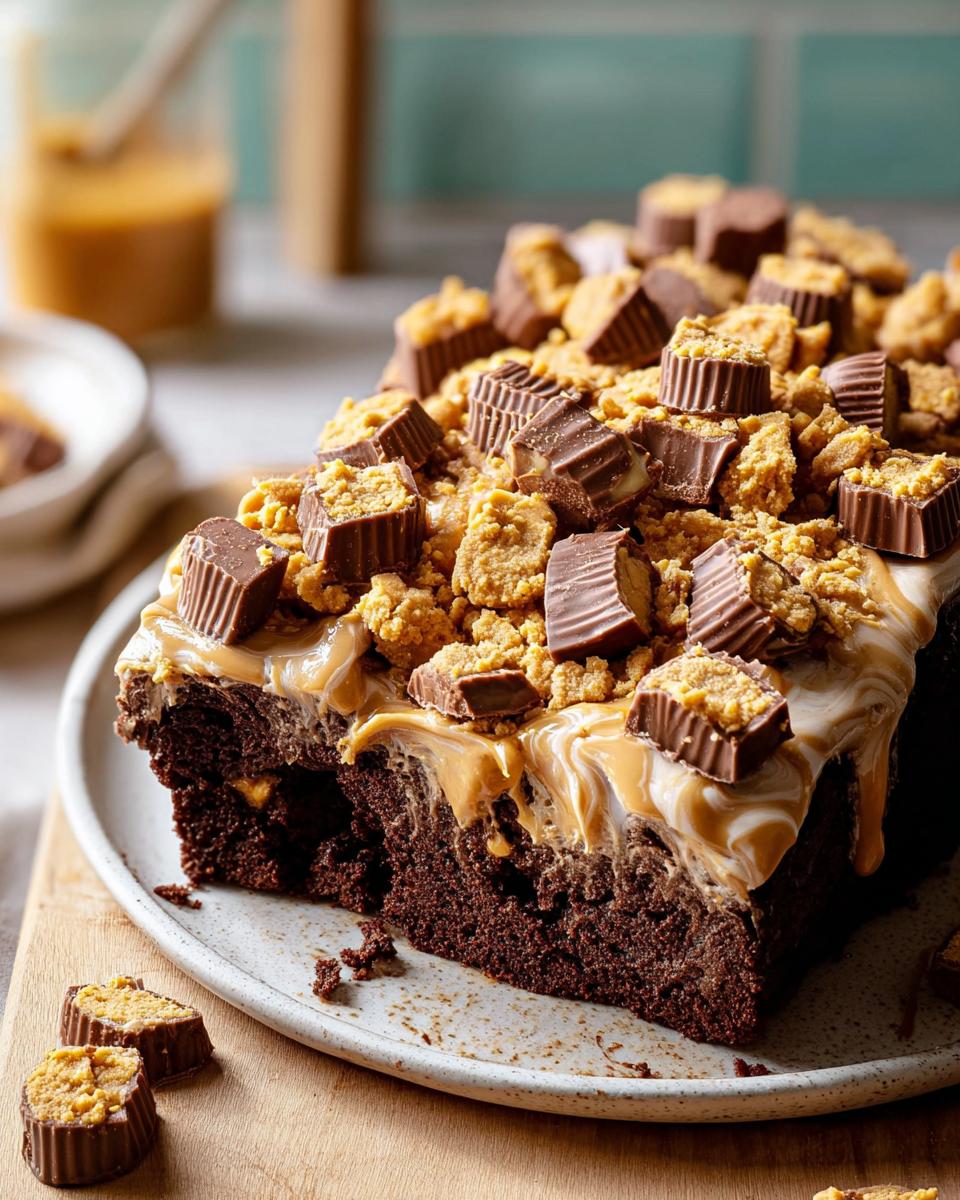
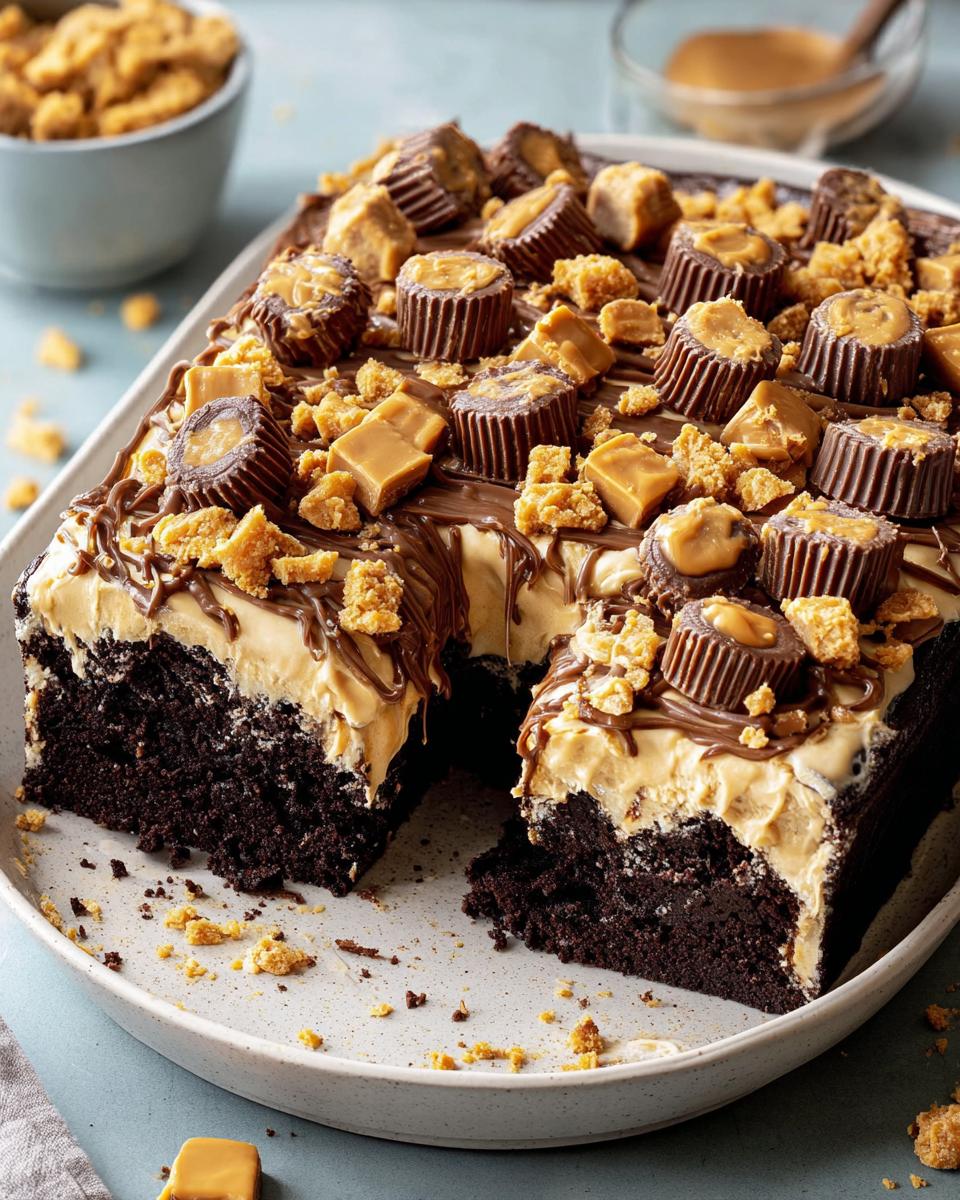
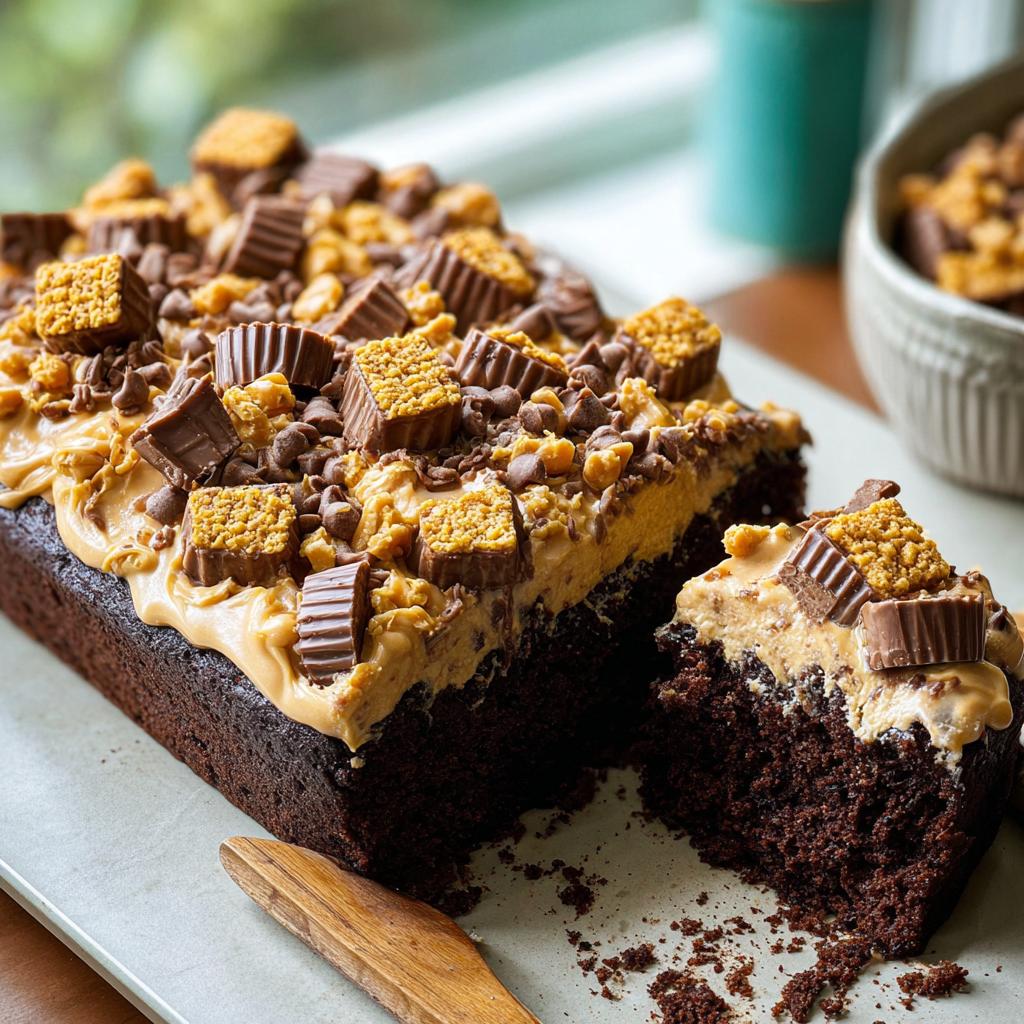
You absolutely don’t need piping bags or fancy temperature control here. The Fancy Finishes come from the generous layer of creamy frosting and those fantastic, chunky toppings. We’re using rich, homemade components draped right over the top. It gives this cake instant height and texture—your guests will never guess this started with a cardboard box. It looks impressive, but honestly, it’s just smart assembly!
Gathering Ingredients for Your Box Mix Glow-Up: Fancy Finishes
Okay, even though we are upgrading, the beauty of this plan is that we are relying heavily on that box mix! That keeps things quick. You’ll need just a few simple things from the pantry to make our amazing peanut butter creation come together. It’s all about quality boosts, not starting from scratch!
For the Cake Base
This is the fun part where we cheat just a little bit. Grab one standard package of chocolate cake mix—we aren’t fussy about the brand, just get the regular size! We’re just adding a tiny teaspoon of vanilla extract and a dash of salt right into the dry mix before we bring it to life with water, eggs, and oil as the box suggests. See? Easy elevation already starting!
For the Peanut Butter Soak
This soak is what makes the cake taste deeply decadent. You’ll want two full 14-ounce cans of sweetened condensed milk—that stuff is liquid gold, seriously! Whisk that together with about 2/3 cup of creamy peanut butter. That’s it! This rich mixture is going to soak right into that chocolate layer, making it unbelievably moist.
For the Frosting and Toppings
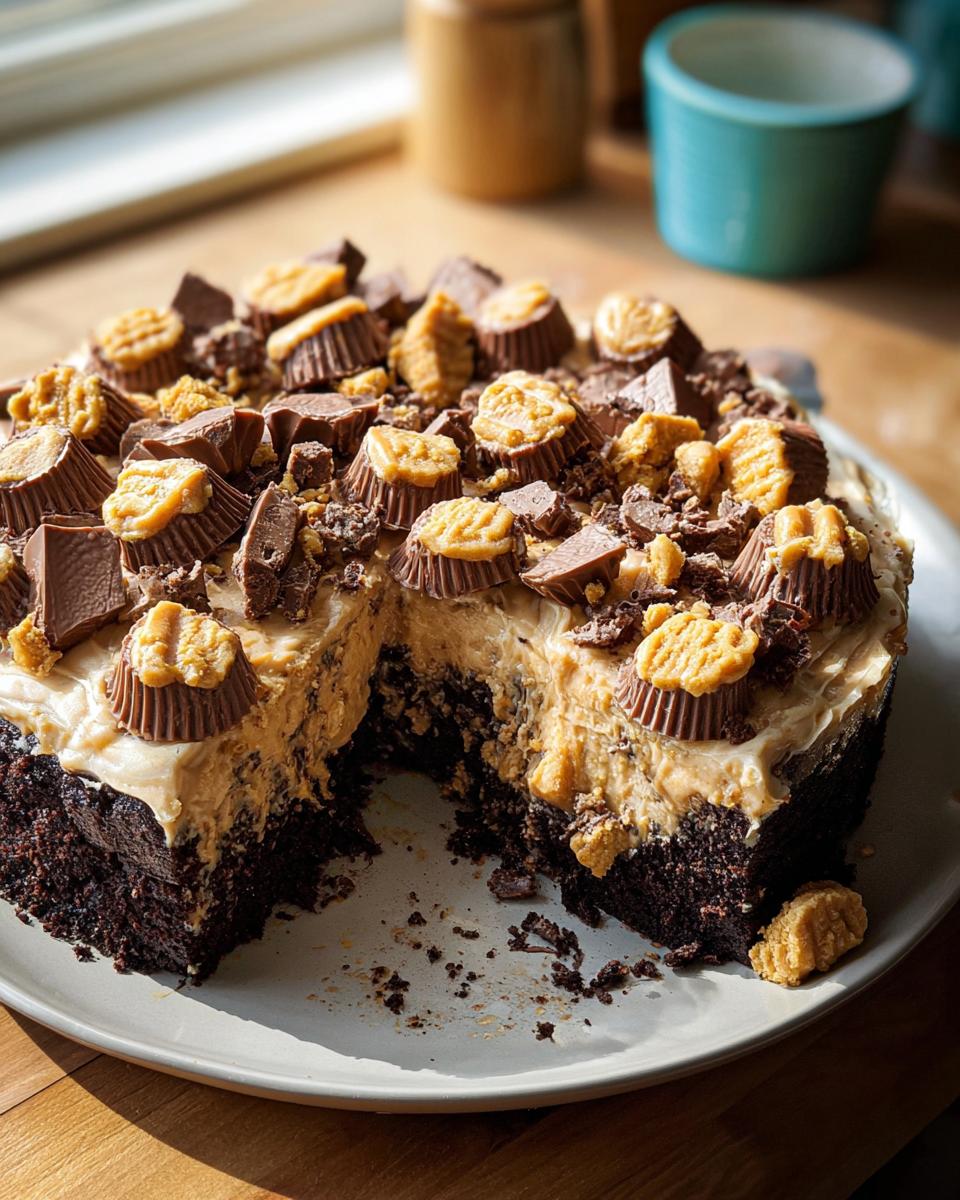
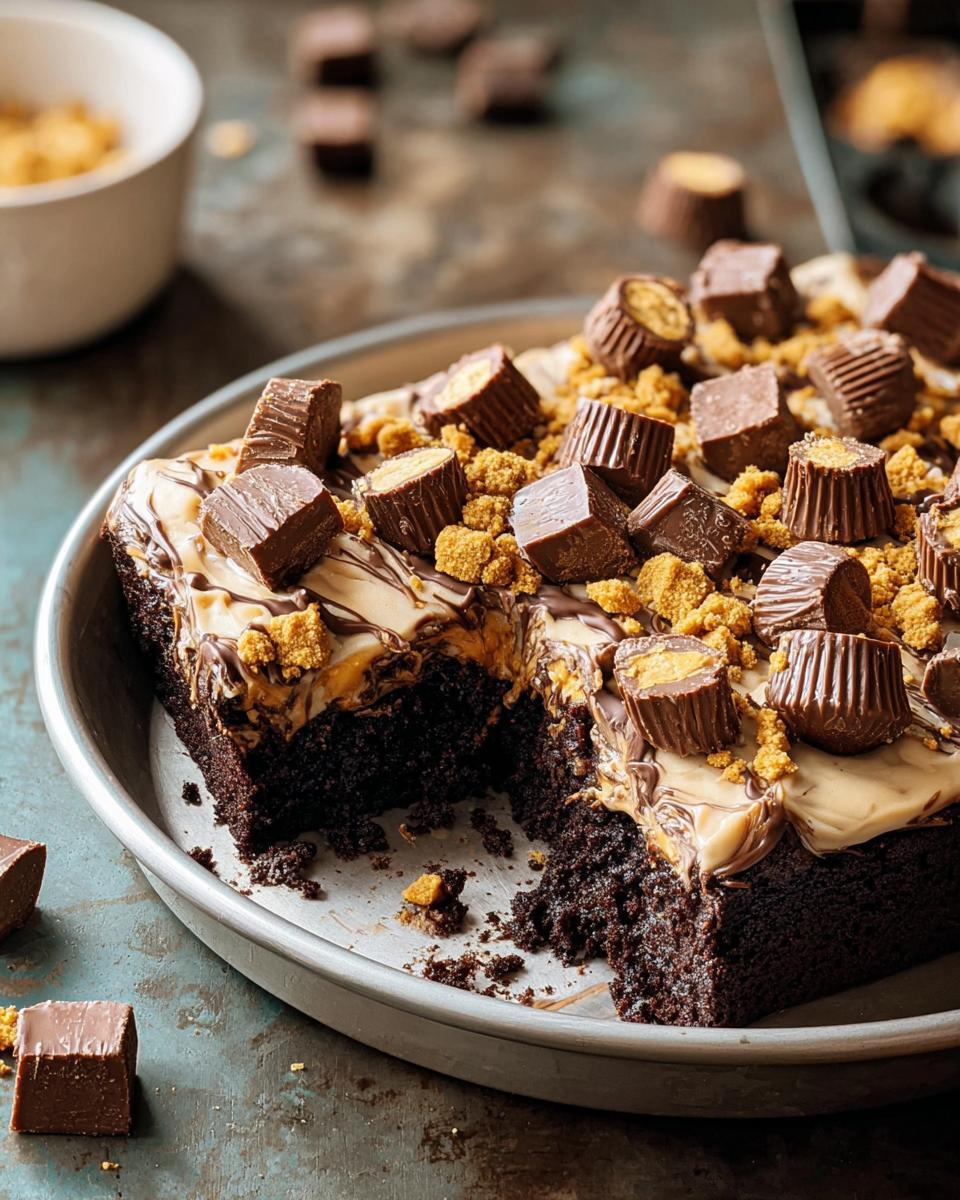
For the frosting, you save some of that amazing peanut butter soak mixture we just made! You’ll mix the remaining peanut butter mixture with a good amount of confectioners’ sugar until it spreads just right. Then, for the final flourish? Grab some chopped peanut butter-filled sandwich cookies, maybe some mini peanut butter cups. These toppings are key to achieving those stunning Fancy Finishes!
Step-by-Step Instructions for Box Mix Glow-Up: Fancy Finishes
Alright, let’s get this kitchen magic happening! This isn’t hard—it’s just about layering textures and flavors. We’re taking that box mix, giving it a little something extra, and setting it up for success. Make sure you have your 13×9-inch pan ready to go before you even touch the oven. You’re going to see that Syrup Soak really do the heavy lifting here.
Baking the Cake and Preparing the Syrup Soak
First things first: get that oven humming along at 350°F (175°C). Mix up your chocolate cake according to the instructions on the box, but remember my little trick? Throw in that extra teaspoon of vanilla and the dash of salt right into the batter before you pour it in. Bake it just like the box says, and let it cool down completely—seriously, it needs to be totally cool before the next part!
While it’s cooling, let’s make that amazing soak. Just whisk together your peanut butter and the two cans of sweetened condensed milk. Once the cake is cool, grab a wooden spoon handle or even a skewer and poke holes all over the surface, spaced about two inches apart. Now, pour about 2 cups of that peanut butter mixture slowly over the top. Make sure it drips down into those holes! Cover that whole thing up and stick it in the fridge to chill for about 3 hours—that’s your 180 minutes of mandatory chilling time! If you want more ideas on simple baking transformations, check out lovely cake mix recipes for inspiration.
Chilling and Making the Box Mix Upgrade Frosting
While the cake is getting nice and cold—it needs that chill to absorb all that goodness and firm up—we make the frosting. Take your remaining peanut butter soak mixture and add in the other teaspoon of vanilla. Now, this is where we transform it into frosting. Start beating in the confectioners’ sugar little by little. You want it stiff enough to hold its shape but soft enough to spread easily over that cold cake. Don’t rush this part; you’re aiming for perfection for that Box Mix Upgrade!
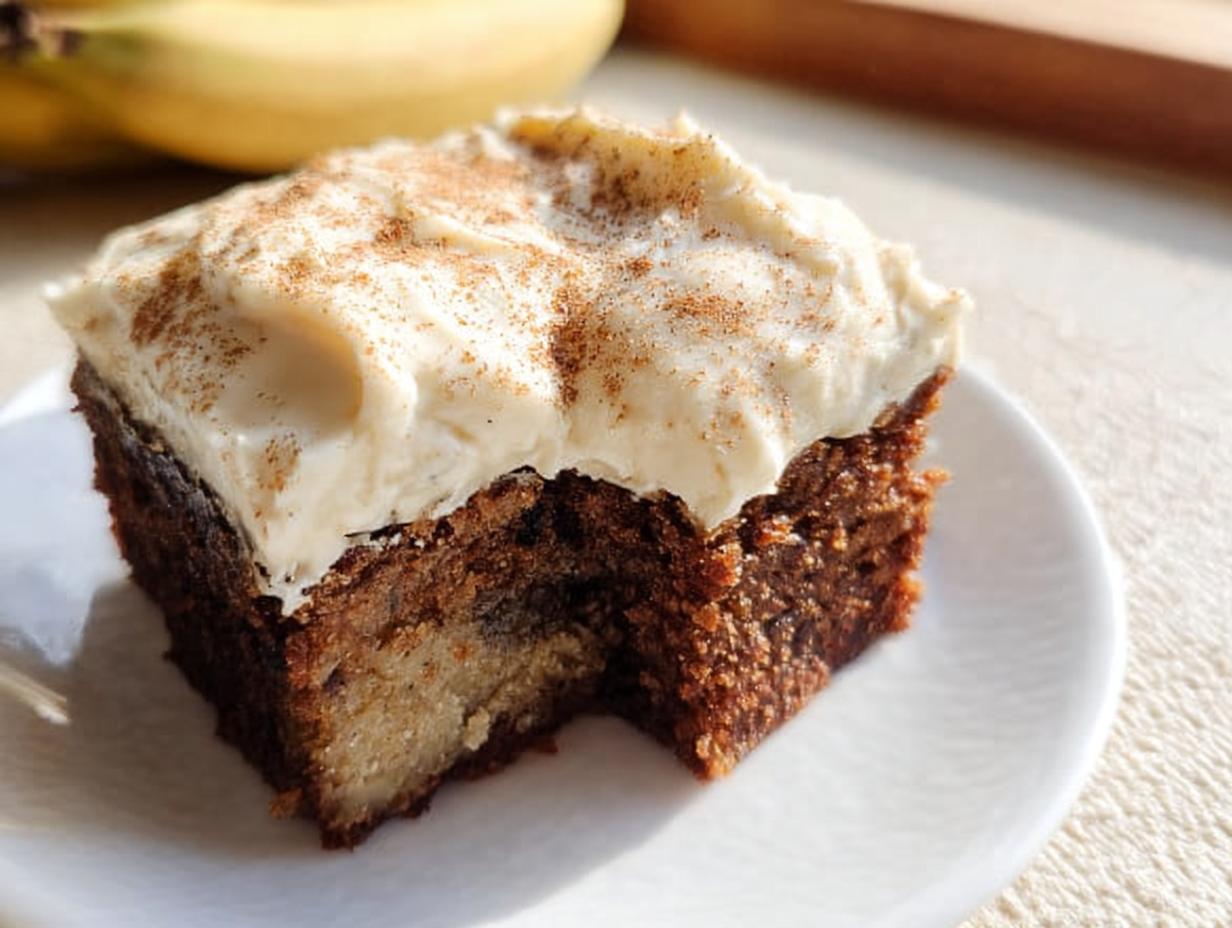
Applying Fancy Finishes and Presentation
Once your cake is super chilly, pull it out. Grab that beautiful, spreadable frosting and cover the top evenly. This is where the presentation comes to life! Now for those gorgeous Fancy Finishes: sprinkle those chopped peanut butter sandwich cookies all over the top. If you have any leftover peanut butter cups, chop those up too and toss them on there for some extra texture. Doesn’t that look like it took all day? You can get more tips on foolproof dinner prep at foolproof meal ideas, too!
Tips for Perfect Box Mix Glow-Up: Fancy Finishes
I’ve made this recipe way more times than I should admit, and through all those tests, I learned a couple of things that really make the difference between a good cake and an absolutely show-stopping one. Remember, even though we’re using a mix, we are treating this like a gourmet dessert, so a little attention to temperature and texture goes a long way toward that perfect Box Mix Glow-Up: Fancy Finishes!
Achieving the Ideal Syrup Soak Saturation
When you are poking those holes for the peanut butter soak, go deep—seriously, almost to the bottom, but don’t press so hard that your utensil punches clean through the base of the pan! We want that sweet, savory goodness to saturate the middle and bottom layers. When you pour that soak mixture over the top, do it slowly, working in circles. If you dump it all in one central spot, it won’t distribute evenly. Let gravity do the work slowly; rushing it just means uneven flavor distribution.
Adjusting Frosting Consistency for Easy Elevation
The trickiest part of this Easy Elevation is getting the frosting just right. You must make sure the cake is fully chilled before you even think about frosting it—and I mean cold! If the cake is warm at all, that rich peanut butter frosting will just melt into a sad, greasy puddle. When you are mixing in the confectioners’ sugar, if the frosting starts looking too stiff or crumbly, stop adding sugar immediately! Instead, add just a tiny splash—I mean, half a teaspoon—of milk or even a splash of heavy cream. That’s usually enough to loosen it up perfectly so you get that smooth, spreadable top layer.
For more ideas on perfecting temperatures and timing in the kitchen, I keep all my best notes right here on ingredients, temps, and tips to make sure everything turns out right the first time.
Variations on Your Box Mix Glow-Up: Fancy Finishes
Now that you know the basic technique for lifting that box mix—the soak, the chill, the fancy top—you can totally make this your own dessert! Don’t feel tied just to peanut butter, even though it’s truly spectacular. This entire method lends itself beautifully to endless customization ideas. Think about it: if a Syrup Soak works, almost any liquid you love can work! This is where the real fun of the Box Mix Upgrade comes in.
Alternative Soak Ideas
If peanuts aren’t your absolute favorite, don’t sweat it! We can swap out that peanut butter mixture entirely. For a truly decadent treat, try simmering down some store-bought caramel sauce with a little water or cream until it’s pourable, and use that as your soak. Pour it over the warm cake, make sure it drips down in all those glorious holes, and then chill!
Or, if you love coffee—and who doesn’t?—a strong, cooled coffee simple syrup is a fantastic choice, especially with the chocolate cake mix. You get that deep, almost mocha flavor seeping right through. Just make sure whatever you use is lukewarm or cool when you apply it. You want absorption, not scorching!
If you are looking for more amazing ways to adapt recipes to your taste, you should take a peek at my main recipes page for more inspiration!
Creative Topping Combinations for Fancy Finishes
The top layer is your canvas, darling! This is the easiest place to nail those gorgeous Fancy Finishes. If you went with the caramel soak, topping it with flaky sea salt and maybe some broken pretzels gives you that incredible sweet-and-salty crunch. That always looks so professional!
For a brighter flavor, ditch the candy bar crumbs and try using finely grated orange or lemon zest sprinkled over a slightly thinned cream cheese frosting. The citrus just cuts through the richness of the chocolate beautifully. Or, if you want drama, layer on some crushed meringue cookies and a few bright, colorful sprinkles. It’s all about layering visual interest so that when people see it, they think, “Wow, that took forever!” when really, it took five minutes of sprinkling!
Storing Your Party-Ready Cake After Box Mix Glow-Up: Fancy Finishes
Because we added that ridiculously moist peanut butter Syrup Soak and we’re using a lovely, creamy frosting, this cake needs a little protection! Don’t just leave it uncovered on the counter. You must keep this Party-Ready Cake covered tightly in the refrigerator. The cold helps the frosting set up nicely and keeps that soak locked deep inside the chocolate layers.
This cake is actually better on Day Two—the moisture keeps working its magic! You need to let it sit out on the counter for maybe 20 minutes before serving, just to take the chill off the frosting. Honestly, I wouldn’t recommend trying to reheat it; the structure relies on that chilling time we spent! For more general meal prep and storage tips that keep things fresh all week, check out my guide on meal prep-friendly dinners.
Frequently Asked Questions About Box Mix Upgrade Techniques
I get so many questions when people try this, which just proves how much fun we can have making these easy desserts look fancy! Don’t worry if you have a few questions about adjusting the soak or tweaking the frosting; that’s part of experimenting with your Box Mix Upgrade. Here are the things I hear most often when folks are trying to achieve that perfect finish!
Can I use a white cake mix instead of chocolate for this Box Mix Glow-Up?
Absolutely! If you aren’t a huge chocolate fan, this works wonderfully with vanilla or yellow cake mixes too. The amazing thing about the peanut butter Syrup Soak is that it complements both vanilla and chocolate so well. Just be aware that the final look won’t have that deep, dark color contrast on the inside, but the flavor will be spectacular either way. Keep that in mind when picking out your toppings for the Fancy Finishes!
What is the purpose of the Syrup Soak in this Easy Elevation?
It serves two major purposes, which is why I insist on it for every Easy Elevation project! First: moisture retention. When you pour that rich liquid in, the cake absorbs it during the chilling process, making the crumb incredibly soft—it never gets dry. Second: flavor infusion! We are literally injecting intense peanut butter flavor deep into every layer of the cake, not just coating the outside. It’s how we move far beyond basic boxed flavor!
How far in advance can I make this Party-Ready Cake?
This is fantastic news for anyone hosting a big event! Because of that magical soak, this cake holds up beautifully. You can absolutely make the entire cake—soak, frost, and all—a full day ahead of time and keep it tightly covered in the fridge. In fact, it tastes even better the next day as the flavors really marry together! Just pull it out about 20 minutes before you plan to serve it so the luxurious frosting isn’t rock hard. It’s the ultimate way to have a stunning Party-Ready Cake waiting for you!
If you have even more burning questions about getting the most out of your pantry staples, check out my guide on 5-ingredient dinner ideas—seriously, same principles apply when simplifying but upgrading!
Nutritional Snapshot of This Box Mix Glow-Up: Fancy Finishes
Now, listen, this is a rich, decadent dessert we’ve created, so we should absolutely look at what we’re indulging in! Because we added heavy hitters like sweetened condensed milk and all that glorious peanut butter, these numbers are definitely higher than your basic sheet cake. But hey, it’s a treat, not an everyday thing, right?
These figures are based on 12 generous servings and are just estimates, so they might swing a little depending on the exact brand of cake mix or how much frosting you decide to pile on!
- Calories: 360
- Fat: 16g
- Carbohydrates: 49g
- Protein: 7g
Who cares about the exact sodium count when it tastes this good? Enjoy every single bite!
Share Your Box Mix Glow-Up: Fancy Finishes Creations
Okay, now it’s your turn! I’ve shared all my secrets for taking that chocolate box mix and transforming it into something spectacular with the soak and the rich frosting. I seriously want to see what you create! Did you stick to the peanut butter cups, or did you try some wild new topping for your Fancy Finishes?
When you try this recipe, please come back and tell me how it went! Leave a rating—even a 5-star rating—down below in the comments if this was the easiest, most delicious Box Mix Glow-Up you’ve ever done. And if you took a photo of your towering, decadent cake, please tag me on social media! It absolutely makes my day to see my kitchen adventures popping up on your feeds.
If you ever need to reach out directly with a question about this recipe or maybe suggest a new upgrade idea for the next time I tackle a mix, the contact form is always open for you! You can get in touch right over here at my contact page. I can’t wait to hear all about your successful, easy, and totally impressive dessert!
Box Mix Glow-Up: Fancy Finishes
Ingredients
Equipment
Method
- Preheat your oven to 350°F (175°C). Prepare the cake mix according to the package directions. Add 1 teaspoon of vanilla extract and the salt to the batter before mixing. Pour the batter into a greased 13×9-inch baking pan. Bake and cool the cake completely as directed on the package.
- In a mixing bowl, whisk together the peanut butter and sweetened condensed milk until blended. Use the end of a wooden spoon handle to poke holes in the cooled cake, spacing them about 2 inches apart. Slowly pour 2 cups of the peanut butter mixture over the cake, ensuring each hole is filled.
- Cover the cake and the remaining peanut butter mixture, and refrigerate for 2 to 3 hours, or until the cake is cold.
- For the frosting, combine the remaining 1 teaspoon of vanilla extract with the reserved peanut butter mixture. Gradually beat in enough confectioners’ sugar until the frosting reaches a spreadable consistency. Spread this frosting evenly over the chilled cake.
- Add your desired toppings, such as chopped peanut butter-filled sandwich cookies or peanut butter cups. Refrigerate any leftovers.