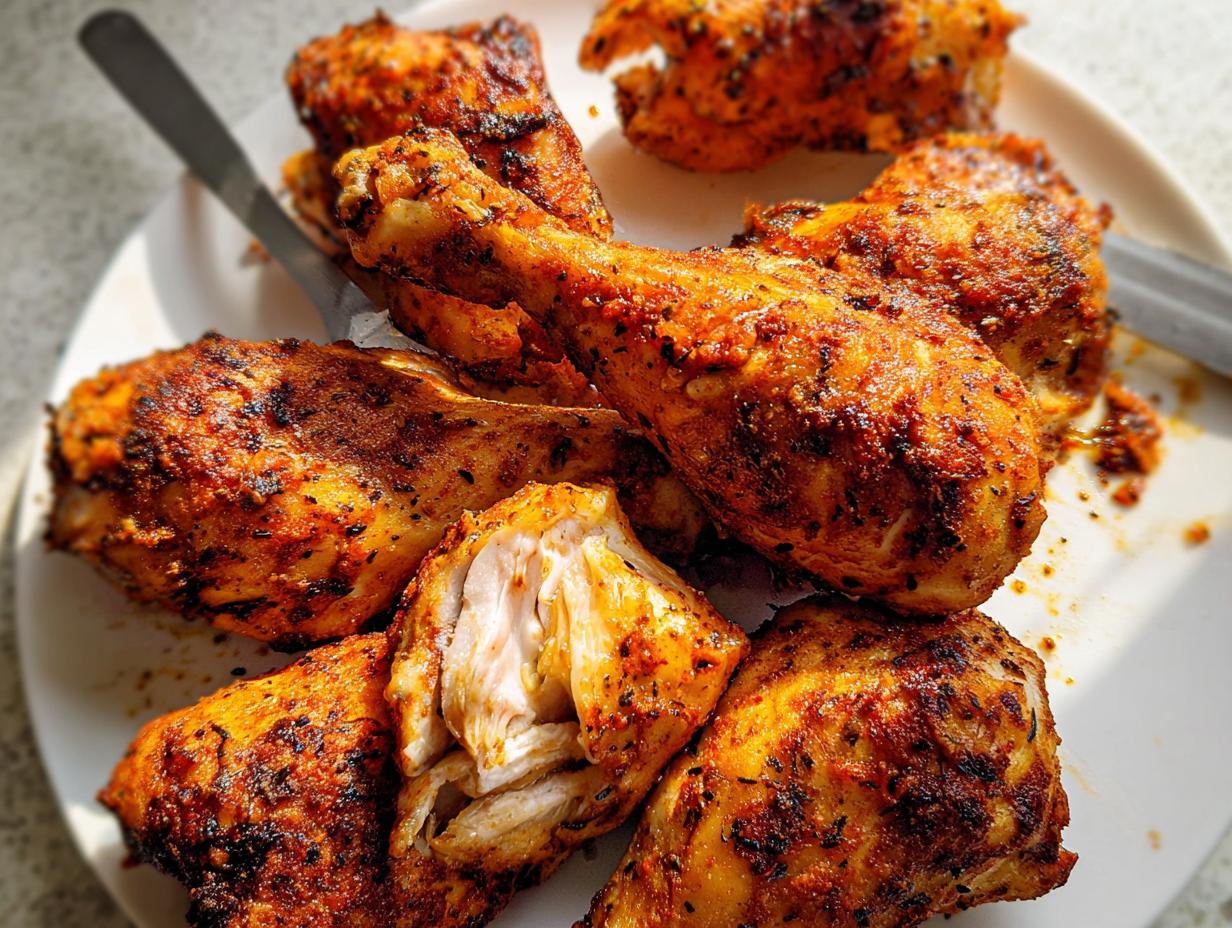
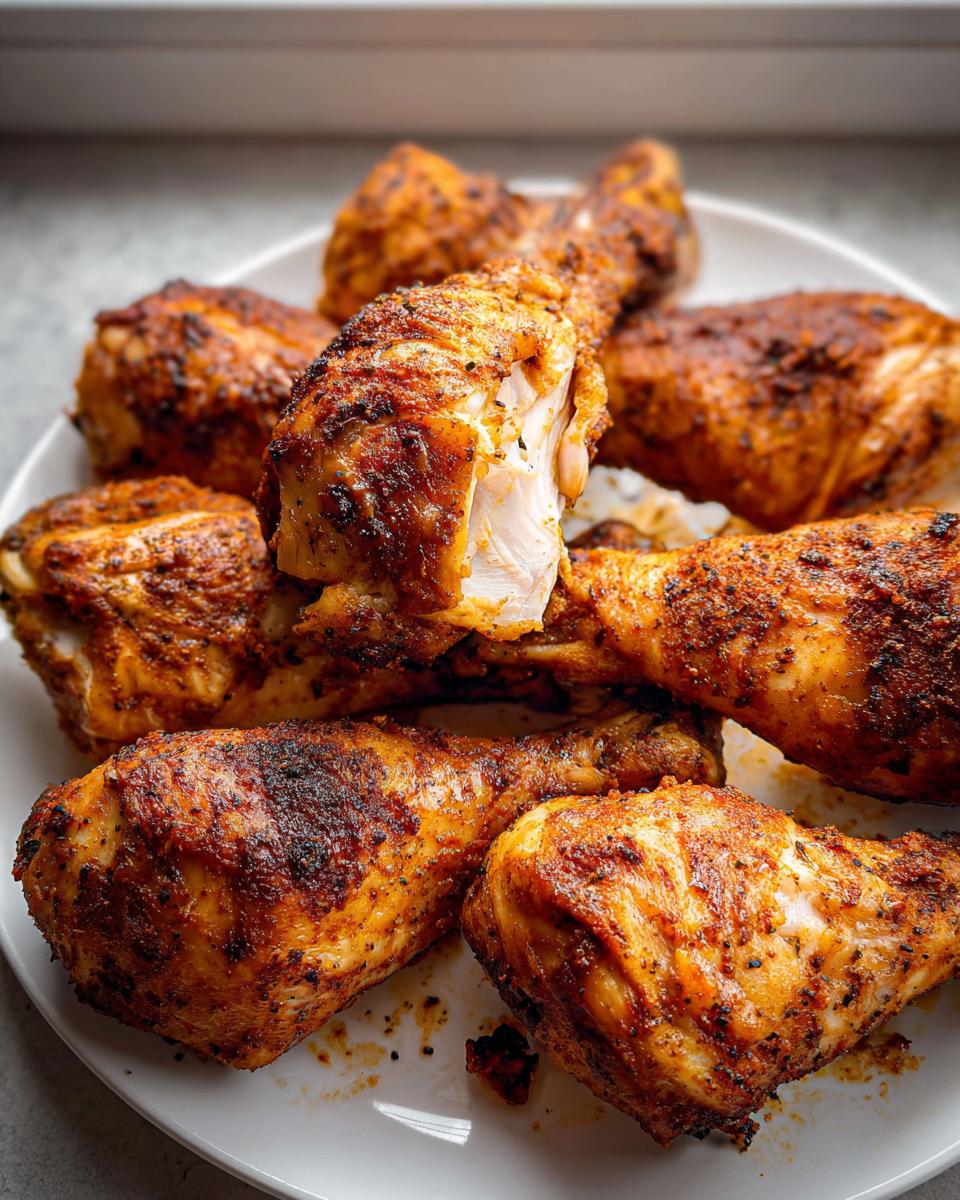
Let’s be real, who has the time or the desire to deep fry chicken when it’s already 7 PM on a Tuesday? We want that satisfying, golden-brown crunch, but we also want to be keto-friendly and keep the clean-up simple. That’s why I’m sharing my absolute favorite way to make **crispy oven baked chicken drumsticks**. I still vividly remember the first time I made these. It was one of those hectic weeknights, and I was digging through the pantry just craving something hearty but totally guilt-free. The smell of that seasoned chicken roasting? Wow! It just made all the chaos of the day melt away. When they finally came out, I swear I almost cried—pure, golden crunch perfection! This recipe truly proves that healthy comfort food can taste this good. Stick with me; this is quickly going to become your go-to!
Why You Will Love These Crispy Oven Baked Chicken Drumsticks
Honestly, this recipe is a weeknight superhero! I know you want crispy chicken without the mess and the heavy feeling afterward. These drumsticks deliver every single time. You just mix, bake, and enjoy! Trust me, once you try them, they will shoot right to the top of your favorite quick meals list. Here is what makes these **crispy oven baked chicken drumsticks** so special:
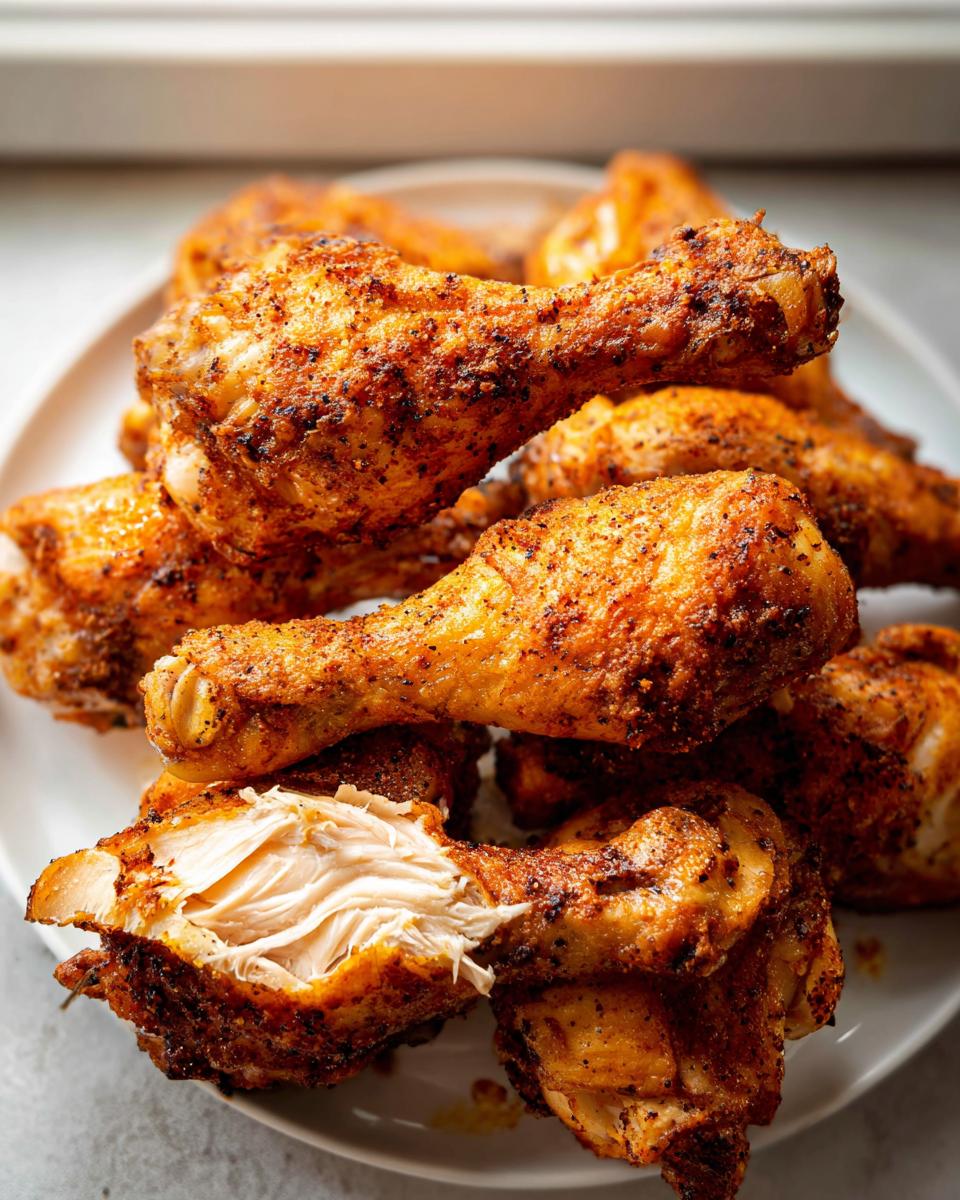
- The Crunch Factor: We achieve a perfectly shatteringly crisp skin without swimming the chicken in oil—it’s magic powered by high heat!
- Keto Perfection: These naturally fit almost any low-carb lifestyle, making them easy to fit into your daily goals. No sneaky sugars here.
- Budget Friendly Meals: Drumsticks are one of the most affordable cuts of meat, so this recipe keeps your wallet happy while feeding the whole crew.
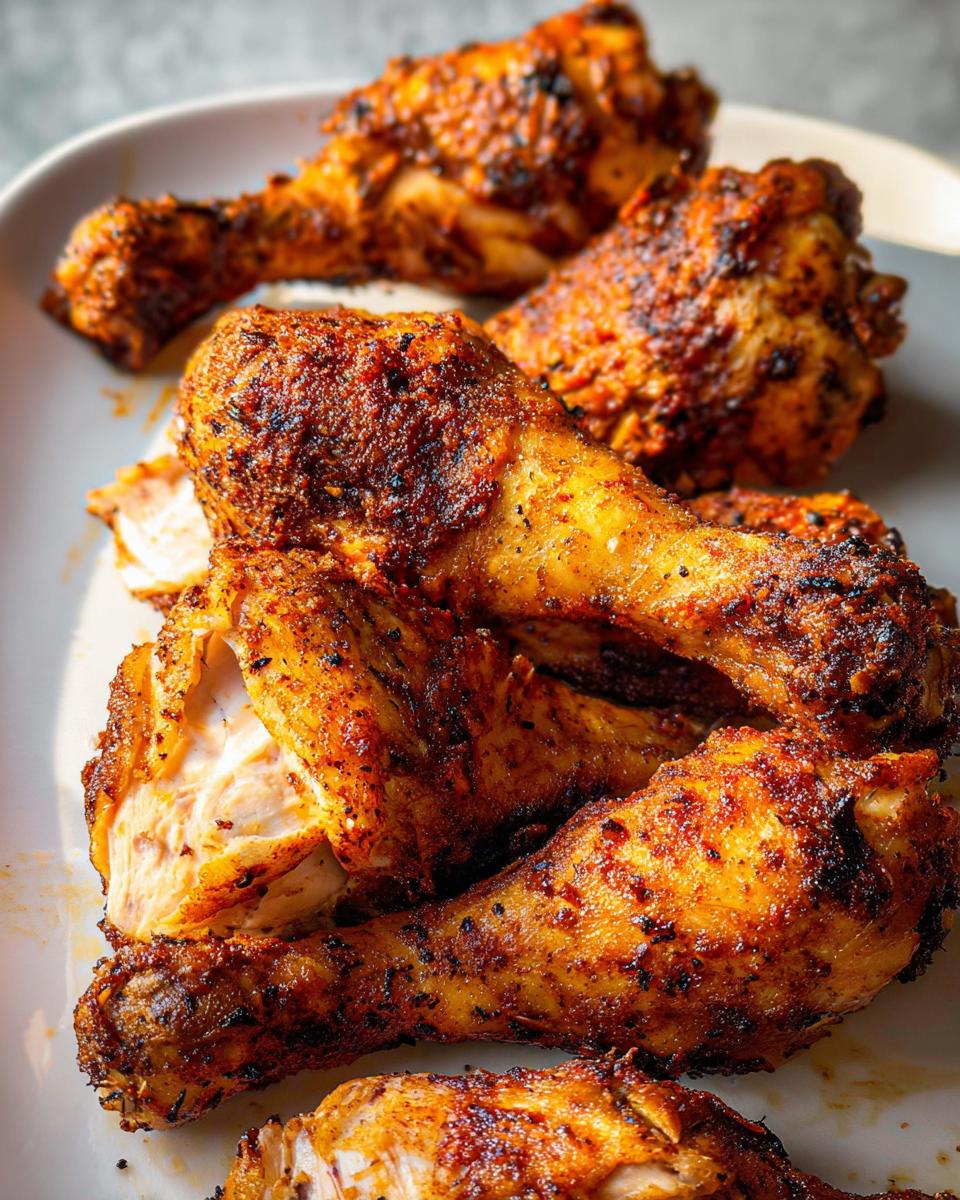
- Kid-Approved Flavor: It’s seasoned perfectly—savory, a little smoky, but not spicy. They disappear fast, which is why they are one of my top recommendations for busy weeknight dinners.
- Minimal Effort: Prep takes about 10 minutes, and then the oven does all the heavy lifting. Set it and forget it!
- They Heat Up Great: Unlike some crispy chicken that turns soggy, these hold up well for leftovers.
Essential Ingredients for Crispy Oven Baked Chicken Drumsticks
You only need a few pantry staples to transform a budget cut like drumsticks into something spectacular. Don’t let fancy advertisements fool you; the seasoning mix here is what really drives the flavor home. We keep this simple, focusing on savory spices that crisp up beautifully in the oven heat. Gather these items, and we’re halfway to dinner!
Before we even talk about spices, I need you to grab a roll of paper towels. Seriously, this is non-negotiable. You need to take your time and pat every single drumstick bone-dry. Remove all that surface moisture, and you are guaranteeing yourself that beautiful, non-soggy finish. It’s the simplest step, but it makes the biggest difference!
- Drumsticks: 3 packs, which should give you around 13 to 15 drumsticks total.
- Olive Oil: 3 tablespoons of extra virgin olive oil to help the spices stick and encourage browning. (Feel free to loosen up and use a fourth spoon if your chicken looks too dry!)
- Sea Salt: 2 teaspoons. Don’t skimp on the salt; it pulls moisture from the skin as the chicken cooks, helping it crisp!
- Garlic Powder: 2 teaspoons.
- Chili Powder: 2 teaspoons. This adds color and a very mild warmth.
- Oregano: 2 teaspoons of dried oregano.
- Paprika: 1 teaspoon. I use regular paprika, but if you have smoked paprika, that ups the game!
- Ground Pepper: 1 teaspoon of freshly ground black pepper.
For more ideas on stocking up your keto kitchen staples, check out my list of 27 essential keto pantry items.
Ingredient Notes and Substitutions for Crispy Oven Chicken
We’re using basic seasonings here, but feel free to shake things up if you have favorites lying around. If you want a tangier flavor, swap out the chili powder for 1 teaspoon of onion powder and 1 teaspoon of mustard powder. That combo works wonders with chicken!
Also, regarding the oil—I listed 3 rounded tablespoons, but if you have really lean meat or you’re worried about them sticking, just add a tiny bit more until all the chicken looks lightly coated. The oil carries the flavor and helps conduct the heat straight into the skin. But remember, we are not drowning them; just a nice, even sheen is what you’re aiming for.
Equipment Needed for the Best Crispy Oven Baked Chicken Drumsticks
You don’t need fancy gadgets for this recipe, which is another reason I love it so much! It works perfectly with gear you probably already have gathering dust in your cabinets. However, there is one piece of equipment that I insist you use if you want that beautiful, all-around golden skin.
You absolutely need a wire rack that fits your baking sheet. Skip this, and you’ll end up with chicken sitting in its own juices on the bottom, meaning the skin underneath gets steamed instead of roasted. That rack is the secret sauce for air circulation! Seriously, it allows heat to wrap completely around the drumstick.
Here is the short list of what you’ll need to pull this off perfectly:
- A large mixing bowl. This is where the magic mixing happens, so make sure it’s big enough to toss everything without spices flying everywhere!
- A sturdy baking sheet. This is the foundation that holds everything together in the oven.
- A wire cooling rack that fits inside your baking sheet. Remember, this is essential for getting that coveted crunch on the bottom!
- Paper towels. You cannot skip patting the chicken dry. I usually use half a roll just to make sure they are perfectly moisture-free.
That’s it! No immersion circulators, no complicated pans—just simple tools working smart in a hot oven.
Step-by-Step Instructions for Perfect Crispy Oven Baked Chicken Drumsticks
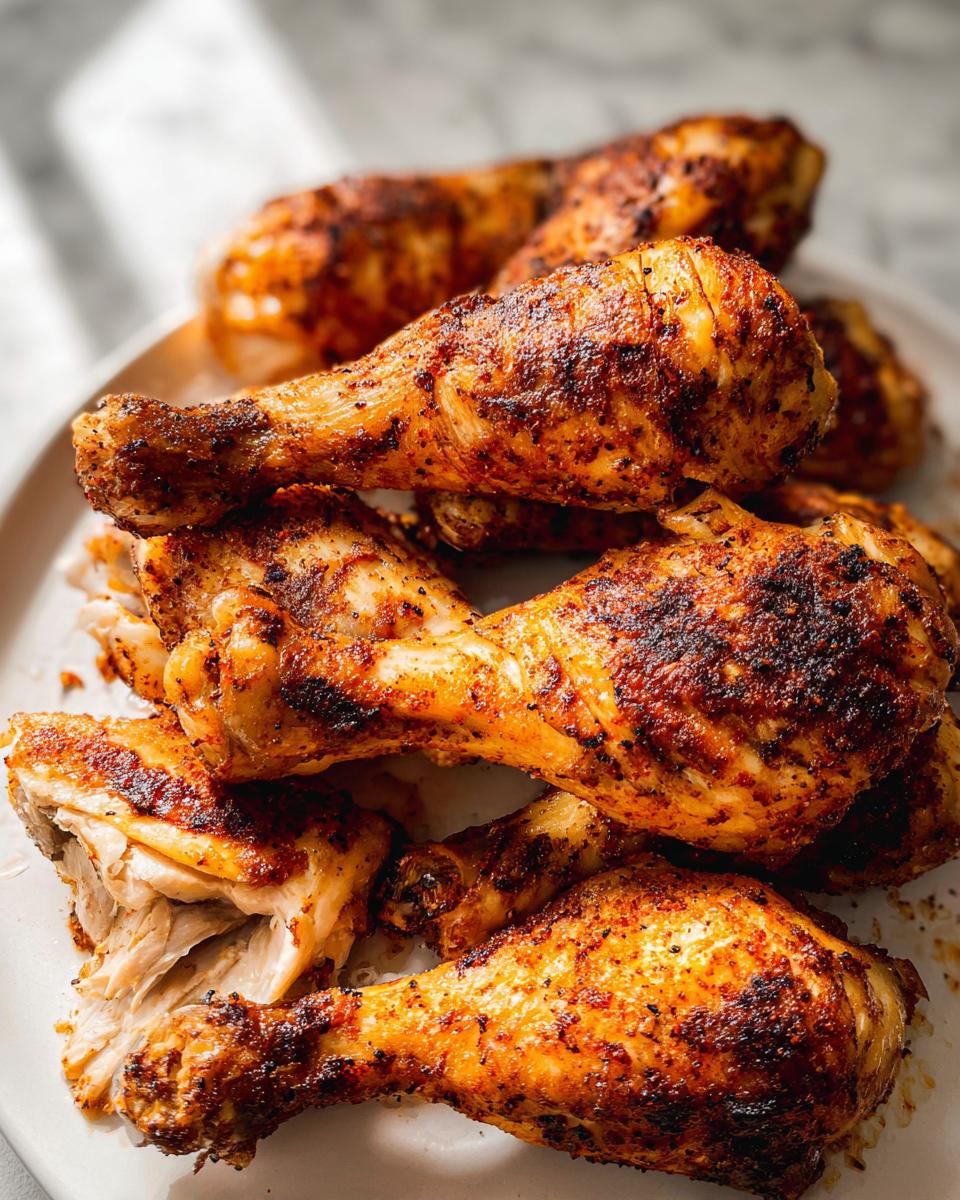
Okay, this is where the fun starts! Making truly **crispy oven baked chicken drumsticks** isn’t hard, but it requires following a couple of heat-related rules. We’re aiming for that deep golden color and the audible crunch when you bite in. The key here is high, dry heat, and airflow!
- First things first: Crank that oven up! You need a nice hot blast to start rendering that skin fat, so preheat your oven to 420 degrees Fahrenheit. Don’t just set it—let it get roaring hot before the chicken even thinks about going in.
- Next, grab those paper towels we talked about! Take your 13 to 15 drumsticks and pat every single one until the skin feels dry to the touch. I cannot stress this enough; moisture is the enemy of crispiness!
- Toss those now-dry drumsticks into your big mixing bowl. Drizzle everything with about 3 tablespoons of that good olive oil and make sure you toss it around really well.
- Now comes the seasoning party! Dump in the salt, garlic powder, chili powder, oregano, paprika, and pepper. Mix everything until every piece of chicken skin is completely and evenly coated in the spices.
- Here’s a critical visual check, so listen up! Before placing them on the rack, make sure the skin is not folded over onto itself anywhere on the drumstick. If the skin is tucked under, that part will steam and stay pale. Lay them flat!
- Get your baking sheet ready. Spray that wire rack well with cooking spray, then set it right on top of your prepared baking sheet. Carefully arrange your seasoned drumsticks in a single layer on the rack. Give them a little space between them so the air can rush past.
- Bake them hard for 35 minutes. This initial blast gets the fat rendering and the skin tightening up.
- After 35 minutes, carefully pull the pan out. Use tongs to flip every single drumstick over. Pop the pan back in the oven and bake for the final 15 minutes. This second bake ensures the underside gets just as crunchy as the top!
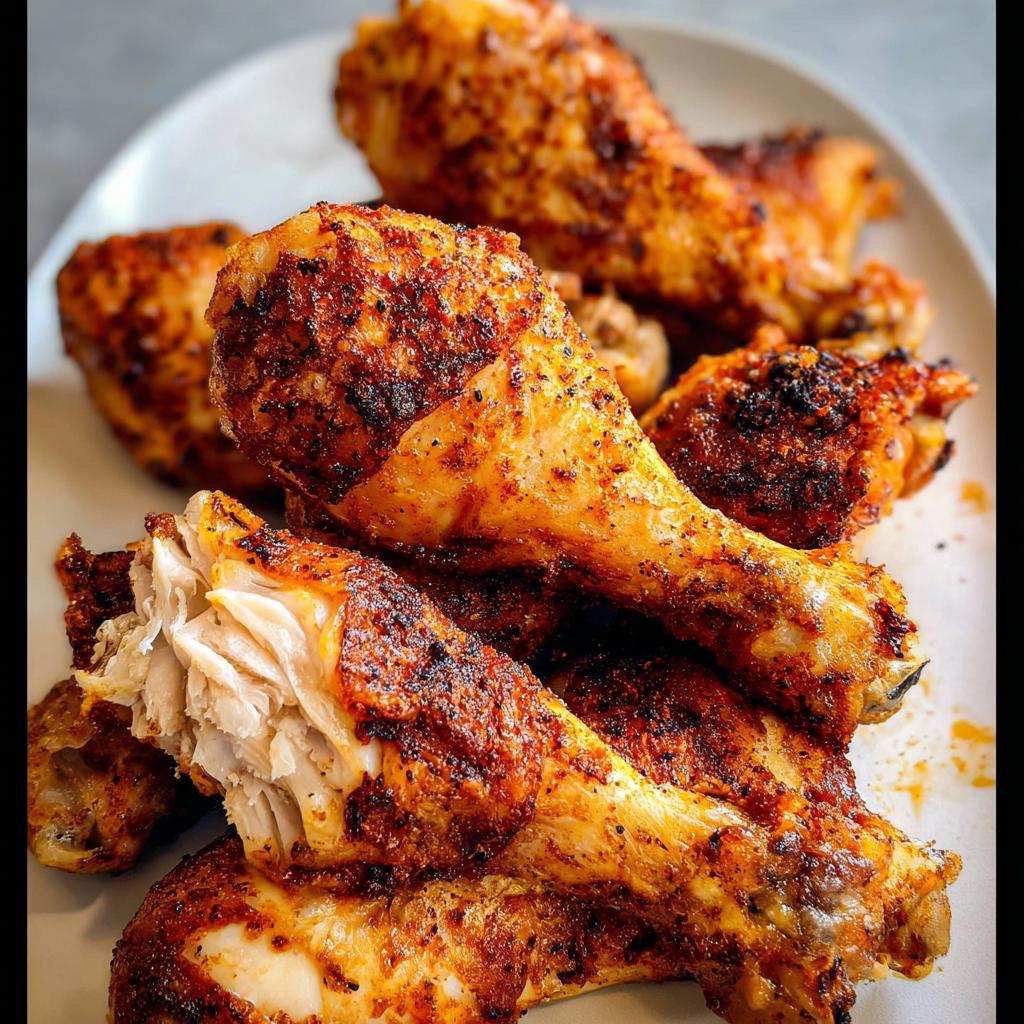
- When they look beautifully dark golden brown, and you can see that delicious crackle in the skin, they are done! Let them rest for just five minutes on the rack before serving. Seriously, take a bite right then—it’s the best moment.
Expert Tips for Maximum Crispy Oven Chicken Texture
Achieving that restaurant-quality crunch at home is totally doable with just a couple of small secrets. I learned these from years of trying to avoid making a huge mess with frying oil!
- The Double Dry Rule: After you pat the chicken dry with paper towels, let the seasoned chicken sit out on the counter, uncovered, for about 20 minutes before it goes into the oven. This lets the surface air-dry even more, which supercharges the crispness later. It’s a trick I learned from my friend Rachael, and it really works!
- Don’t Crowd the Rack: If you try to squeeze an extra drumstick on there, you are sabotaging your own efforts! When they touch, they steam each other. If you have more than 15, you absolutely need to use two racks or bake in batches. Air circulation is your best friend here.
- High Heat Finish: If, after the full 50 minutes, the skin looks golden but not quite *crispy* enough for your liking, switch the oven setting to broil for the last 60 seconds. WATCH IT like a hawk, though! Broilers work fast, and you can go from crispy to burnt in seconds flat.
Making Crispy Oven Baked Chicken Drumsticks: Cooking Time Breakdown
I know that when you’re looking up a new recipe, the first thing you check is how long it takes, right? We all have those days where dinner needs to be on the table fast, and waiting forever isn’t an option. Good news! This recipe respects your time.
For this entire operation, from taking the chicken out of the fridge to getting it onto your plate, it clocks in at exactly one hour total. That’s just 10 minutes of active prep time—that’s the patting dry and tossing around with spices. Honestly, that’s faster than ordering takeout!
The real commitment is the cooking time, which is about 50 minutes in the oven. It’s a two-stage process: 35 minutes on the first side, flip, and then 15 minutes on the second. This ensures even cooking and maximum crunch. If you’re planning ahead, remember that this schedule makes it a perfect option for my guide on quick keto dinner recipes.
When searching for the perfect weeknight solution, you want something reliable. This 50-minute cook time is the sweet spot for these **baked drumsticks recipe** instructions. It’s just long enough for the fat to fully render out and the skin to get that beautiful, sturdy crisp layer without drying the meat inside. Trust me, patience for those 50 minutes pays off big time when you take that first bite!
Serving Suggestions for Your Crispy Oven Baked Chicken Drumsticks
You’ve nailed the main event! Now that you have these incredibly **crispy oven baked chicken drumsticks**, you need some side dishes to complete the plate, especially since we’re keeping things low-carb and budget-friendly. The nice thing about this bold, savory seasoning blend is that it plays well with almost anything green or creamy.
I usually stick to sides that require minimal active cooking time since the chicken takes up the oven for a solid hour. My rule of thumb for a perfect keto dinner is pairing the protein with something fibrous and then maybe a small, rich element.
Here are my top three pairings that my family always devours alongside the chicken:
- Roasted Parmesan Asparagus: This couldn’t be easier, and it adds a nice, slightly charred texture that complements the chicken skin perfectly. If you need a quick primer, check out my recipe for Roasted Asparagus with Parmesan. It bakes in about 15 minutes, so you can time it to come out right after the chicken rests.
- Cream Cheese Mashed Cauliflower: If you’re looking for that comfort food mashed potato fix without the carbs, cauliflower mash is your answer. I sneak in a little full-fat cream cheese and butter, and nobody can tell the difference. It’s rich, creamy, and costs next to nothing.
- Simple Green Salad with Vinegar Vinaigrette: Sometimes you just need something fresh and cold to cut through the richness of the baked chicken. Load up romaine or butter lettuce with some cucumbers and toss it with a quick homemade vinaigrette made from olive oil, red wine vinegar, salt, and pepper. It’s light, refreshing, and helps balance out the plate for a very economical meal!
See? Delicious, healthy, and sticking to those practical, **budget friendly meals** guidelines. Enjoy your feast!
Storing and Reheating Crispy Oven Chicken
I hope you made extra, because these drumsticks are one of the few leftover meats that actually taste *good* the next day—but you need to treat them right! Seriously, nobody wants sad, floppy leftover chicken skin. We’re aiming for that crunch revival, not limp mush.
When you’re done fighting over the last pieces, make sure you store any leftovers properly. It’s super important that they aren’t sitting out on the counter too long. Pop the cooled, cooked chicken into an airtight container. If you seal them up tight, you can easily keep these in the refrigerator for three to four days without any flavor loss. They just stay perfectly good in there!
Now, for the all-important reheating. Listen close, because this is where people mess up fried or baked crispy chicken. If you try to microwave these, you’ll undo all our hard work. The microwave uses steam to heat things up, and steam equals soggy skin. We don’t want that!
Bring Back the Crunch: Reheating Methods
You have two fantastic, easy options for restoring that golden crust we worked so hard to achieve:
- The Oven Method: This is my tried-and-true method for best results. Preheat your oven (or toaster oven!) to about 375 degrees Fahrenheit. Lay the cold drumsticks directly on a baking sheet—no rack needed this time, just make sure they aren’t touching. Bake them for about 8 to 10 minutes. You’ll see them brown up just a little bit more, and the skin will firm right back up.
- The Air Fryer Shortcut: If you have an air fryer, this is even faster! Pop the drumsticks in the basket in a single layer. Set the temperature to 375 degrees Fahrenheit and run it for just 4 to 6 minutes. It blasts the skin perfectly and gets them piping hot in no time.
If you follow these simple storage and reheating steps, those leftovers taste almost as good as fresh out of the oven. And that’s a win in my book for any **budget friendly meals** plan!
Frequently Asked Questions About Crispy Oven Baked Chicken Drumsticks
It’s always great when you have questions pop up—that means you’re getting ready to cook! I get a ton of emails whenever I post this **baked drumsticks recipe**, so I’ve gathered the most common ones right here. Hopefully, this clears everything up so you can get these drumsticks into the oven ASAP!
Can I make these Crispy Oven Baked Chicken Drumsticks ahead of time?
You totally can make them ahead! Like I mentioned in the storage section, they keep really well for three or four days in the fridge. The trick is how you reheat them. If you need them for a quick lunch or a weeknight backup, just remember to use the oven or air fryer to bring the crunch back. Microwaving them fresh out of the fridge won’t usually give you a great texture, so keep them chilled and plan for that quick 5-10 minute revival bake!
Are these drumsticks suitable for a keto diet?
Absolutely, YES! I designed this recipe specifically so it would be a huge score for anyone eating low-carb or keto. We’re using only whole, unprocessed ingredients: chicken, olive oil, and pure spices. There are zero flours, zero sugars, and no starches used anywhere in the coating or marinade process. They are fantastic **keto friendly dinners** when you need something satisfying that won’t spike your blood sugar. You can confidently serve these knowing they fit the goals!
What is the best way to ensure the skin gets truly crispy?
Oh, this is the single most important question! If you only take one thing away from this whole post, let it be this: You must dry the skin aggressively. Use paper towels and blot every single bit of moisture off the surface of the chicken before you add the oil. Then, and this is just as vital, you *must* use a wire rack elevated above the baking sheet.
That rack allows hot air from the oven to circulate underneath the chicken while the fat renders out. If the chicken sits flat on the pan, that rendered fat just steams the bottom skin instead of crisping it. Use the rack, dry the chicken, and you’ll have perfect results every time. These simple tricks elevate this from just a basic *kid friendly dinner* to a showstopper!
For more great ideas and other easy preparations, feel free to poke around my full collection of recipes!
Nutritional Information for Crispy Oven Baked Chicken Drumsticks
Now, I want to be super clear here because I’m not a registered dietitian, I’m just a chef who loves delicious, real food! The numbers I give you are solid estimates based on the standard ingredients we used—especially the skin-on chicken and the olive oil. Since everyone’s drumsticks vary slightly in size and how much oil they absorb, treat these figures as a fantastic guideline, not gospel. This is based on dividing the total recipe yield (about 15 drumsticks) by the listed ingredients.
The beauty of this meal, even with the skin and fat, is how protein-packed it is, making it a powerhouse for anyone following a keto or low-carb lifestyle. You get tons of energy without any empty carbs getting in your way!
Here is the estimated breakdown per single, medium-sized drumstick:
- Calories: Roughly 280 – 310 Calories
- Fat: About 22 – 25 grams (Remember, this is where the flavor and keto energy come from!)
- Protein: Approximately 18 – 20 grams (Great for feeling full!)
- Net Carbs: Less than 1 gram (Seriously, the spices add almost zero carbs!)
Since this recipe is fantastic for keeping things low-carb, it’s a real winner for managing calories while staying satisfied. If you’re looking at the bigger picture of planning calorie-smart meals, you should definitely take a peek at my thoughts on calorie smart recipes for maintaining your goals.
This transparency is important to me! We know exactly what we are putting into our bodies when we are making these perfectly baked drumsticks.
Share Your Crispy Oven Baked Chicken Drumsticks Success
I really, truly hope you enjoyed making these! Because I put so much love and so many kitchen secrets into perfecting this **crispy oven baked chicken drumsticks** recipe for you, the absolute best thing is hearing from you once you’ve tried them. Seriously, nothing makes my day quite like seeing a photo of someone else’s perfectly golden batch!
Did you manage to get that skin extra crackly? Did the kids gobble them down faster than you could plate them? Did you use smoked paprika like I mentioned? I want to know all the details! Sharing your success stories helps build up our little community here, and it lets me know which recipes I should focus on improving or sharing next.
Don’t be shy! If you have a moment, scroll down and drop a star rating on the recipe card. Ratings really help other busy cooks trust that this recipe is the real deal. And if you took a fantastic picture—maybe the drumsticks are plated with asparagus or mashed cauliflower—please share it on social media and tag me! I love seeing how you make this recipe your own at your dinner table.
If you have any lingering questions after your first time making them, or if you noticed a substitution that worked like a charm for you, please send me a message through my contact page. Happy cooking, and enjoy that crunch!
Crispy Oven Baked Chicken Drumsticks
Ingredients
Equipment
Method
- Preheat your oven to 420 degrees Fahrenheit.
- Pat all of the drumsticks dry with a paper towel to remove excess moisture, then add them to a large bowl.
- Once all drumsticks are in the bowl, make sure the skin is covering the drumstick and is not folded. Toss with olive oil, then add your seasonings. Mix until everything is fully coated.
- Prepare a baking sheet and rack by spraying them with oil. Stack the rack on top of the baking sheet to allow air to circulate around the drumsticks while cooking. Add each drumstick to the pan. Bake for 35 minutes. Remove the pan, flip the drumsticks, and bake for the remaining 15 minutes.
- The drumsticks are done when they are golden and crispy. Enjoy them.
- Store any leftover, cooked drumsticks in an airtight container in the refrigerator for up to 3 to 4 days.