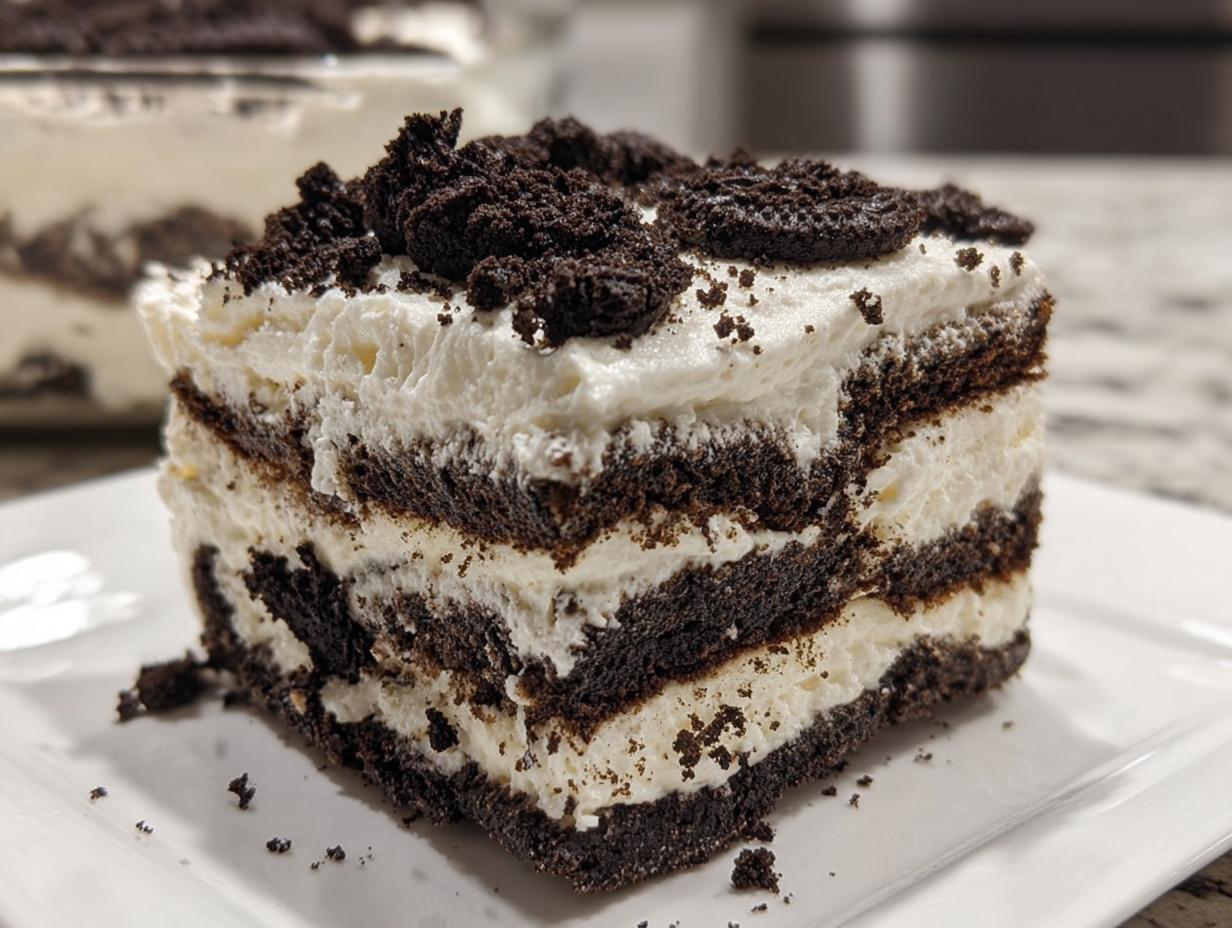
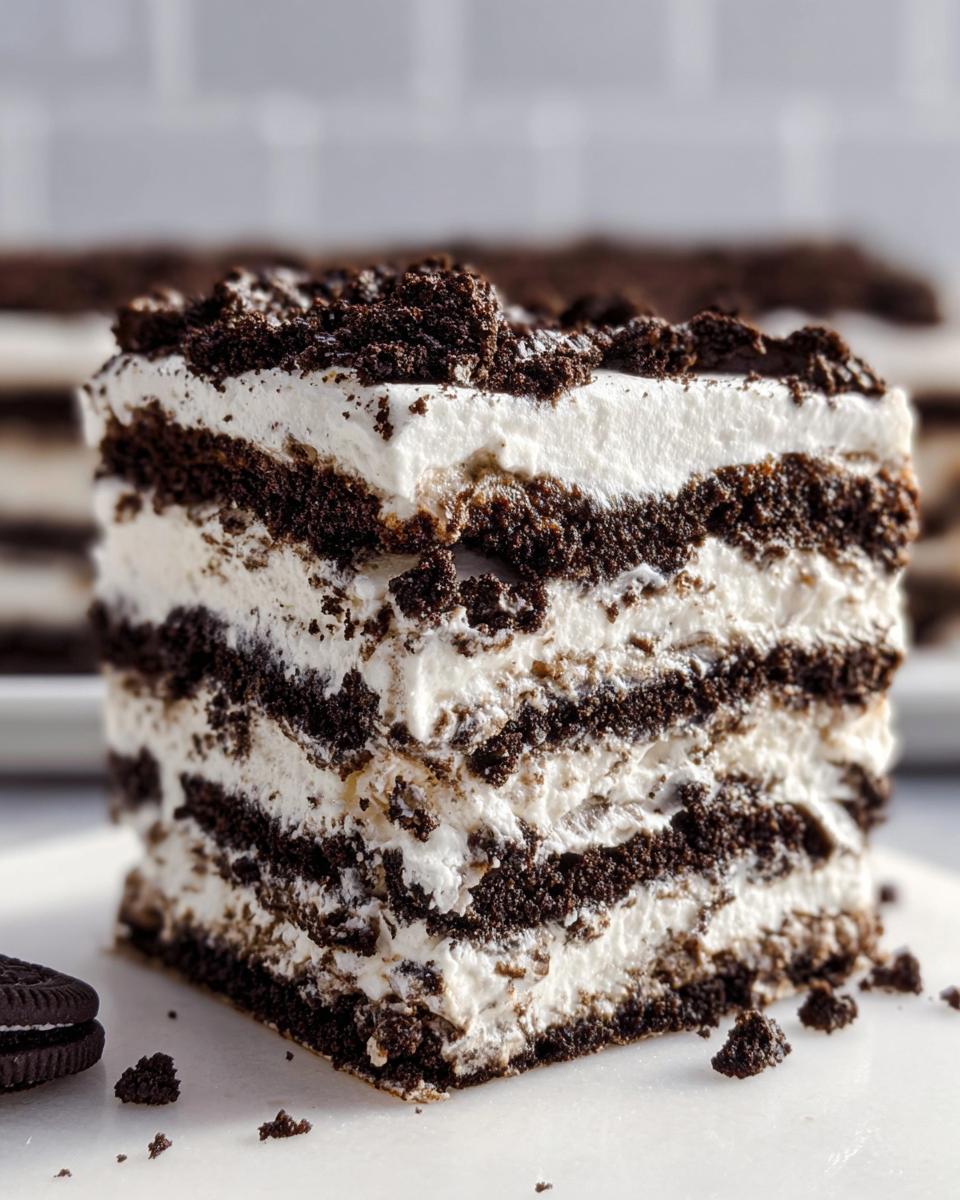
Whew, can you feel that heat? When the summer sun is trying to melt the pavement, the last thing I want to do is turn on my oven. That’s why I’m obsessed with simple, cool, and satisfying desserts that just let you put things together and walk away. This **Oreo Cookies and Cream Icebox Cake** is my absolute go-to when I need a quick fix! I still vividly remember the first time I made an icebox cake. It was a scorching summer afternoon, and all I wanted was something cool and delicious to beat the heat. I stumbled upon a pack of keto-friendly cookies, and I spent the afternoon layering those cookies with rich cream. When I took that first bite after chilling, I couldn’t believe how decadent it felt. It reminds me that you can still have sweet, creamy joy without all the fuss.
Why This Oreo Cookies and Cream Icebox Cake is Your New Favorite Dessert
Honestly, this recipe is designed for busy people—or people who just hate turning on the stove in July! You deserve dessert that works around your schedule, not the other way around. Trust me when I say this becomes a staple.
- It’s practically foolproof! Assembly takes maybe 15 minutes, maximum.
- No oven means the kitchen stays cool, and there’s zero preheating guesswork.
- It delivers that intense, familiar cookies and cream flavor everyone loves.
- And the best part? Kids can help layer it without needing a grown-up near any heat.
Essential Ingredients for the Perfect Oreo Cookies and Cream Icebox Cake
When you’re making a no-bake cake, every single ingredient needs to be top-notch because there’s nowhere to hide! Since we only have three main components—cream, sugar, and cookies—we need to treat them right. Seriously, the quality of your cream makes or breaks this Oreo Cookies and Cream Icebox Cake. If you want that deep, dreamy texture that just melts in your mouth, you need the good stuff. Check out the list below; I’ve got all the details you need to get set up!
For deeper inspiration on other easy dessert ideas, check out this great resource! This article has some lovely layering ideas.
For the Whipped Cream Base
- 2 cups heavy whipping cream (It MUST be very cold!)
- 1 cup powdered sugar (Make sure it’s sifted if your kitchen is humid, nobody likes lumps!)
- 1 tablespoon vanilla extract (Pure vanilla makes such a difference here.)
For Layering and Topping the Oreo Cookies and Cream Icebox Cake
- 30 whole Oreos (Yes, 30! You’ll need them for the layers.)
- 12 crushed or chopped Oreos (These are just for that gorgeous finish on top.)
Step-by-Step Instructions for Your No Bake Oreo Cookies and Cream Icebox Cake
Okay, now for the fun part where we put this glorious, easy dessert together! Forget turning on a single burner; this is pure assembly magic. I want you to remember my trick for the cream: If you have a spare 20 minutes, toss your bowl and your mixer beaters into the freezer first. Seriously, those super-cold tools help you whip cream faster and get those stiff peaks much more reliably. We’re aiming for that perfect thick texture that holds the cookie layers up!
If you want more amazing, no-fuss recipes like this one, pop over to my main recipe index!
Preparing the Cream Filling
First up, we tackle the cream. Dump your very cold heavy whipping cream, powdered sugar, and vanilla extract right into that chilled bowl. Grab your mixer and start slow so everything incorporates without flying everywhere—oops! Once it starts getting thick, crank that speed up. You’ll mix this for about 7 to 8 minutes, and you’re looking for stiff peaks. That means when you lift the beater out, the cream stands up straight and doesn’t flop over at all. Don’t under-mix, or it turns soupy!
Assembling the Oreo Cookies and Cream Icebox Cake Layers
Time to build! Take your 8×8 dish. You need to cover the entire bottom with a single layer of your 30 whole Oreos. If you have a little gap at the edge, don’t stress; just break a cookie in half and nudge it in. Next, take half of your beautiful, stiff whipped cream and gently spread it right over those cookies. Make sure it gets into all the little corners. Now, place a second layer of whole Oreos right on top of that cream. Finally, take the rest of your whipped cream and spread it over the final cookie layer. Use your spatula to smooth out the very top surface until it looks lovely and even.
Chilling and Finishing the Oreo Cookies and Cream Icebox Cake
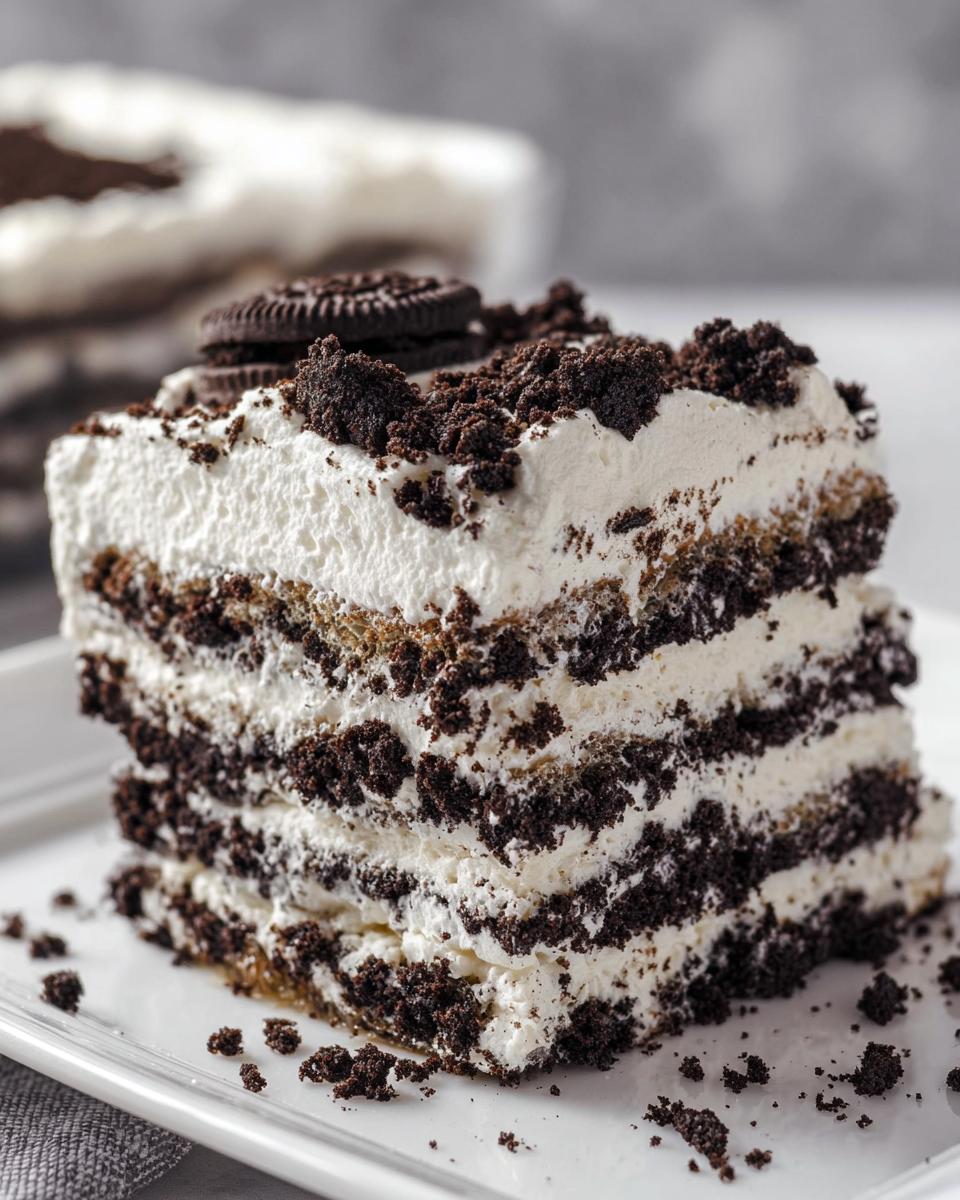
This is the hardest part, I know, but you must be patient! Cover that pan up tight with plastic wrap or a lid. It absolutely has to chill in the fridge for a minimum of 8 hours. Honestly, overnight is best. That chilling time is what softens the cookies so they transform from crunchy wafers into tender, cake-like layers. Right before you bring this beauty out to serve it, sprinkle those reserved crushed Oreos all over the top for a final visual pop!
Expert Tips for the Ultimate Oreo Cookies and Cream Icebox Cake
If you want this **Oreo Cookies and Cream Icebox Cake** to taste like it came from a fancy bakery and not just your countertop, you need to listen to a couple of my biggest secrets. First, and I cannot stress this enough: Do not try to substitute the homemade whipped cream with something like Cool Whip. Trust me, store-bought tubs just don’t set up correctly in the fridge; they stay a little too loose and won’t give you that structural integrity we need for a real icebox cake.
Remember what I said about chilling your bowl and beaters first? That’s non-negotiable for quick, stiff peaks! Also, when you’re thinking about how long to chill, remember that if you only chill it for a couple of hours, those Oreos will still be kind of crisp. You want them delightfully soft, almost like fudgy cake layers, so stick to the overnight minimum whenever possible. That long rest is the real magic!
Ingredient Notes and Substitutions for Your Oreo Cookies and Cream Icebox Cake
Look, I get it. Sometimes you’re missing an ingredient, or maybe you have a dietary restriction you need to work around! When building this **icebox cake recipe**, though, you have to be careful about the cream. Please, please use heavy whipping cream—not half-and-half or milk! Anything lighter just won’t whip up stiff enough to support those dense cookie layers. You’ll end up with a runny mess, and we are not making soup here!
Now, for the cookies! If you are grabbing gluten-free or vegan versions of those classic sandwich cookies, go for it! As long as they have that dark chocolate wafer and white filling, you’ll still capture that wonderful **cookies and cream desserts** vibe. The texture might change slightly, but the flavor combination will be spot-on for this simple **no bake cake**.
Storage and Make-Ahead Options for this No Bake Cake
One of the main reasons I adore this **icebox cake recipe** is how perfectly it handles being made ahead of time. You actually *want* to make this dessert in advance; it just gets better! If you’re planning a huge gathering or just want a guaranteed dessert ready for Sunday dinner, this is your hero. You can easily assemble the entire **no bake cake** up to two days before serving.
The magic is in that chilling time. Every hour spent in the fridge is an hour the moisture from the cream soaks into those crisp Oreo wafers. They go from feeling like a crunchy cookie to having an incredible, soft, cake-like texture. You won’t even believe they were just cookies!
If you need a reminder on how to make sure your make-ahead components are solid, remember that keeping things chilled is key. I actually talked about making chocolate mousse ahead of time over here, and those same rules apply to keeping your cream firm!
Here’s my guide on making desserts ahead of time.When storing leftovers, just cover that pan really well—plastic wrap pressed close to the surface is great if you don’t have the original lid. It stays fantastic for about three to four days in the refrigerator. After that, the cookies might get a little too soft and lose their structure, but honestly? It never lasts that long in my house!
Serving Suggestions for Your Oreo Cookies and Cream Icebox Cake
This Oreo Cookies and Cream Icebox Cake is unbelievably rich on its own, but sometimes you just need a little something extra on the plate to make it feel *fancy*. I love keeping things simple, though, since the heavy lifting has already been done by the cookies and cream!
Honestly, if you’ve made this **no bake cake** properly, you don’t need much. I usually grab a small bowl of fresh raspberries or sliced strawberries to cut through that richness. The tartness of the berries against the sweet cream is just divine. You could also grab your sifter and give the top a very light dusting of unsweetened cocoa powder right before serving—it looks professional!
If you’re throwing a party and want a full spread, you can see how I plan out elegant meals that still feel easy over on my New Year’s Eve menu guide. Sometimes even an simple dessert like this needs a good supporting cast!
See my favorite elegant party menus for inspiration.Frequently Asked Questions about the Oreo Cookies and Cream Icebox Cake
It’s funny how many questions pop up when you make something totally different, like turning crisp cookies into a cake! I gathered the most common things people ask me about this **icebox cake recipe** so you can feel super confident when you whip this up. Don’t worry about messing up; this is such a forgiving **no bake cake**!
Can I use a different type of cookie in this icebox cake recipe?
Oh, you absolutely *can*, but you’re changing the game then! If you use something like Nilla Wafers, you get a classic vanilla icebox cake, which is delicious, but it won’t have that signature, deep chocolate crunch that makes this **cookies and cream desserts** recipe so special. You need that dark chocolate wafer to contrast the sweet cream! If you go with another chocolate cookie, just make sure it has a creamy filling, because that filling helps soften up during the chill time alongside the cream.
What happens if I don’t chill the Oreo Cookies and Cream Icebox Cake long enough?
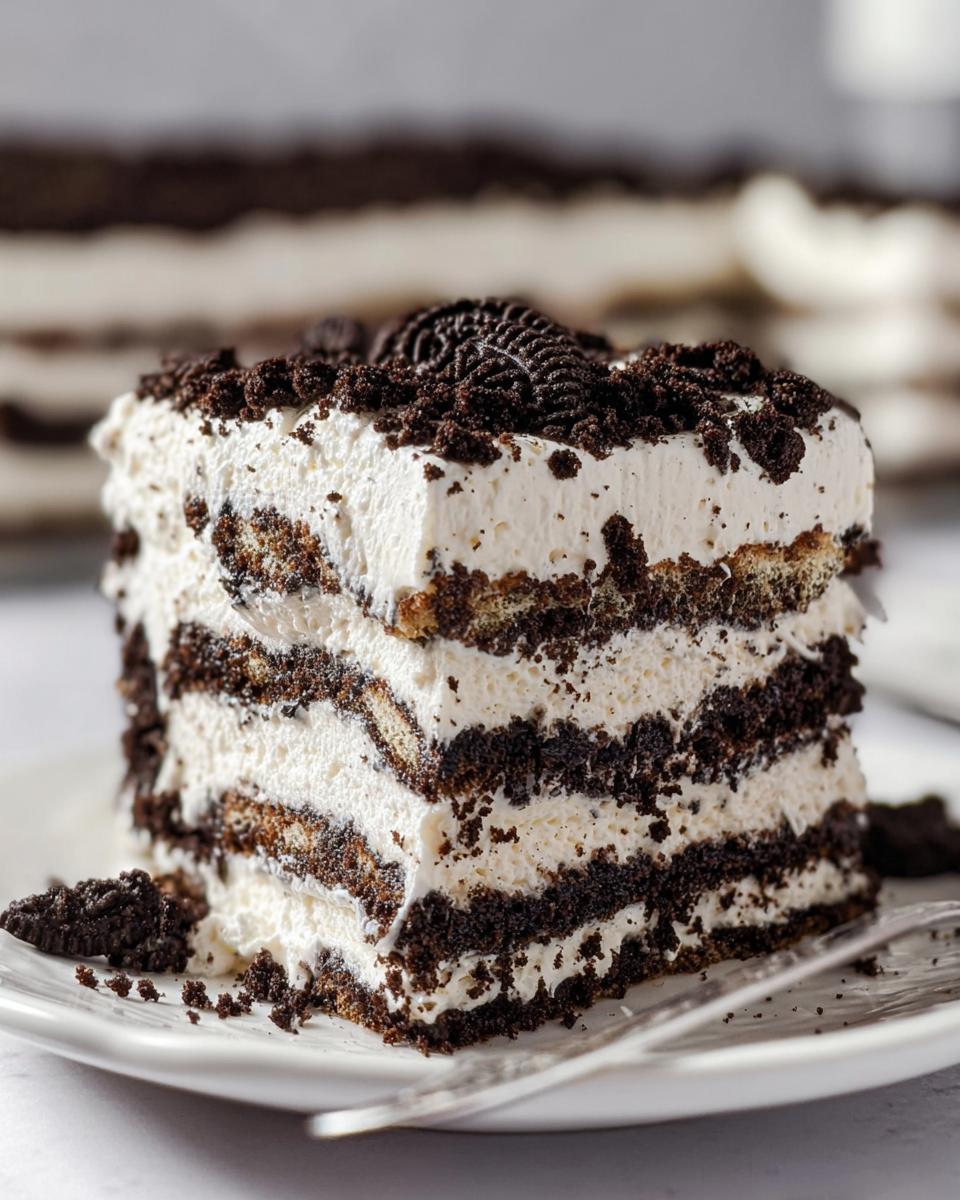
This is where patience really pays off! If you try to cut into this too soon—say, after only four hours—you’re basically going to have a stack of whipped cream with crisp wafers stuck in it. We want soft layers, right? The chilling time is when the magic happens; the moisture wicks from the cream into those cookies, making them tender and slightly fudgy. If you cut it early, the cookies will still be too crisp. Don’t rush it; let it sleep overnight!
How do I get the stiffest peaks when whipping cream for this no bake cake?
I mentioned this earlier, but it’s worth repeating because it’s the single biggest factor in a successful **Oreo Cookies and Cream Icebox Cake**! Seriously, your ingredients have to be freezing cold. I mean *cold*. Chill your heavy cream, but also, get your mixing bowl and your whisk attachments into the freezer for at least 30 minutes before you even touch them. Cold fats whip up faster and hold their air pockets much better. Once you start mixing, keep an eye on it and stop the moment those peaks stand straight up—that’s your signal!
Share Your Oreo Cookies and Cream Icebox Cake Creations
Alright, that’s the whole game plan for creating the ultimate crowd-pleasing, no-bake dessert! Now that you’ve conquered the layering and mastered the chilling time, I absolutely want to see what you made! Honestly, seeing everyone else tackle these classic comfort recipes gives me so much motivation.
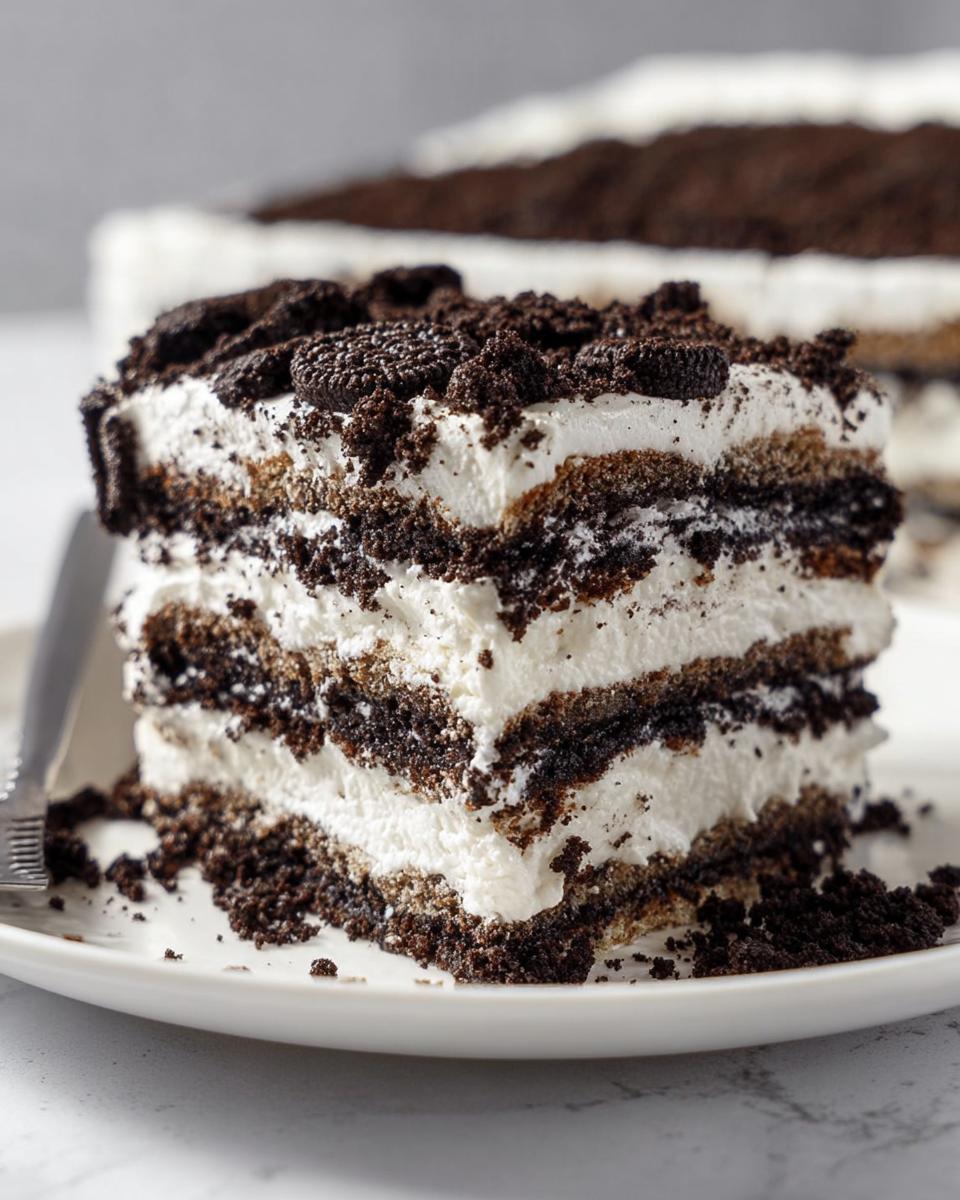
Did you love how easy this was? Are you planning on making this **Oreo Cookies and Cream Icebox Cake** for every single potluck from now on? Please leave a rating down below—it really helps other readers know what works! And if you made this and took a stunning photo of that final, creamy slice, tag me online! I love sharing reader pictures!
If you have any questions at all while you’re whipping up your cream or waiting for those cookies to soften, don’t hesitate to reach out. You can always find my contact details right here on the site when you need a quick answer!
Drop me a line here if you have questions!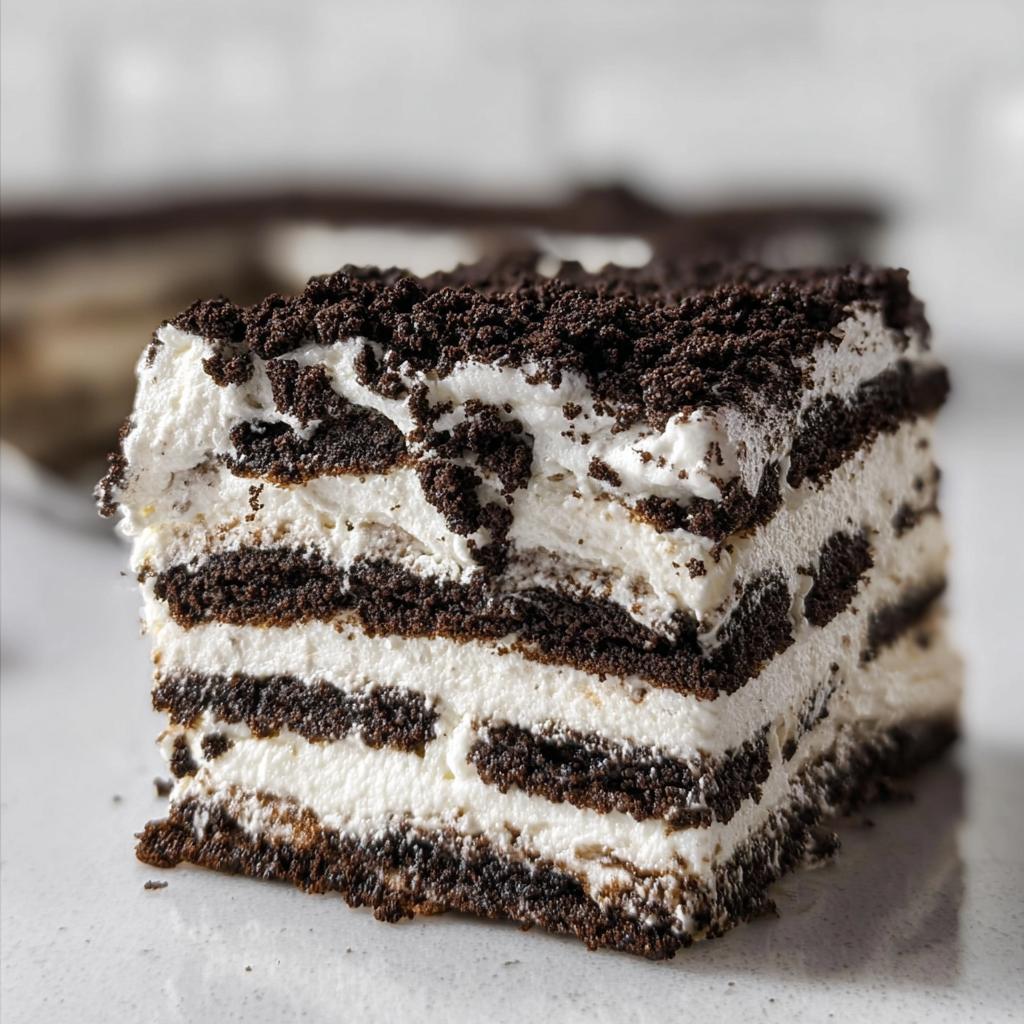
Oreo Cookies and Cream Icebox Cake
Ingredients
Equipment
Method
- Add the heavy whipping cream, powdered sugar, and vanilla extract to a large mixing bowl. Use a hand mixer or a stand mixer with the whisk attachment.
- Start mixing on low speed, then increase the speed as the mixture thickens. Beat until stiff peaks form, which takes about 7 to 8 minutes.
- Cover the bottom of an 8×8 baking dish or pan with a single layer of whole Oreos. You might need to cut a few cookies to fill any gaps.
- Spread half of the prepared whipped cream over the layer of cookies and smooth the top using a spatula.
- Add another layer of Oreo cookies on top of the cream.
- Spread the remaining whipped cream over the second cookie layer and smooth the top surface.
- Cover the pan with a lid or plastic wrap. Refrigerate for a minimum of 8 hours, or preferably overnight.
- Top the icebox cake with the crushed Oreos just before you serve it.