Oh, the smell of stuffing during the holidays! It just takes me right back, doesn’t it? That warm, savory aroma filling the house, promising cozy meals and full bellies. If you’ve ever dreamed of recreating that perfect, comforting stuffing you get at your favorite restaurant, but right in your own kitchen, then you’re in for a treat! My goal with these Restaurant-Style Stuffing Recipes at Home (2025) is to bring that magic to your table. I’ll never forget my first Thanksgiving as a host; I was determined to nail my grandmother’s stuffing. When that golden-brown, perfectly seasoned dish came out of the oven, the whole room lit up! It was then I realized I could totally nail that restaurant-quality vibe at home. I’m Sarah Johnson, and as The Keto Performance Chef, I love sharing recipes that are not only delicious but also create those heartwarming family moments. Let’s get cooking!
Why You’ll Love These Restaurant-Style Stuffing Recipes at Home (2025)
Seriously, who doesn’t adore a fantastic stuffing? This recipe is the real deal, and here’s why:
- Super Easy to Make: Even with it tasting like it came from a fancy restaurant, the steps are totally straightforward. No fuss!
- Incredible Flavor: We’re talking savory herbs, buttery goodness, and that perfect balance you dream about.
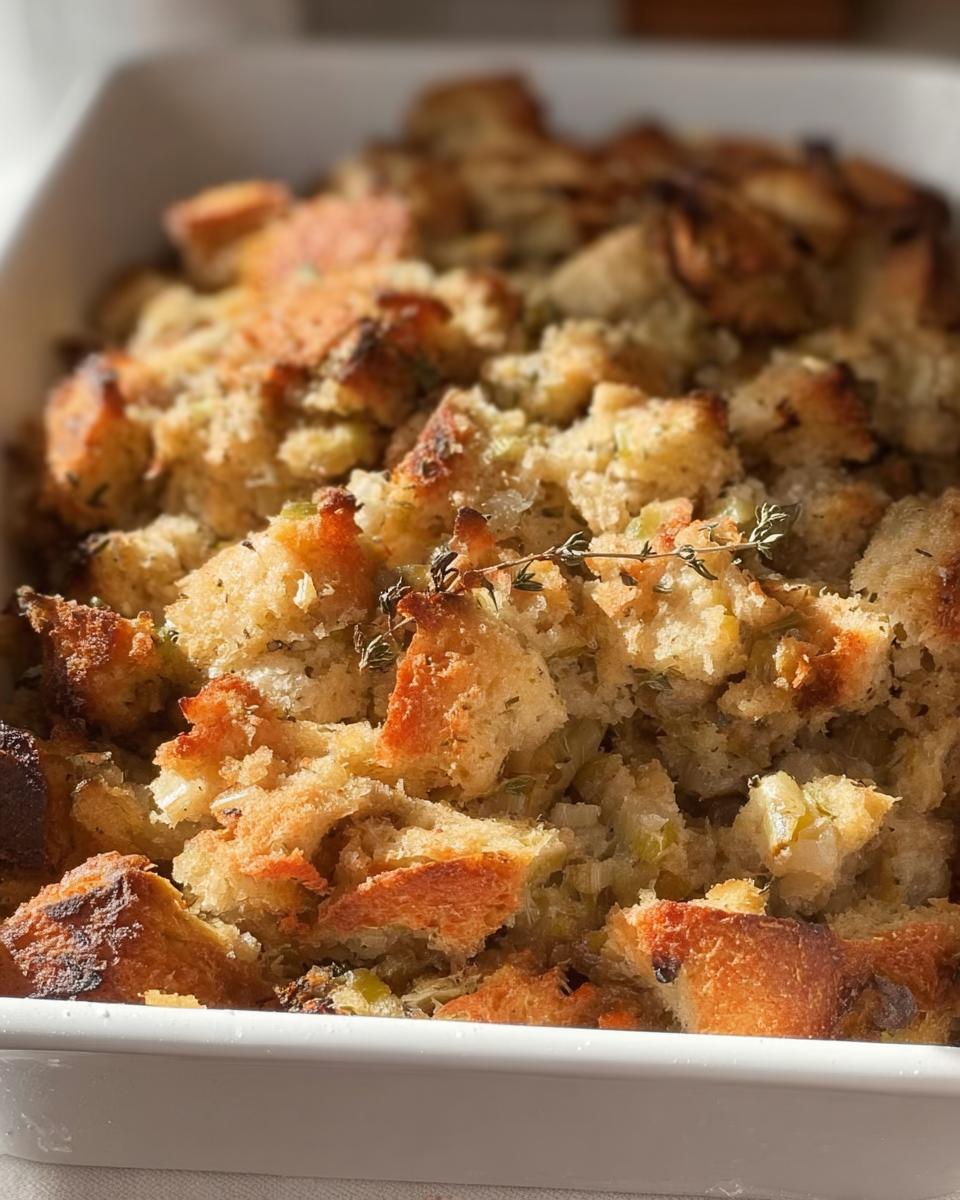
- Dreamy Texture: Crispy on top, tender and moist inside – it’s the best of both worlds!
- Holiday Hero: It’s the ultimate dish for Thanksgiving, Christmas, or any gathering where you want to wow your guests.
Gathering Your Ingredients for Perfect Restaurant-Style Stuffing
Alright, let’s talk about what you’ll need to make this amazing stuffing! It’s all about good ingredients coming together. Don’t worry, it’s not fancy, just really good stuff.
For the Stuffing Base:
- 30 slices of white bread, lightly toasted first so it gets nice and firm.
- 2 tablespoons of good old butter.
- 1 large onion, chopped up nice and fine.
- 2 stalks of celery, also chopped up finely.
- 2 cups of chicken broth – this is what keeps everything moist and flavorful.
- 2 large eggs, just give them a quick whisk.
- 2 tablespoons of water, maybe a little more if your bread needs it – this is optional.
- 2 teaspoons of rubbed sage. Oh, the sage! So good.
- 1 teaspoon of garlic powder. Because garlic makes everything better.
- And of course, salt and ground black pepper, to taste. You know the drill!
Step-by-Step Guide to Making Restaurant-Style Stuffing at Home
Okay, ready to turn those humble bread slices into stuffing gold? It’s easier than you think! Just follow these steps and you’ll have that perfect holiday side dish in no time. Trust me, the aroma alone will make you feel like a culinary superstar!
- Let your bread get good and dry. First things first, spread those 30 slices of white bread out on your baking sheets. We need them to get nice and hard, so leave them out at room temperature for a full 24 hours. This is super important for texture – no one wants mushy stuffing!
- Get everything ready. Once your bread is good and dry, it’s time to prep! Preheat your oven to 325 degrees F (that’s 165 degrees C). While that’s heating up, lightly grease a 9×13-inch baking dish. This stops anything from sticking.
- Make breadcrumbs! Now, take those dried-out bread slices and get crushing. You can use a rolling pin, or even just your hands! Toss the crumbs into a big bowl.
- Sauté those veggies. Grab a medium saucepan and melt your 2 tablespoons of butter over medium heat. Toss in your chopped onion and celery. Cook them, stirring now and then, until they’re nice and soft. This should take about 5 to 7 minutes. Then, just take them off the heat and drain off any extra liquid.
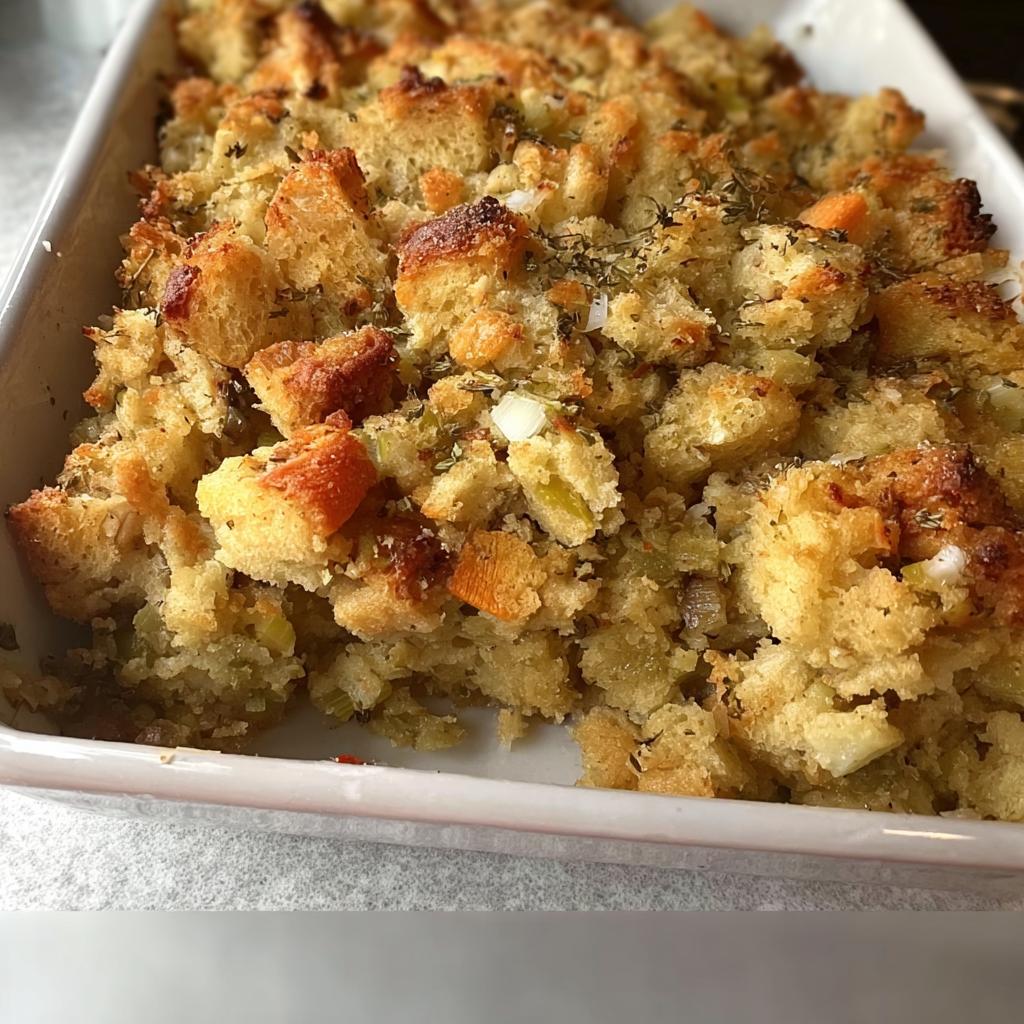
- Bring it all together in the bowl. Pour your 2 cups of chicken broth and your 2 lightly beaten eggs into the bowl with the breadcrumbs. Mix it all up until the crumbs are evenly moistened, but be careful not to make it too soggy. If it feels a bit dry, you can add that optional 2 tablespoons of water. Now, stir in those cooked onions and celery, plus your 2 teaspoons of sage and 1 teaspoon of garlic powder. Season it all with salt and pepper to your liking. Give it a good mix!
- Time to bake! Gently press the stuffing mixture into your prepared baking dish. Make sure it’s packed down evenly.
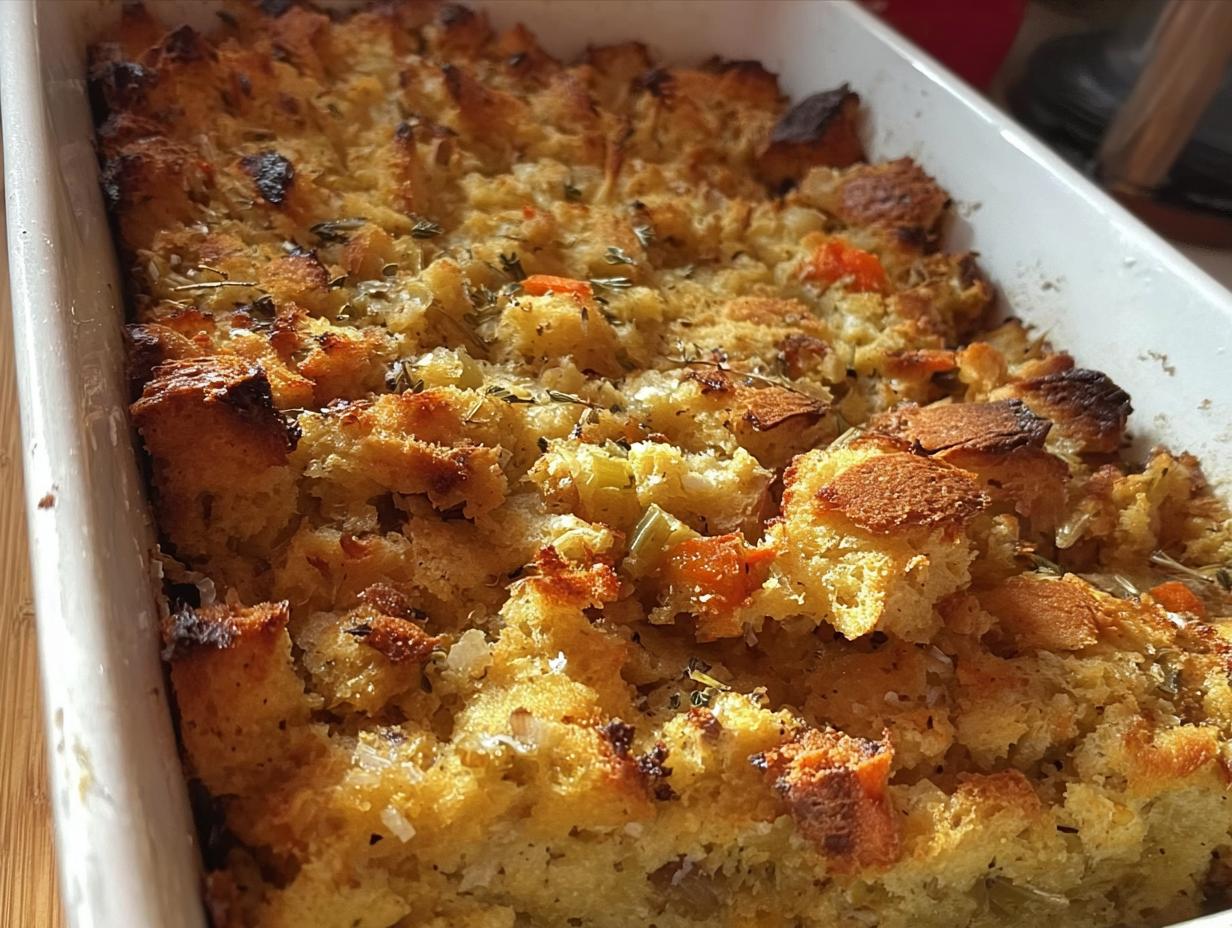
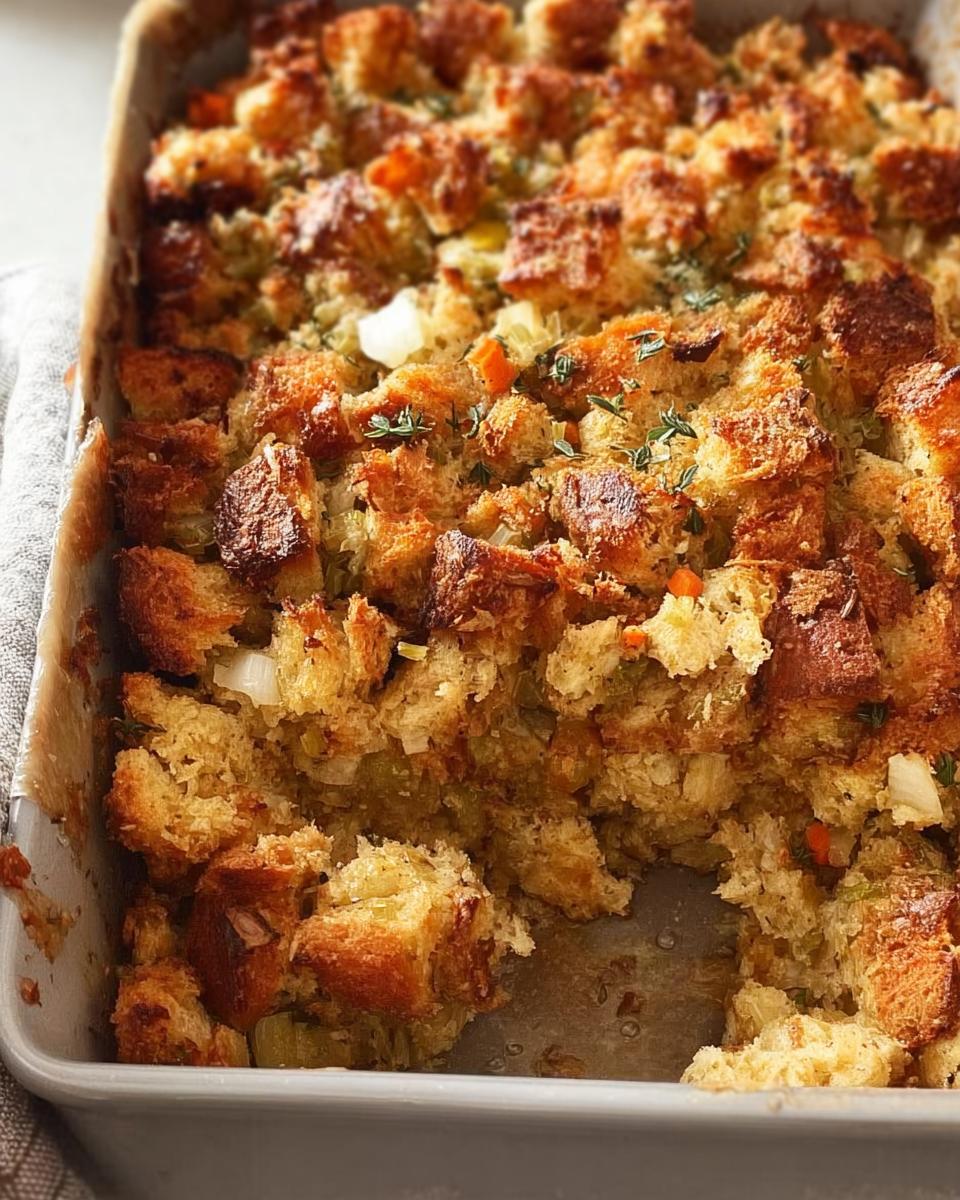
- Bake until golden. Pop that dish into your preheated oven and bake for about 1 hour. You’re looking for that beautiful golden-brown color on top, and you want it to be nice and crisp.
- Serve and enjoy! Once it’s done, pull it out of the oven. Let it cool just slightly before serving it hot. Get ready for the compliments!

And there you have it! A perfect, restaurant-worthy stuffing ready for your holiday table. You can find even more amazing side dish recipes right here!
Tips for Achieving Restaurant-Quality Stuffing
Okay, so you’ve got the basic recipe down, but how do you really make it sing? It’s all about those little touches that make restaurant chefs so good! Trust me, these tips are golden and will totally level up your stuffing game.
Bread Choice is Key
You saw we used white bread, right? But honestly, the *type* of bread is huge. Day-old, slightly stale bread is your best friend here. It soaks up the liquid without turning into mush. Stale sourdough, French bread, or even a good whole wheat can work if you let them dry out properly. Avoid super soft, fresh sandwich bread – it just gets too gummy. For more side dish inspo, check out these Thanksgiving side dishes!
Texture, Texture, Texture!
The contrast between crispy bits and tender centers is what stuffing dreams are made of! To get that perfect bite, don’t overmix the breadcrumbs and liquid. Just combine them until they’re moistened. Also, baking it uncovered like we do in the recipe is crucial for that amazing crispy top. If you’re feeling adventurous, I love looking at other classic recipes too, like this Old-Fashioned Stuffing for inspiration on different techniques.
Flavor Boosters
Want to pack even MORE flavor in? Don’t be shy with the herbs! Fresh herbs are always fantastic if you have them – a good handful of chopped fresh parsley or thyme mixed in with the sage really brightens things up. And don’t forget to sauté those onions and celery until they’re nice and sweet; that sweetness is the base for so much of the stuffing’s delicious savory flavor.
Ingredient Notes and Substitutions for Your Stuffing
Sometimes you need to make a recipe work with what you have on hand, right? That’s totally understandable! Here are a few notes on the ingredients to make this recipe your own.
Bread Basics
We used classic white bread because it dries out nicely and soaks up flavor. But feel free to swap it out! Stale sourdough or a hearty country loaf adds a wonderful tang. Just make sure whatever bread you use is on the drier side for that perfect texture.
Broth Brilliance
Chicken broth is my go-to for that classic savory flavor, but if you need a change, vegetable broth works beautifully for a vegetarian option. Turkey broth is also a fantastic choice, especially if you have some homemade on hand!
Herb Heaven
Sage is the star here, no doubt! But don’t be afraid to add a sprig or two of fresh thyme or rosemary, finely chopped. Just a little goes a long way and adds another layer of deliciousness. It’s your kitchen, make it taste amazing!
Serving and Storing Your Restaurant-Style Stuffing
This stuffing is best served piping hot, right out of the oven! It’s the perfect companion to your holiday feast. Leftovers? Lucky you! Store any extra stuffing in an airtight container in the fridge for up to 3 days. To reheat, cover it with foil and pop it back into a 300°F (150°C) oven for about 15-20 minutes, or until warmed through. You can also gently warm it on the stovetop. For more fantastic recipes, check out my full collection here!

Frequently Asked Questions About Restaurant-Style Stuffing
Can I make this stuffing recipe ahead of time?
Oh, absolutely! That’s one of the best parts about this recipe. You can totally make the stuffing mixture (all the way up to pressing it into the pan) a day ahead. Just keep it covered in the fridge. When you’re ready to bake, let it sit out for about 20-30 minutes to come closer to room temperature, then bake as directed. You might need to add a few extra minutes to the baking time. It’s a lifesaver during those busy holiday prep times!
What kind of bread is best for making stuffing?
For that perfect restaurant-style texture, you really want a bread that dries out well. Stale white bread, like a good country loaf or even simple sandwich bread that’s a day or two old and toasted, is ideal. Sourdough or French bread also work great. The key is that it needs to be dried out so it can soak up all those yummy flavors without turning completely mushy. Fresh, soft bread just won’t give you that nice balance of tender and crispy bits, you know?
How do I prevent my stuffing from getting soggy?
Soggy stuffing is a tragedy! The biggest secrets are using dried-out bread (like we talked about!) and not over-mixing the liquid into the crumbs. You want it moistened, not swimming. Also, make sure you bake it uncovered. This lets the steam escape and allows that beautiful top to get nice and crisp. If you feel like it’s browning too quickly before it’s heated through, you can always loosely tent it with foil for the last 15-20 minutes of baking.
Can I add other ingredients like sausage or mushrooms to this stuffing?
You bet! This recipe is a fantastic base. If you’re craving a heartier stuffing, cook up about a pound of good quality sausage (mild or Italian works wonderfully) and drain off the extra fat before adding it to the breadcrumb mixture with the onions and celery. Sautéed mushrooms, chopped apples, or dried cranberries are also amazing additions to make it your own! Just remember to cook any raw ingredients before adding them in.
Nutritional Information for This Stuffing Recipe
Just a heads-up, these numbers are estimates per serving, as things can vary a bit with homemade recipes! This stuffing is about 101 calories, with around 2g of fat. It also has about 17g of carbohydrates and 3g of protein per serving. Pretty reasonable for such a comforting dish, right?
Share Your Restaurant-Style Stuffing Creations!
Alright, now it’s your turn! I’d absolutely LOVE to hear how your Restaurant-Style Stuffing turned out. Did you add any secret ingredients? Did your family rave about it? Seriously, drop a comment below and tell me all about it! And if you’re looking for more delicious sides, don’t forget to check out my Easy Skillet Corn with Honey Butter. Happy cooking!
Restaurant-Style Stuffing Recipes at Home (2025)
Ingredients
Equipment
Method
- Spread toasted bread slices on baking sheets and let sit out at room temperature until hard, about 24 hours.
- Once bread slices are ready, gather all ingredients. Preheat the oven to 325 degrees F (165 degrees C). Lightly grease a 9×13-inch baking dish.
- Crush bread slices into crumbs with a rolling pin. Transfer crumbs to a large bowl.
- Melt butter in a medium saucepan over medium heat. Stir in onion and celery; cook and stir until soft, 5 to 7 minutes. Remove from heat and drain.
- Stir chicken broth and eggs into bread crumbs; mix until evenly moistened, but not soggy. Add water, if needed. Mix in cooked onion and celery, sage, garlic powder; season with salt and pepper.
- Press dressing mixture into the prepared baking dish.
- Bake in the preheated oven until the top is brown and crisp, about 1 hour.
- Serve hot and enjoy!