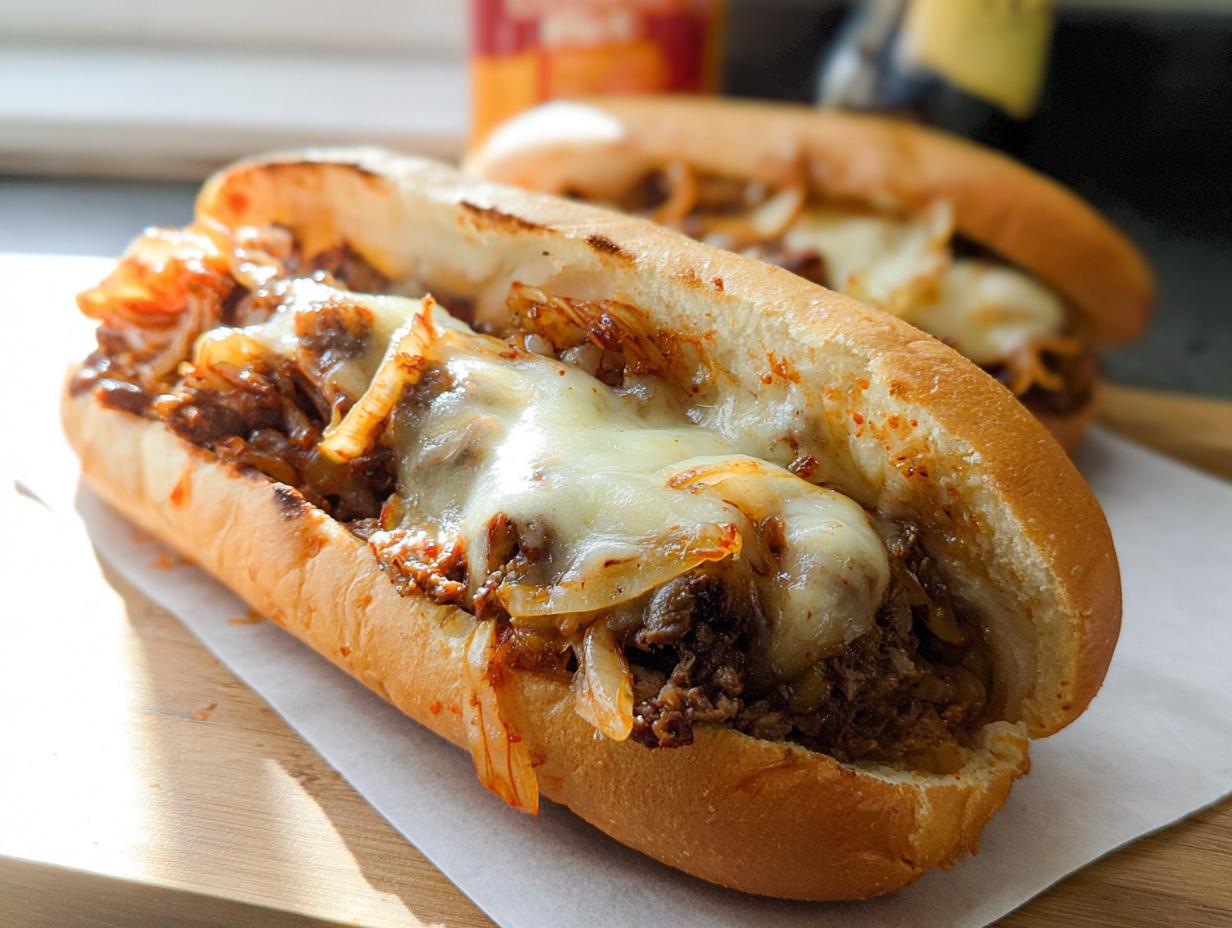
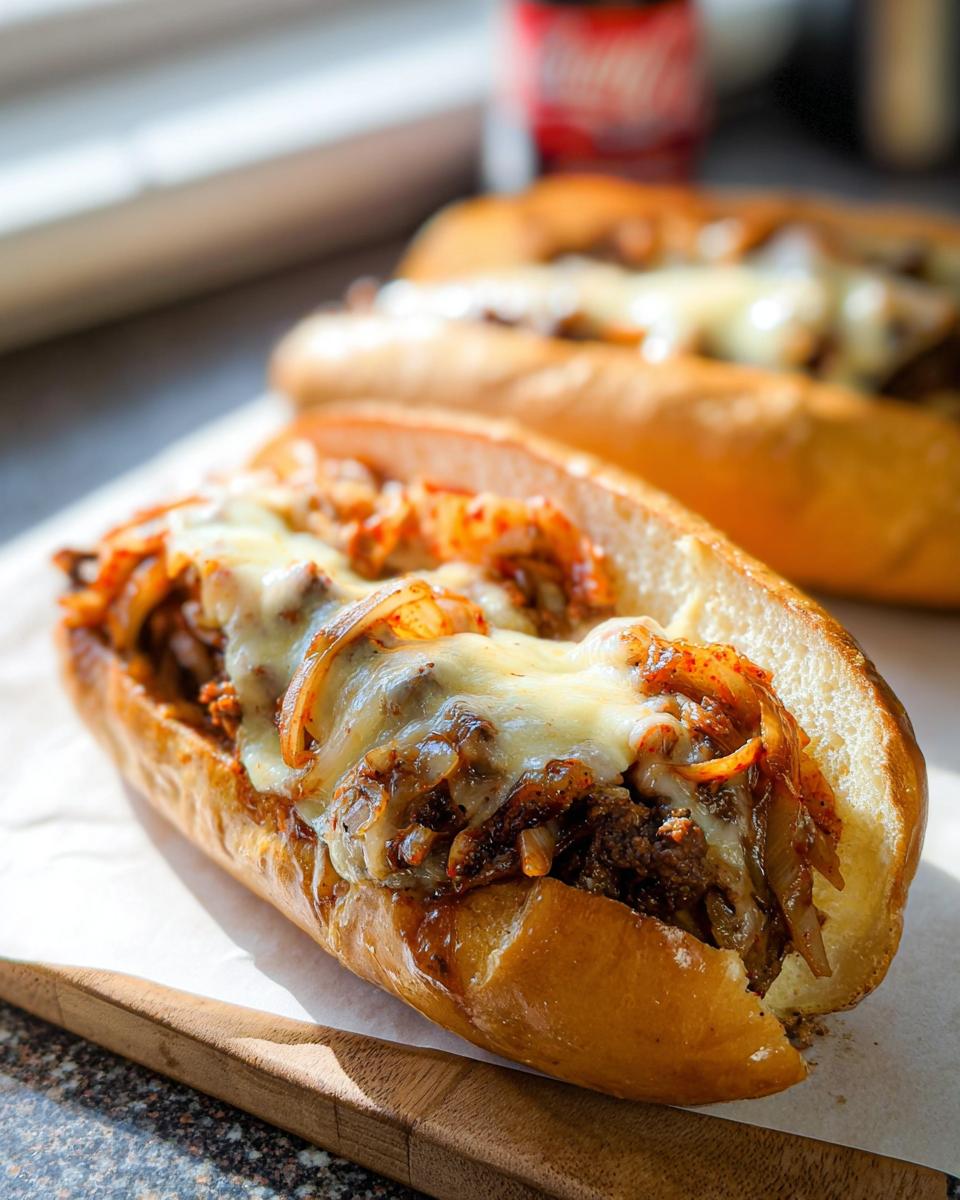
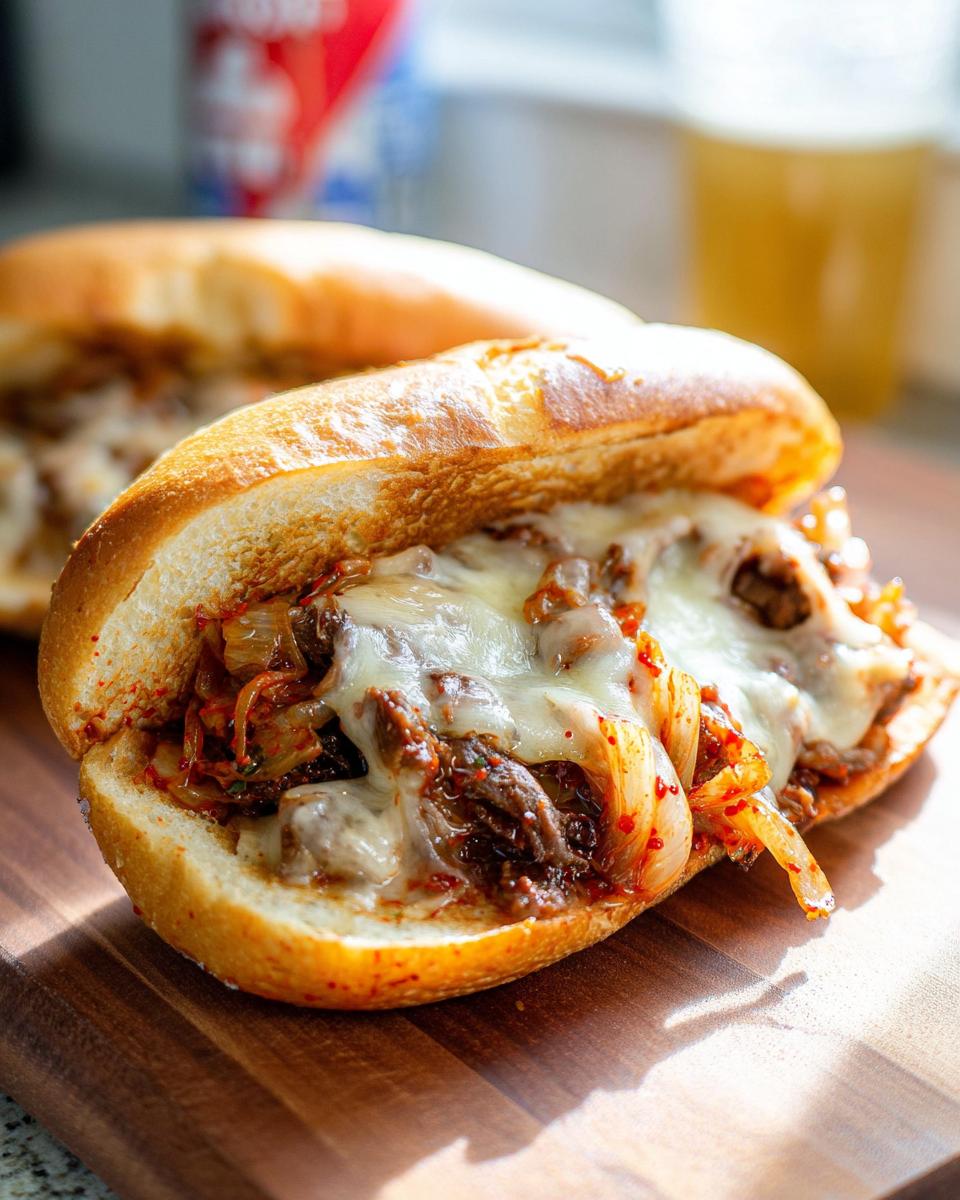
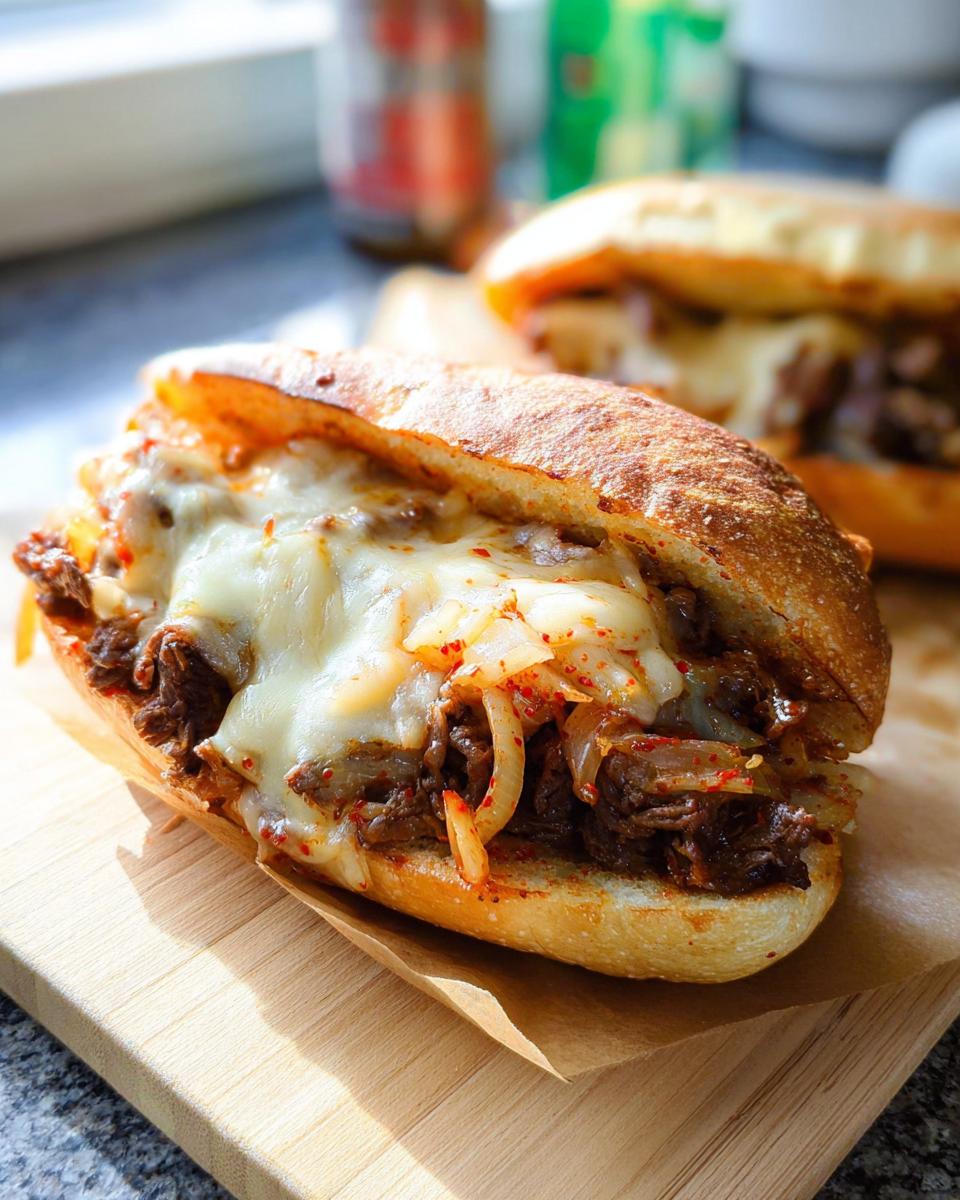
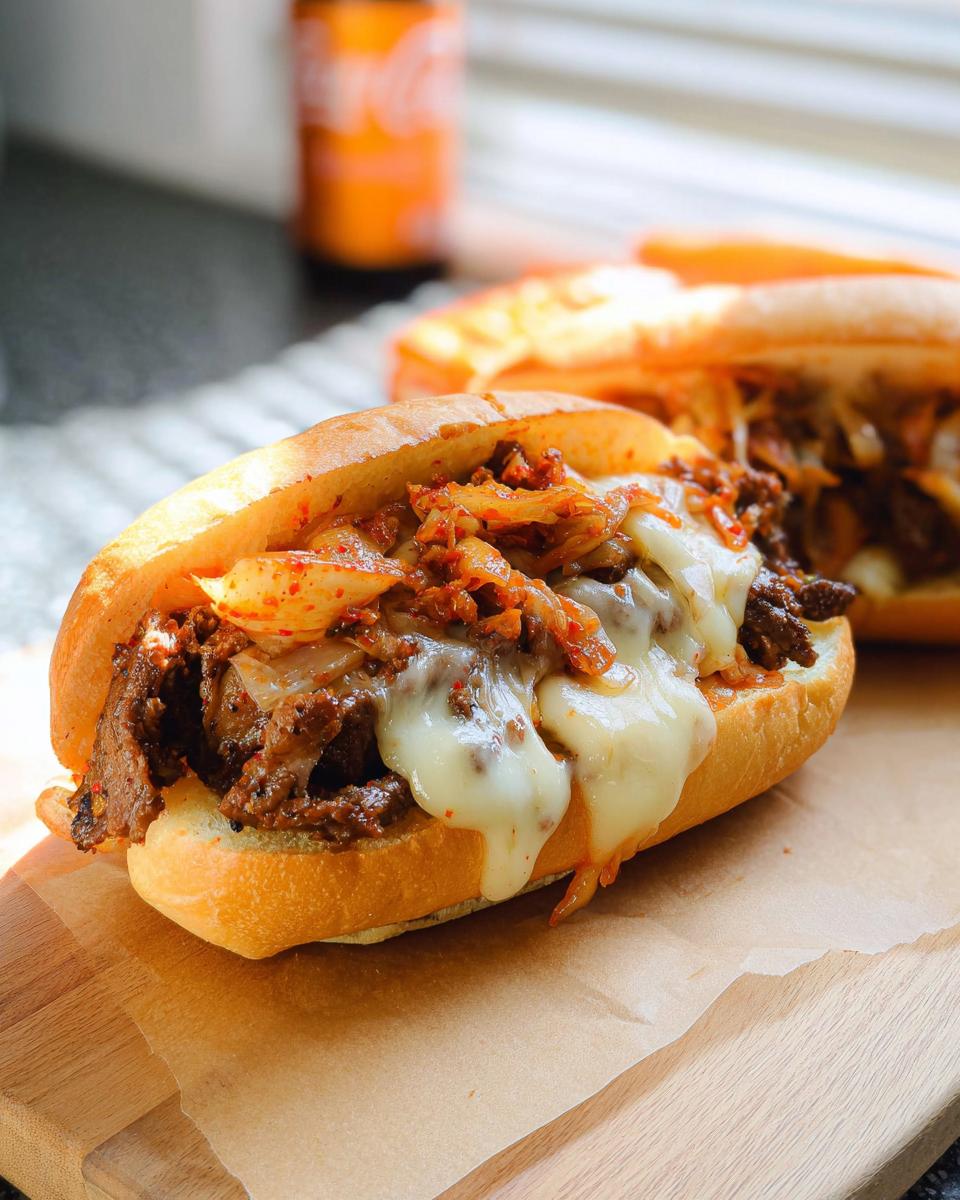
Oh man, get ready for a flavor explosion! The Spicy Kimchi Bulgogi Cheesesteak Recipe is seriously a game-changer for anyone who loves a little adventure in their food. I still remember the first time I tasted something like it at a food festival—it was pure magic! Tender, marinated beef, that awesome spicy kick from kimchi, all melty and gooey with cheese on a soft bun. It completely blew my mind. I just knew I had to recreate that incredible combo in my own kitchen. Hours later, with a sizzlin’ skillet and my pantry staples, I whipped up a version that not only hit that crave-worthy spot but also fit right into my keto lifestyle. It’s proof, from my kitchen as Sarah Johnson, The Keto Performance Chef, that bold, exciting food can be both delicious and nourishing!
Why You’ll Love This Spicy Kimchi Bulgogi Cheesesteak Recipe
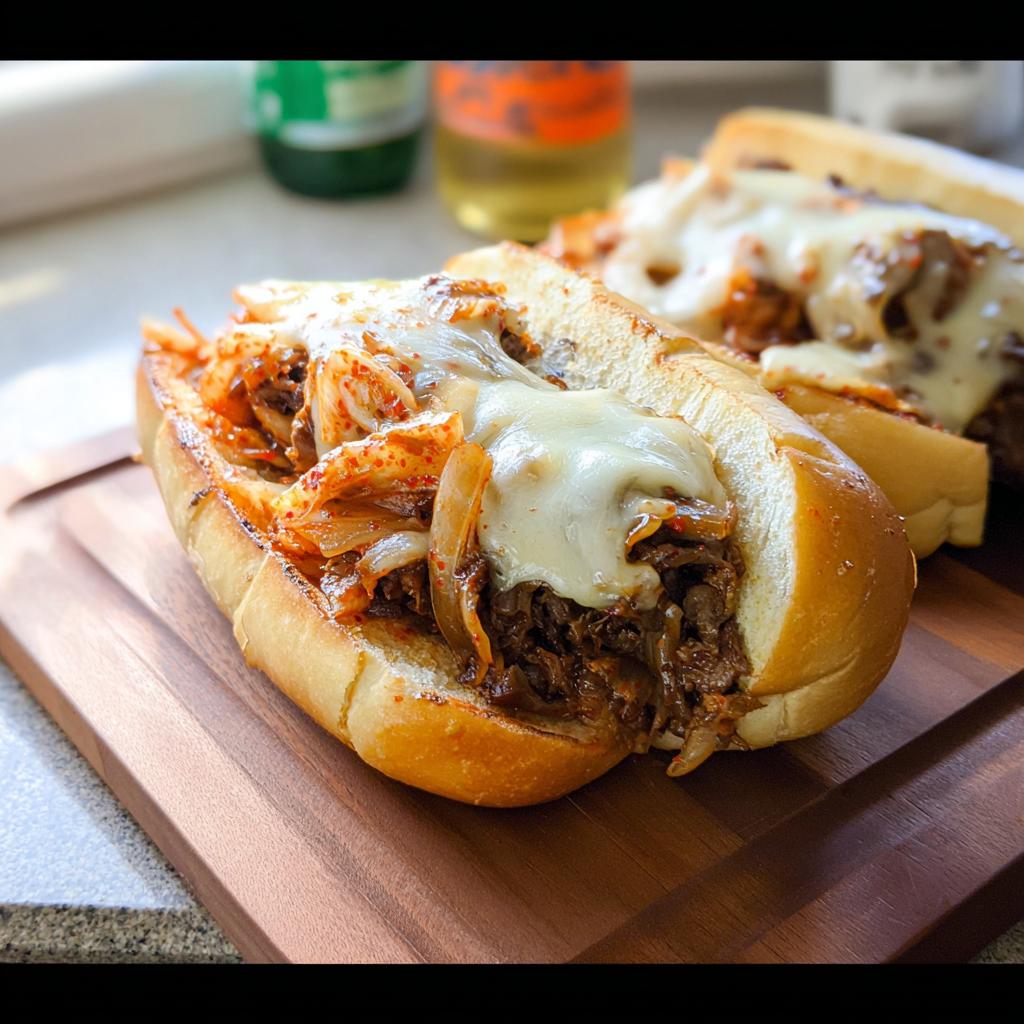
Get ready for a flavor explosion!
- Bold Fusion Flavor: It’s the ultimate mashup of savory Korean bulgogi and classic American cheesesteak.
- Quick & Easy: Ready in about 25 minutes – perfect for busy weeknights!
- Spicy Kick: That kimchi and optional gochujang mayo bring just the right amount of heat.
- Super Satisfying: Tender beef, melty cheese, and tangy kimchi? Yes, please!
- Totally Customizable: Easily tweak the spice level or cheese choice to your liking.
Gather Your Ingredients for the Spicy Kimchi Bulgogi Cheesesteak
Alright, let’s get our game faces on and gather up everything we need for this epic fusion creation! It’s not as complicated as it sounds, trust me. We’re breaking it down into a few easy groups.
For the Cheesesteak Bits: You’ll need about 8 ounces of marinated bulgogi meat – cook it fresh or use up leftovers! Grab 1/2 cup of your favorite sliced kimchi, and maybe 1/4 of a medium onion if you’re feeling it (totally optional!). For the cheesy goodness, have about 1/2 cup of shredded cheese or two slices ready – think mozzarella, American, or provolone, whatever makes your heart sing! And a tablespoon of butter or olive oil for cooking.
For the Buns: Two hamburger buns or hoagie rolls are perfect, or you could even go with four slices of bread. Whatever holds all that yumminess!
For the Gochujang Mayo (If you want that extra kick!): Mix 2 tablespoons of mayo with 1 teaspoon of gochujang. You can totally adjust the heat here – maybe use a bit of sriracha or your favorite hot sauce if gochujang isn’t your jam.
Step-by-Step Guide to Making Your Spicy Kimchi Bulgogi Cheesesteak
Okay, time to bring all those amazing flavors together! Trust me, this part is super quick and satisfying. You’ll have a restaurant-worthy meal ready in no time. This recipe really is one of those easy dinner recipes that feels way fancier than it is. Let’s dive in!
Toast the Buns to Perfection
First things first, let’s get those buns nice and toasty. Melt a little butter or drizzle some olive oil in your pan over medium heat. Spread it on the cut sides of your buns, then lay them cut-side down. Toast ’em until they’re golden brown and smell amazing. Pop them onto your plate!
Cook the Bulgogi Meat
Now for the star! Crank up your pan to high heat. If you’re using marinated bulgogi meat, just toss it in and cook it up, breaking it apart with your spatula and flipping it a couple of times. If you’re lucky enough to have leftover cooked bulgogi, just heat it through right here. Get it nice and cooked, then slide it onto another plate.
For tips on getting that perfect texture, check out this breakdown of how to make a great kimchi bulgogi cheesesteak.
Sauté the Kimchi and Onions
Lower the heat to a medium-high. Add a tiny splash of oil to the pan. Toss in your kimchi and those optional onion slices. Give it a good stir-fry for about 3 to 4 minutes. You want the kimchi to get a little soft and the color to get nice and deep. It’s gonna smell SO good!
Melt the Cheese Over the Kimchi
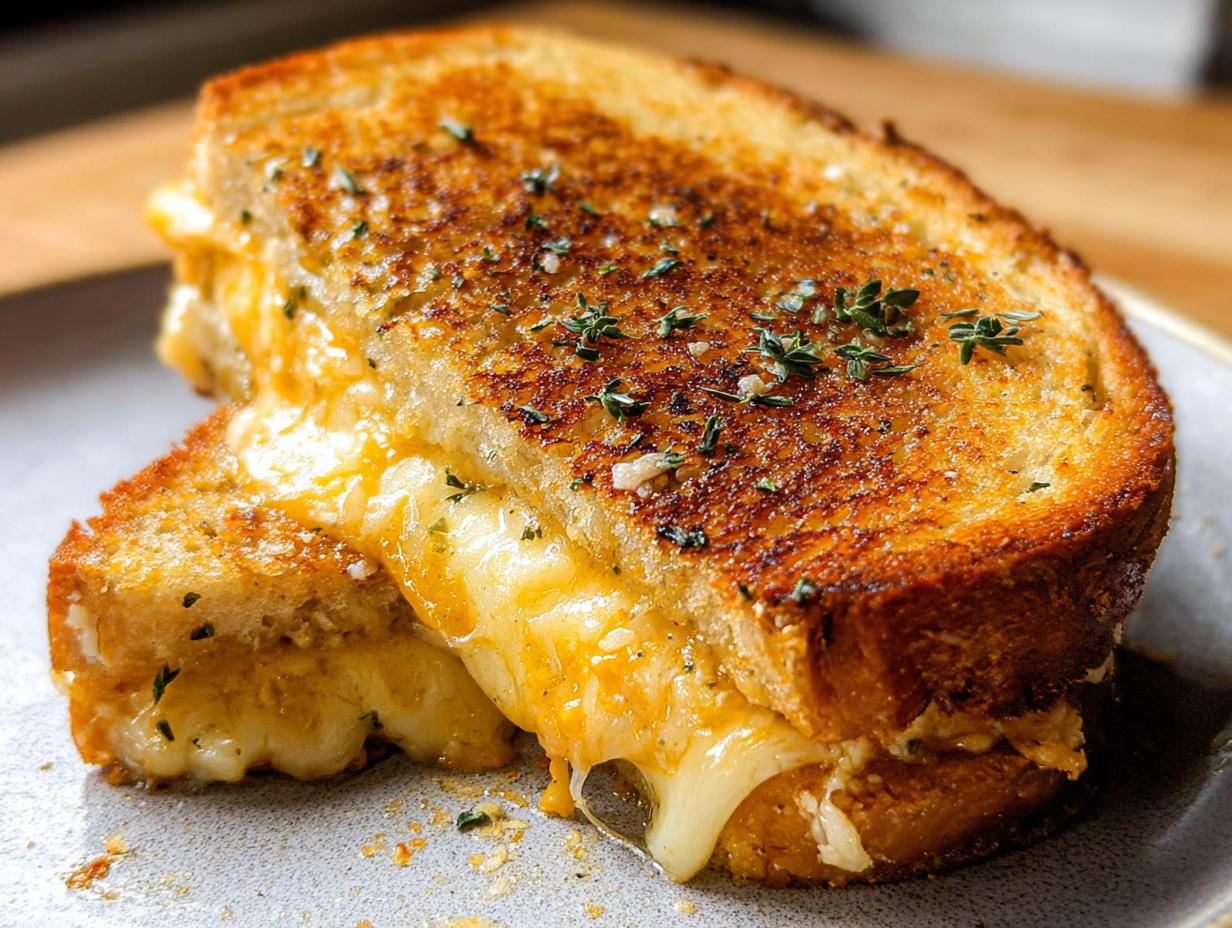
This is where the magic happens! Sprinkle your shredded cheese right over that glorious kimchi mixture in the pan. Pop a lid on it and let it cook over medium-low heat until all that cheese is melty, gooey perfection. Seriously, it’s like a cheesy blanket!
Prepare the Optional Gochujang Mayo
If you’re going for that extra zing, mix your mayonnaise and gochujang together in a small bowl until it’s all nicely combined. Easy peasy!
Assemble Your Spicy Kimchi Bulgogi Cheesesteaks
Alright, final step! Lay a crisp lettuce leaf on the bottom half of each toasted bun. Pile on that yummy bulgogi meat you cooked earlier, and then top it all off with that amazing, cheesy kimchi mixture from the pan. Drizzle with your gochujang mayo if you made it. Voila!
Tips for the Perfect Spicy Kimchi Bulgogi Cheesesteak
Alright, let’s chat about making this Spicy Kimchi Bulgogi Cheesesteak Recipe absolutely sing! As Sarah Johnson, The Keto Performance Chef, I swear by a few little tricks to make sure every bite is pure bliss. First off, don’t skimp on the quality of your bulgogi meat – good marbling means more flavor and tenderness! And for that kimchi? Make sure it’s nice and ripe; the older, tangier stuff really adds amazing depth. When you’re cooking, don’t overcrowd the pan with that yummy bulgogi; give it space so it sears instead of steams. That little bit of caramelization is pure gold!
Ingredient Notes and Substitutions
Got a question about ingredients? I’ve got you covered!
Bulgogi Meat: If you can’t find pre-marinated bulgogi, no worries! You can quickly marinate thinly sliced ribeye or sirloin yourself. Just a splash of soy sauce, sesame oil, garlic, and a tiny bit of sugar (or a keto-friendly sweetener!) does the trick. Leftover cooked bulgogi also works like a charm here.
Kimchi: Any good quality, fermented kimchi will work wonderfully. If you’re not a huge fan of it super spicy, go for a milder variety or just use a little less.
Cheese: Seriously, use what you love! Mozzarella is classic for its meltiness, provolone adds a nice bite, and good old American cheese makes it super creamy. Mix and match if you’re feeling adventurous!
Gochujang: This is where the sweet, spicy, fermented magic happens. If gochujang is too intense for you, sriracha or even a bit of gochugaru (Korean chili flakes) mixed with a touch of honey can give you a similar vibe.
Frequently Asked Questions about Spicy Kimchi Bulgogi Cheesesteak
Got more questions about this awesome Spicy Kimchi Bulgogi Cheesesteak Recipe? I’m happy to help!
Can I make this ahead of time?
You can totally prep some parts ahead! Cook the bulgogi and sauté the kimchi mixture separately and store them in airtight containers in the fridge. The gochujang mayo can also be made in advance. Then, just reheat everything in a pan and assemble when you’re ready to eat. It’s a great way to speed things up during the week!
What if I don’t like spicy food?
No worries at all! The kimchi does add a bit of tang and spice, but it’s usually not overwhelming. For the gochujang mayo, you can either leave it out completely or use way less gochujang, or even substitute it with a pinch of paprika for color. You’ll still get all those amazing savory and cheesy flavors!
What kind of bulgogi meat is best?
For the most tender and flavorful bulgogi, thinly sliced ribeye or sirloin is absolutely fantastic. The marbling in these cuts really makes a difference when it cooks up. If you’re short on time, pre-marinated bulgogi from an Asian market is a super convenient option and usually pretty good quality!
Can I use regular cheesesteak meat instead of bulgogi?
You absolutely could! If you have some thinly sliced ribeye or even some chopped chuck roast that you normally use for cheesesteaks, that’ll work fine. Just know that it won’t have that distinct sweet and savory bulgogi flavor, but it will still be a delicious sandwich with the kimchi and cheese!
Serving Suggestions
This Spicy Kimchi Bulgogi Cheesesteak is a meal all on its own, but if you want to round it out, a simple side works wonders! A crisp, cool cucumber salad would be amazing to cut through the richness. Or, keep it super simple with some crunchy pickled radishes. For drinks, a light, crisp beer or even some refreshing iced green tea would be fantastic!
Storage and Reheating
Got leftovers of this amazing Spicy Kimchi Bulgogi Cheesesteak? Lucky you! Store any cooled, uneaten portions in an airtight container in the fridge for up to 2 days. When you’re ready for round two, gently reheat in a skillet over medium-low heat, stirring occasionally. You can also pop it in a toaster oven or a regular oven at around 300°F (150°C) until warmed through. Try not to overheat the buns, though – they cook fast!
Nutritional Information
So, for all you calorie counters out there, here’s the lowdown on this Spicy Kimchi Bulgogi Cheesesteak Recipe. Keep in mind these are just ballpark figures since everyone’s ingredients can vary a bit! We’re looking at roughly 450-550 calories per serving, with about 25-35g of fat, 20-30g of protein, and 25-35g of carbs. It really depends on the type of cheese and bun you go with!
Spicy Kimchi Bulgogi Cheesesteak Recipe
Ingredients
Equipment
Method
- Toast the buns. Melt butter or add olive oil to a preheated pan over medium heat. Spread butter or drizzle oil on the cut sides of the buns, then toast them cut side down until golden brown. Transfer to a serving plate.
- Cook the bulgogi. Reheat the pan over high heat. Cook the marinated meat, loosening it and flipping once or twice. If using pre-cooked bulgogi, simply heat it in the pan. Transfer the cooked meat to another plate.
- Stir fry the kimchi. Reduce heat to medium-high and add a couple of teaspoons of cooking oil to the pan. Stir fry the kimchi and optional onion slices for 3 to 4 minutes, until the kimchi is slightly softened and deep in color.
- Melt the cheese. Top the kimchi mixture with cheese. Cover the pan and continue to cook over medium-low heat until the cheese is melted.
- Make the gochujang mayo (optional). Mix mayonnaise with gochujang until well combined.
- Assemble the cheesesteaks. Place a lettuce leaf on the bottom half of each toasted bun. Top with the bulgogi and kimchi cheese mixture.