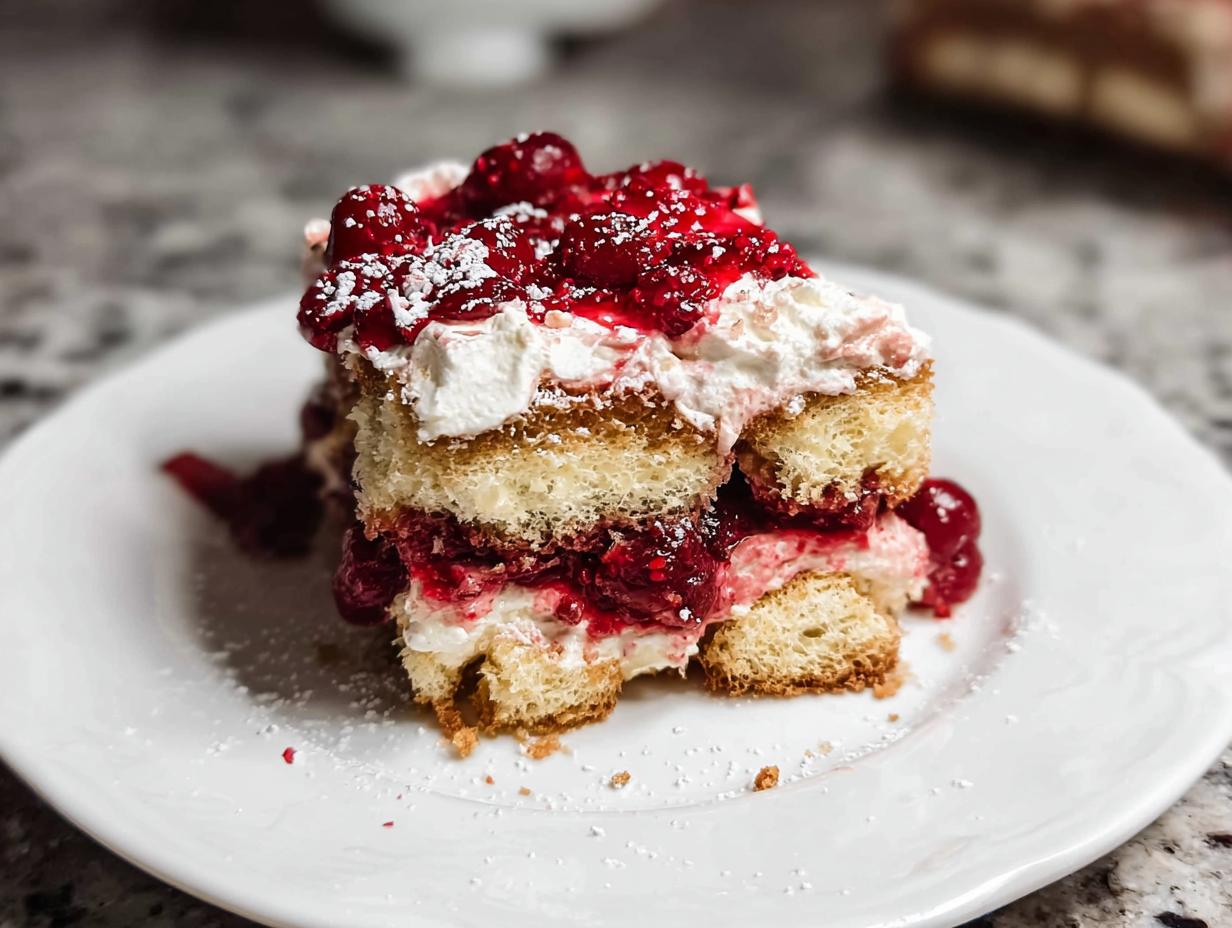
Oh, do you ever get those intense cravings for something decadent, something that just whispers “pure indulgence”? I sure do! Especially when it comes to a classic Tiramisu. But you know me, I’m always on the hunt for ways to make those rich, dreamy flavors fit into a healthier lifestyle, especially when I’m sticking to low-carb or keto. That’s where this incredible Tiramisu Chia Pudding comes in! It totally blew me away the first time I whipped it up.
I’ll never forget sitting in my kitchen, thinking about all those amazing desserts from my pastry chef days, wondering how I could possibly recreate that magic without derailing my whole diet. This recipe was born out of that very craving! It’s inspired by the classic Italian treat, but with a super smart, healthy twist that I just love. Each spoonful is like a little hug, proving that you absolutely don’t need to compromise on flavor to be kind to your body. It’s a true labor of love, and I’m just thrilled to share it with you as a Master of Keto Confectionery Arts!
Why You’ll Love This Tiramisu Chia Pudding
Honestly, this Tiramisu Chia Pudding is a total game-changer! It’s one of those recipes that just makes you feel good, inside and out. Here’s why you’re going to be obsessed:
- Super Easy to Make: Seriously, you just whisk, blend, and layer. No fancy techniques needed!
- Totally Keto-Friendly & Low-Carb: Indulge without the sugar crash or the carb guilt. It fits right into your healthy eating goals.
- Gluten-Free Goodness: Perfect for anyone avoiding gluten.
- Decadent Flavor, Healthy Ingredients: It tastes just like the real deal, but you’re getting all the goodness of chia seeds and wholesome plant-based ingredients.
- Cravings Satisfied: When that sweet tooth hits, this is your guilt-free answer. It feels so wonderfully indulgent!
Ingredients for Your Tiramisu Chia Pudding
Okay, let’s talk about what you’ll need to make this magic happen! Don’t worry, it’s all pretty straightforward, and I’ve tried to make it as flexible as possible.
For the Chia Cream:
- 400 ml plant-based milk (I love almond or cashew, but vanilla soy works great too!)
- 6 tbsp chia seeds (these are our little texture heroes!)
- 1 tsp vanilla powder or natural extract
- 2-3 tbsp maple syrup (or your favorite natural sweetener – adjust to your taste!)
For the Creamy Layer (Mascarpone-style):
- 200 g plain plant-based yogurt (coconut or soy are wonderfully creamy)
- 100 g silken tofu (don’t be scared, it blends like a dream!) or soaked cashews
- 1 tbsp maple syrup
- 1 tsp lemon juice (just a touch for brightness!)
For the Soaked "Biscuit" Base:
- 100 ml strong coffee (espresso or instant coffee works wonders)
- 1 tbsp maple syrup
- A few gluten-free biscuits, or leftover homemade cake cut into cubes (this is our quick ‘ladyfinger’ stand-in!)
For the Topping:
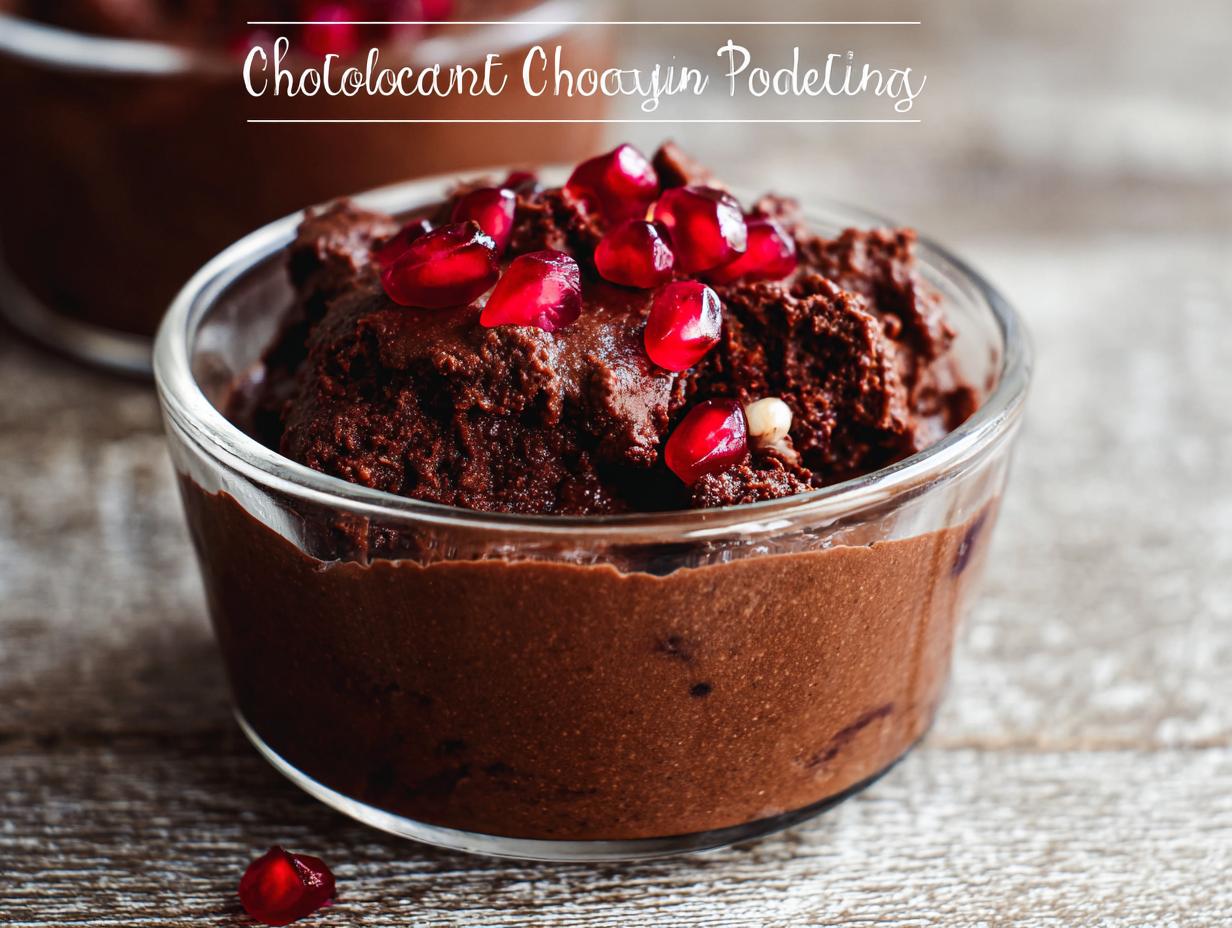
- 1-2 tbsp unsweetened cocoa powder (preferably raw – it’s so rich!)
- Optional extras: dark chocolate shavings, a few extra chia seeds, a bit of orange zest, or some fresh berries!
How to Prepare Your Tiramisu Chia Pudding
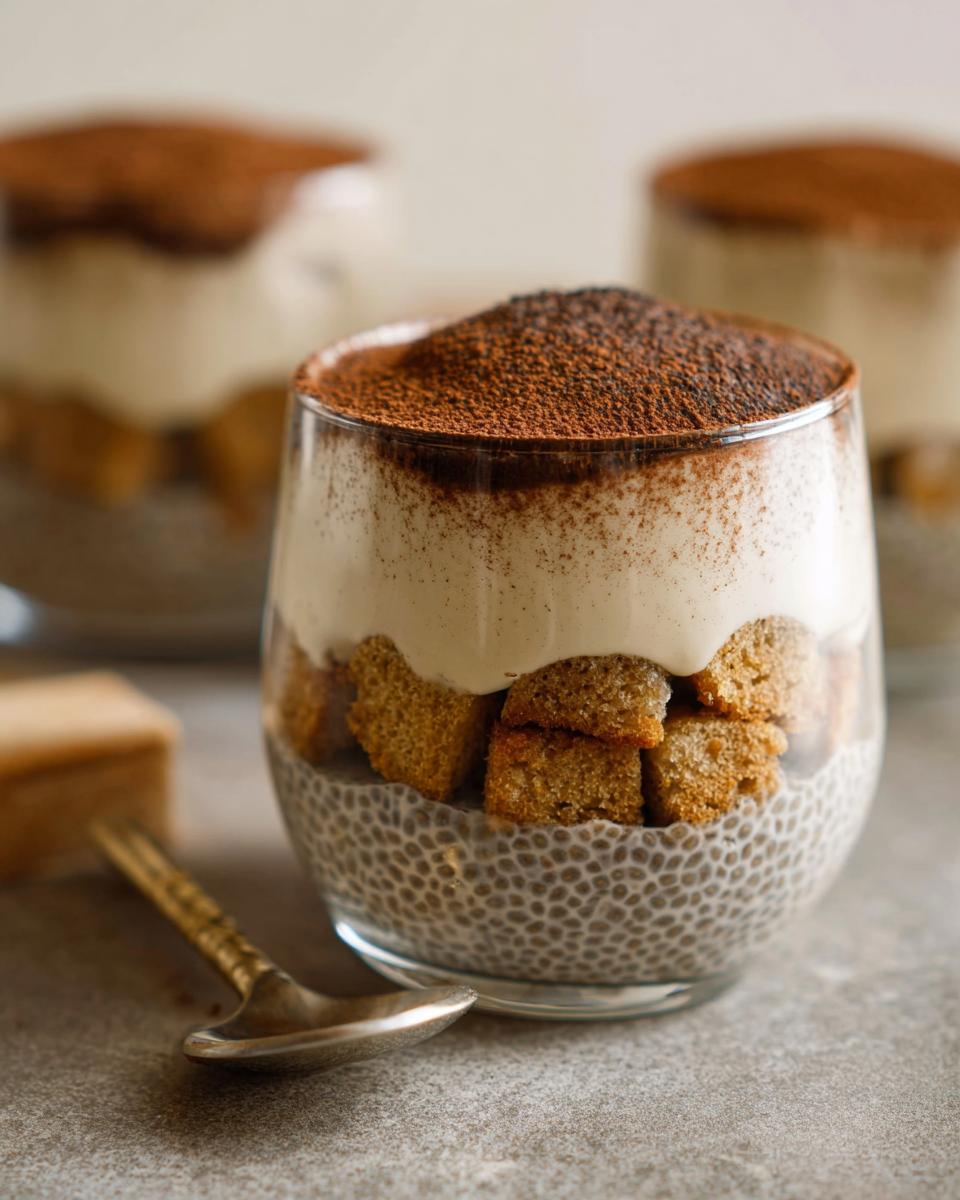
Alright, let’s get this party started! Making this Tiramisu Chia Pudding is honestly part of the fun, and I promise, it’s way easier than it looks. Think of it as building little dessert masterpieces in your verrines!
First things first, grab a large bowl. Pour in your plant-based milk, then add the chia seeds, vanilla, and a touch of maple syrup. Give it a good whisk – we want those chia seeds to get friendly with the liquid! Let it hang out for about 10 minutes, then whisk again. This second whisk is key to preventing any clumps. Pop this beauty in the fridge for at least 3 to 4 hours, or honestly, overnight is even better. You’re looking for a nice, thick pudding texture.
While that chia pudding is chilling, let’s whip up that creamy layer. Grab your blender and toss in the plant-based yogurt, silken tofu (or those soaked cashews, if you went that route), another little splash of maple syrup, and that tiny bit of lemon juice. Blend it all up until it’s super smooth, creamy, and airy. Pop this in the fridge too – we want nice, cool layers!
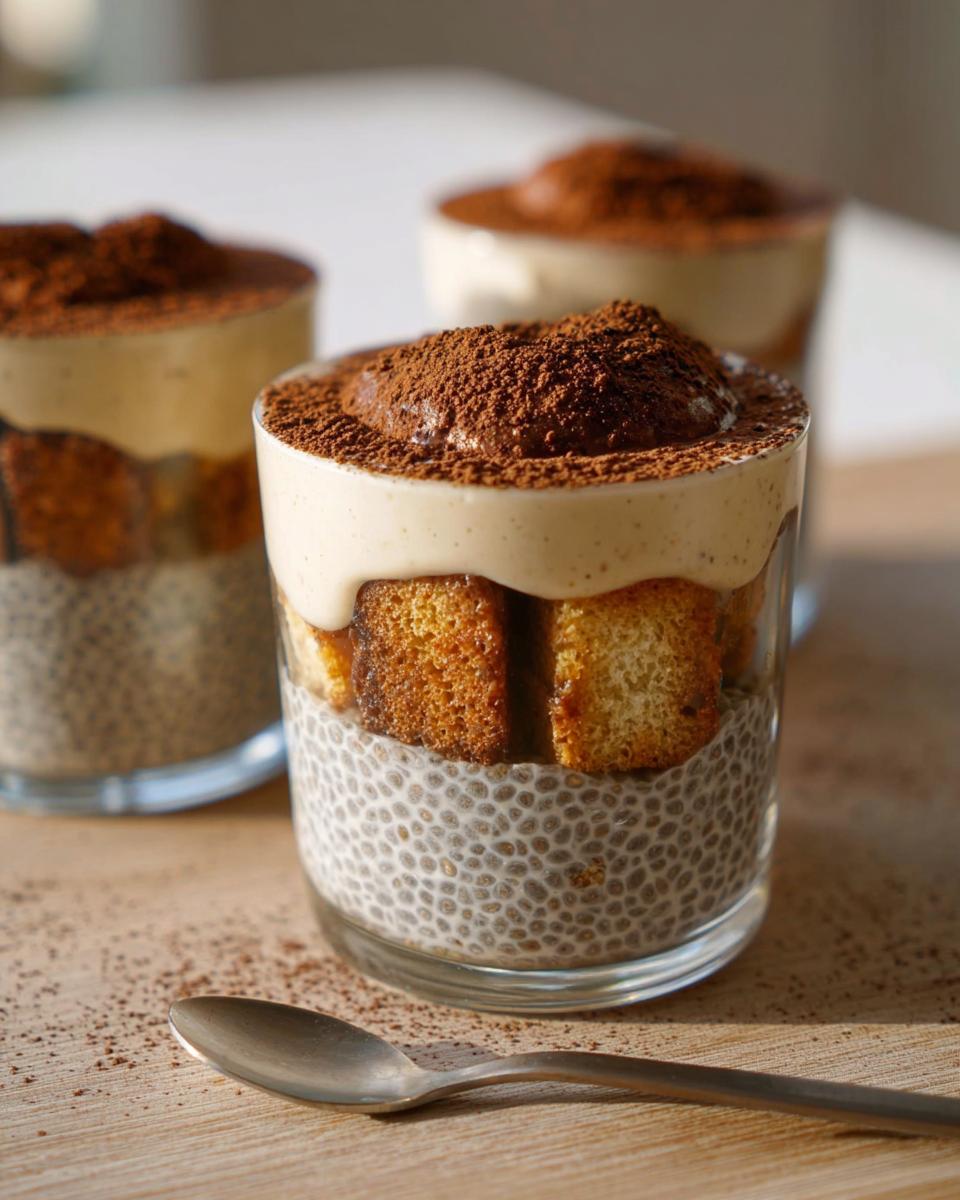
Now for the “biscuit” base! Brew up some strong coffee – espresso is amazing here if you have it, but good instant coffee works too. Stir in another tablespoon of maple syrup. This is where you need to be quick and decisive! Grab your gluten-free biscuits (or cake pieces) and give each one a super quick dip in the coffee. We don’t want them to turn to mush, just a gentle soak so they get that lovely coffee flavor. Arrange these coffee-kissed bits at the bottom of your verrines.
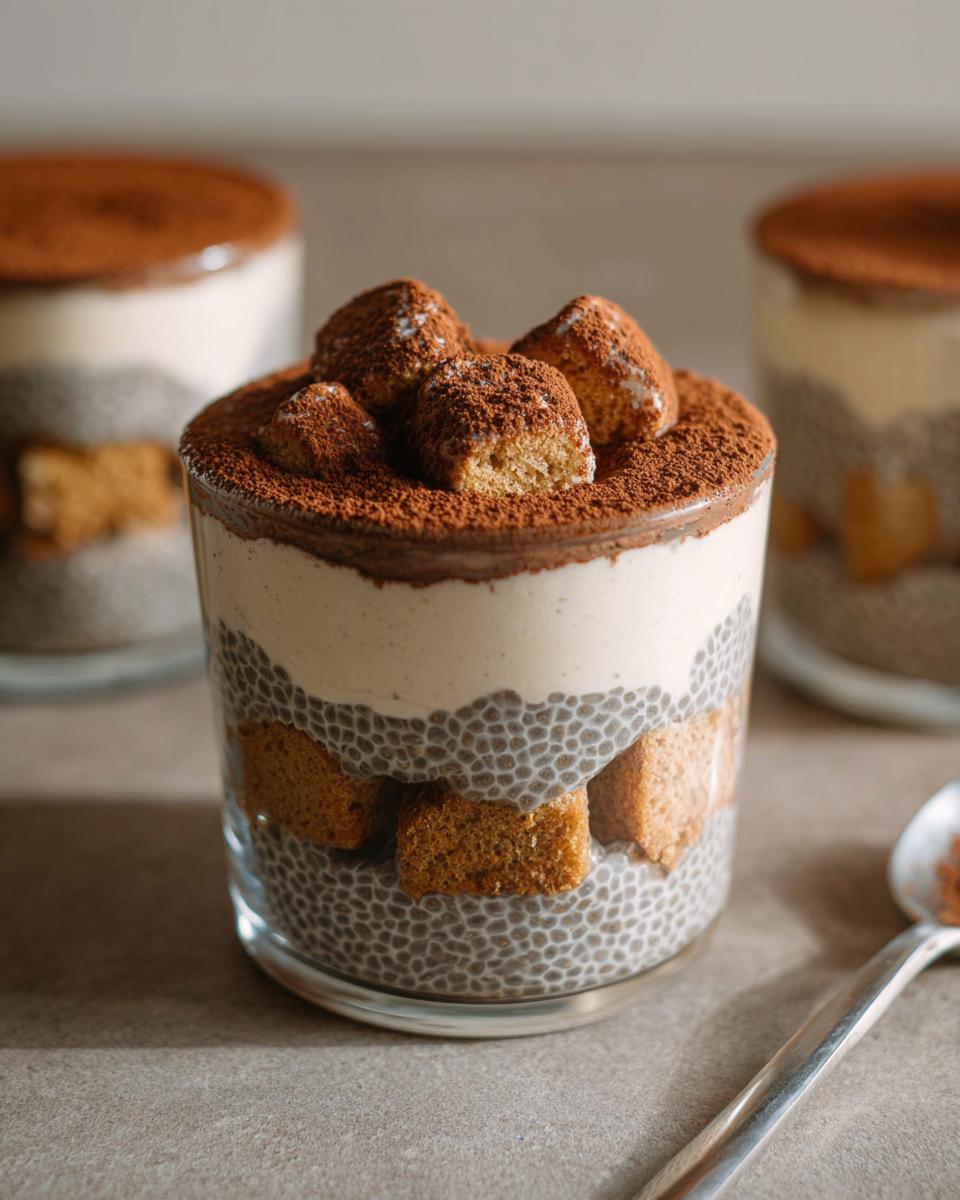
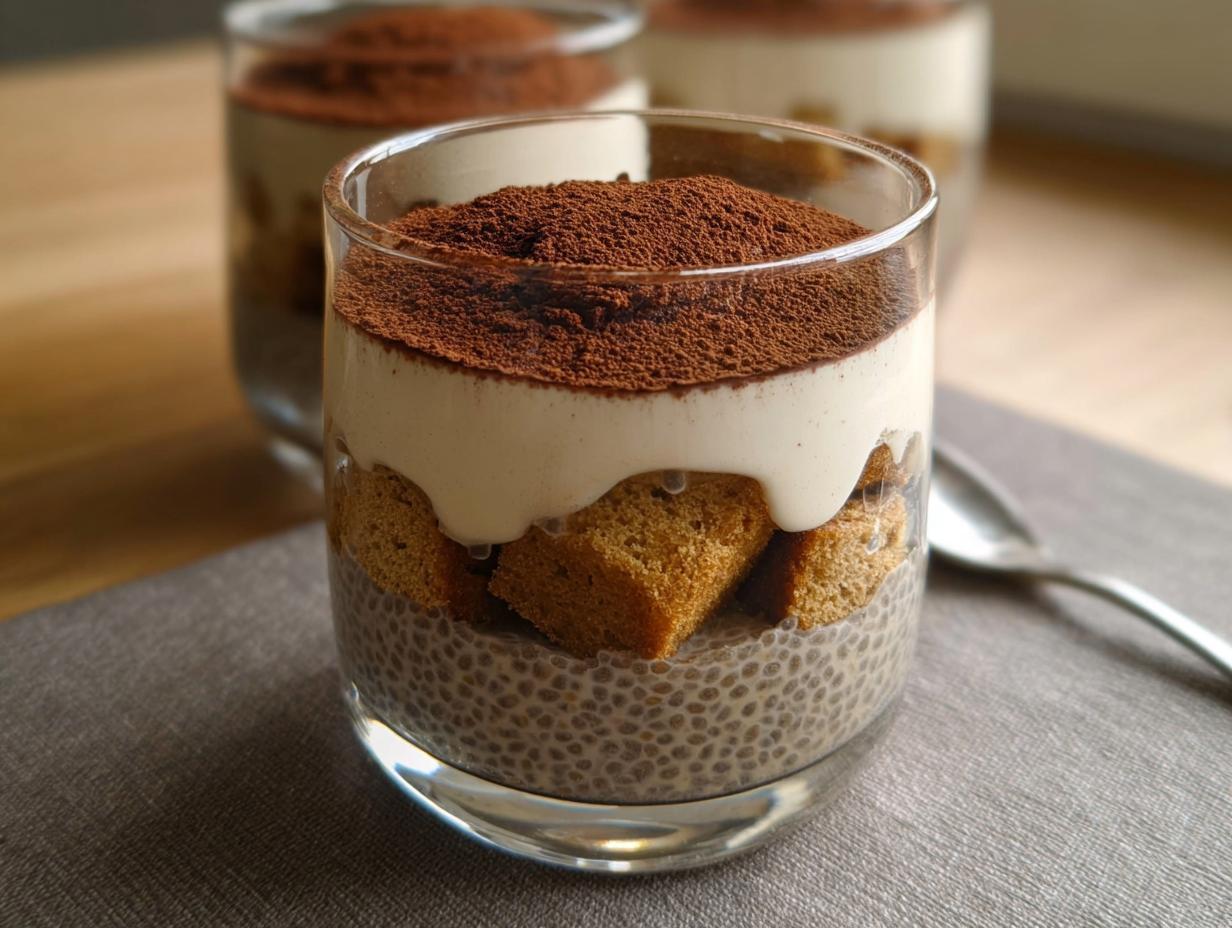
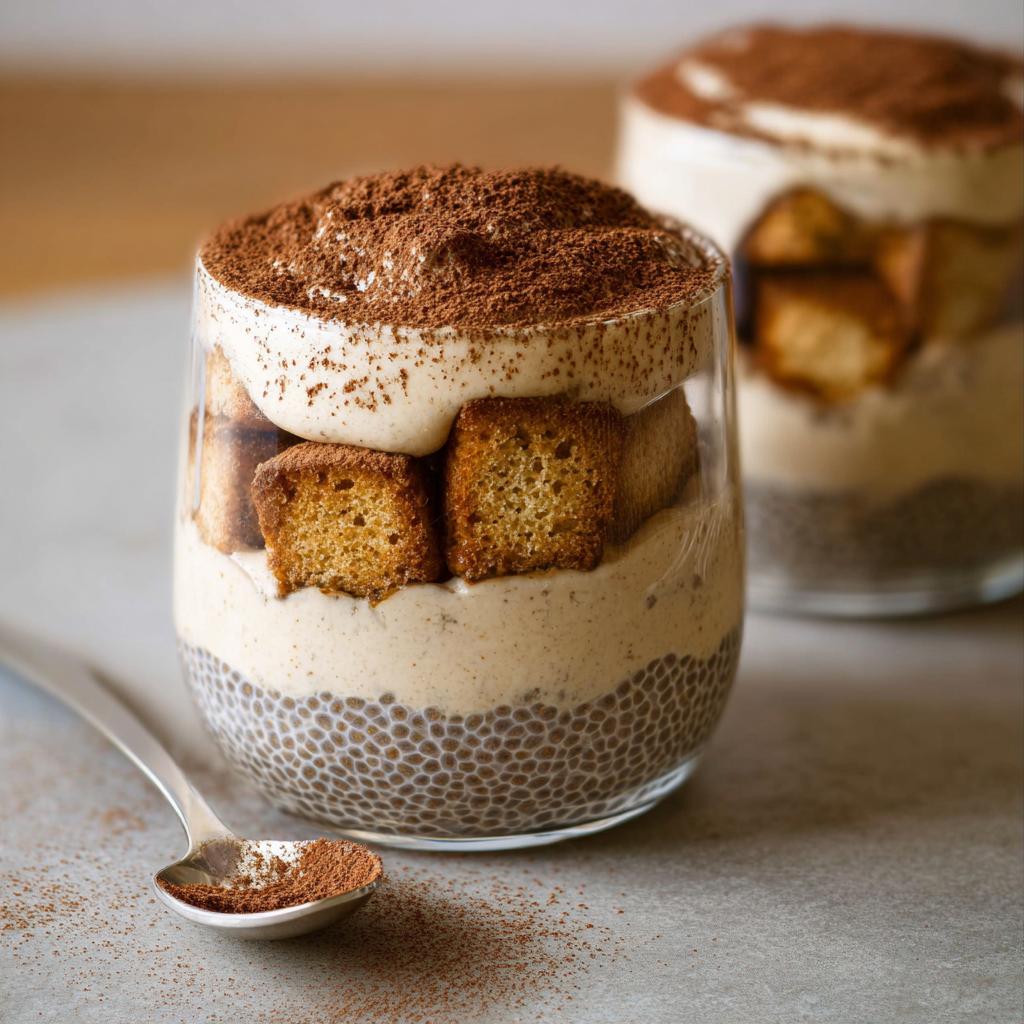
Time to assemble! Spoon a layer of your thickened chia pudding over the biscuit base. Then, carefully add a luscious layer of your creamy plant-based mixture on top. Smooth the surface gently. Finally, the grand finale: a delicate dusting of unsweetened cocoa powder over the top using a sieve for that perfect, classic Tiramisu look. Pop them back in the fridge for at least an hour to let all those flavors meld. Trust me, the extra chilling time really does make a difference!
For more amazing chia pudding ideas, check out my Lemon Cream Chia Pudding. And if you’re curious about the traditional side of things, this Italian Tiramisu recipe is pretty fantastic!
Tips for the Perfect Tiramisu Chia Pudding
You know, sometimes the little things make all the difference, right? Here are a few tricks up my sleeve to make sure your Tiramisu Chia Pudding is absolutely divine:
Consistency is Key: If your chia pudding feels a little too thick, just whisk in a tablespoon or two of extra plant-based milk until it’s perfect. Too thin? Oops! Don’t worry, just add a tiny bit more chia seeds and let it sit for another 15 minutes. For that super smooth creamy layer, make sure you blend until there are absolutely no lumps – a bit of extra blending time is totally worth it!
Dietary Swaps: If you can’t find silken tofu or are avoiding soy, soaked cashews are your best friend for that creamy layer! Just soak about 1/2 cup of raw cashews in hot water for 30 minutes, then drain well before blending. For a nut-free option, stick with the coconut or soy yogurt and maybe a touch more silken tofu.
Coffee Lover? If you’re a serious coffee fiend like me, feel free to add a tiny drop of coffee extract or a bit more espresso to your coffee soak. It just boosts that classic Tiramisu flavor!
Serving and Storing Your Tiramisu Chia Pudding
The best part? This Tiramisu Chia Pudding is totally a make-ahead dream! I love assembling them in little verrines (those cute glasses!) and popping them in the fridge for at least an hour, but honestly, they’re even better after 4 hours, or even overnight. This gives all those gorgeous flavors a chance to really get to know each other. Just before serving, give the tops a nice dusting of that rich cocoa powder and add any of your favorite optional toppings like chocolate shavings or fresh berries. If you happen to have any leftovers (which is rare in my house!), just pop a lid on or some plastic wrap and keep them in the fridge for up to 3 days. They stay perfectly delicious!

Frequently Asked Questions about Tiramisu Chia Pudding
Got questions? I’ve got answers! I know trying new recipes can bring up a few things, so let’s clear the air about this delightful Tiramisu Chia Pudding.
Can I make this recipe vegan?
Absolutely! This recipe is already pretty much vegan-friendly. Just make sure you’re using plant-based milk and yogurt, which we’ve already called for. The maple syrup is vegan too. So yes, it’s a delicious vegan treat!
What are the health benefits of chia seeds?
Oh, chia seeds are little powerhouses! They’re packed with fiber, which is amazing for digestion. They also have omega-3 fatty acids, which are great for your brain and heart. Plus, they offer protein and a bunch of minerals. So, you’re not just eating dessert; you’re getting some serious goodness in there!
Can I substitute the coffee?
Yes, you can! If coffee isn’t your thing, or you’re making this for little ones, try using decaf espresso, or even a strongly brewed chai tea or a splash of almond extract diluted in water for a different flavor twist. Just keep it strong so it really flavors those biscuit layers.
How long does it take to set?
The chia pudding itself needs about 3 to 4 hours in the fridge to get that lovely, thick texture. But for the assembled Tiramisu Chia Pudding, I really recommend letting it chill for at least an hour after layering, ideally longer. This lets all those flavors meld together beautifully. You can even make it the night before – it’s perfect for meal prep!
Where can I find more keto dessert ideas?
I’m so glad you asked! For loads more delicious and guilt-free treats, you should definitely check out my collection of Keto Desserts. There are tons of recipes there to satisfy any craving!
Nutritional Information
Alright, let’s talk about the good stuff! While the exact numbers can bounce around a bit depending on the specific brands and types of plant-based milks or yogurts you use, here’s a general idea of what you’re looking at per serving of this Tiramisu Chia Pudding:
- Calories: Around 250-300
- Fat: 15-20g
- Carbohydrates: 20-25g (with about 10-15g from fiber, making the net carbs much lower!)
- Protein: 8-12g
Remember, these are just estimates, but pretty impressive for such a decadent-tasting treat, right?
Tiramisu Chia Pudding
Ingredients
Equipment
Method
- Pour the plant-based milk into a large bowl. Add the chia seeds, vanilla, and maple syrup. Whisk well, let it sit for 10 minutes, whisk again, and refrigerate for 3 to 4 hours until it has a pudding texture.
- In a blender, combine the plant-based yogurt, silken tofu (or cashews), maple syrup, and lemon juice. Blend until you have a smooth, thick, yet airy cream. Set aside in the refrigerator.
- Prepare the strong coffee and stir in the maple syrup. Quickly dip your biscuit pieces into the coffee, being careful not to soak them completely. Arrange these dipped biscuits at the bottom of each serving glass.
- Add a layer of the chia pudding, followed by a layer of the plant-based cream. Smooth the surface of the cream layer.
- Dust the top with sifted cocoa powder.
- Refrigerate for at least 1 hour before serving, ideally 4 hours.