
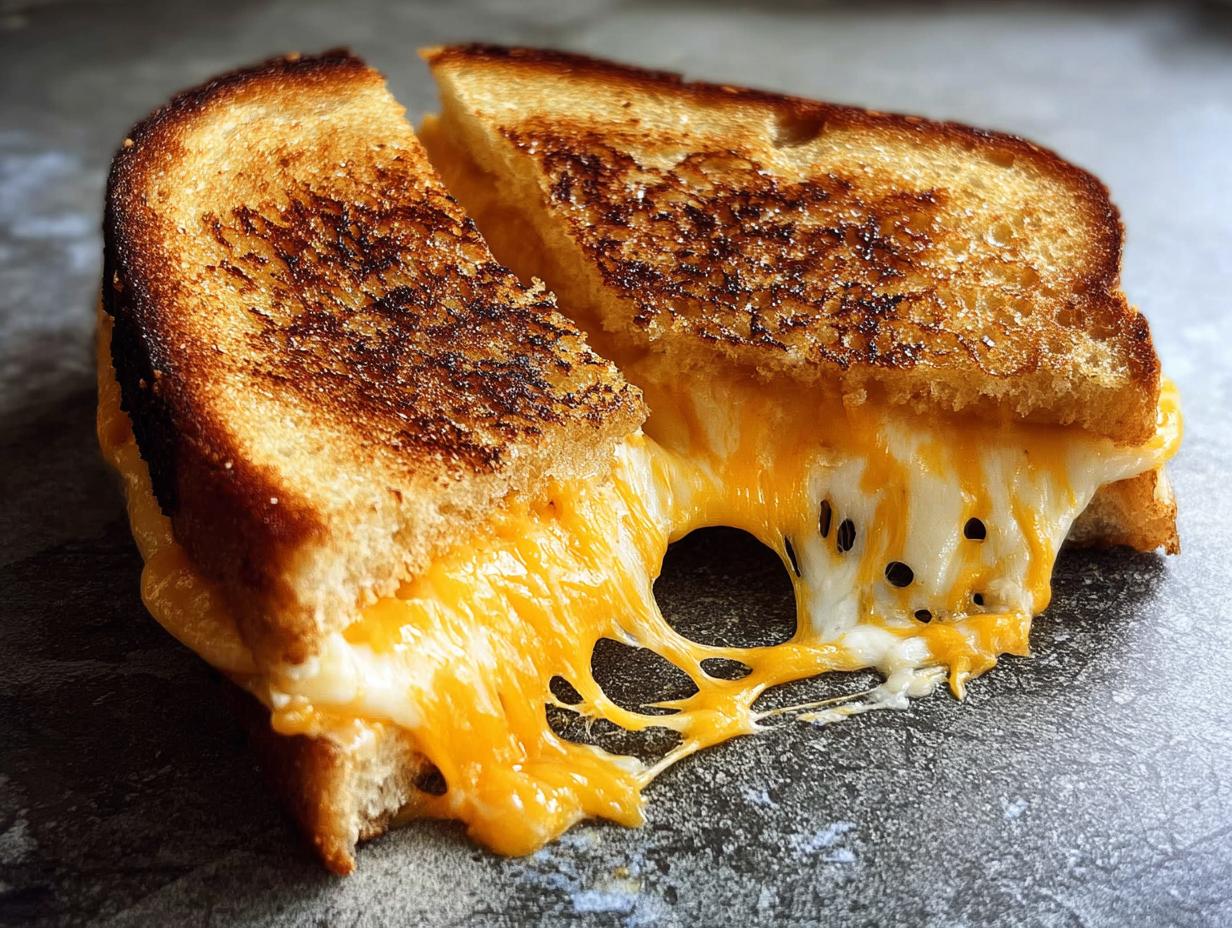
There’s something magical about a grilled cheese sandwich, isn’t there? That perfect combination of crispy, buttery bread and gooey, melted cheese just screams comfort. It’s like a warm hug on a plate! Today, I want to share a recipe that truly captures that feeling – Why Everyone Loves This Grilled Cheese Recipes (+ Make-Ahead Tips). It’s my go-to for a reason, and the best part? You can totally prep it ahead of time!
I still remember the first time I made grilled cheese for my younger siblings on a rainy Saturday afternoon. My mom had been busy, and I wanted to create something special with just a few ingredients we had at home. As the butter melted in the skillet and the aroma filled the kitchen, we couldn’t wait to take our first bite. That cheesy, crispy perfection not only satisfied our hunger but also created a beautiful memory of togetherness. Now, with my busy schedule, I often prep these sandwiches ahead of time, so I can share that same comforting experience with my family, no matter how hectic the week gets. I’m Mark Williams, by the way, and as The Keto Performance Chef, I’m all about making delicious, fuss-free meals that everyone can enjoy!
Why Everyone Loves This Grilled Cheese Recipes (+ Make-Ahead Tips): The Ultimate Comfort Food
Oh, grilled cheese! It’s more than just a sandwich, isn’t it? It’s pure, unadulterated comfort food. Think about that perfect golden-brown crust, the satisfying crunch, and then, BAM! That glorious, gooey, melty cheese pull. Yum! It’s one of those simple pleasures that just makes everything feel a little bit better. That’s exactly why Why Everyone Loves This Grilled Cheese Recipes (+ Make-Ahead Tips) is such a hit. It takes that classic, soul-warming goodness and makes it super easy to bring to your table, even when life gets hectic. I’ve spent years perfecting comforting dishes, like the ones you’ll find in my recipe collection, and this grilled cheese truly delivers that heartwarming satisfaction everyone craves. For more grilled cheese inspiration, check out this great resource.
Ingredients for Your Perfect Grilled Cheese
Alright, let’s talk about what makes this grilled cheese so darn good! It’s all about using the right stuff, and trust me, a few key ingredients make all the difference. Don’t worry, it’s super simple and you probably have most of this stuff already!
For the Sandwich
We’re starting with two slices of sturdy sourdough bread – it holds up so well! Then, instead of boring ol’ butter inside, we’re going with a thin layer of mayo for that perfect crisp and a little smear of Dijon mustard for a tiny kick. For the cheese, you’ll want about 1 to 2 ounces each of sharp cheddar and Gruyère (or a nice raclette cheese). That combo is pure magic!
For Cooking
And for cooking? Just good ol’ butter. That’s it! It gets that bread beautifully golden and adds that unmistakable flavor.
How to Make This Grilled Cheese Recipe
Making the perfect grilled cheese is seriously so easy, and honestly, it’s one of my favorite ways to whip up a quick and satisfying meal. You want that bread to be golden brown and perfectly crispy, with cheese that’s all melty and gooey inside. Here’s how we’re going to do it:
First things first, grab a cutting board. Spread a nice, thin layer of mayonnaise on one side of each slice of sourdough bread. Don’t be shy! Now, flip one of those slices over and give its other side a little smear of Dijon mustard. This is where the flavor starts to build!
Next, pile on that grated sharp cheddar and Gruyère cheese. Try to spread it evenly so you get cheesy goodness in every bite. Then, place that other bread slice on top, mayo-side out, of course. You’ve got your sandwich ready to go!
Heat up a skillet – I love my cast iron for this – over medium-low heat. You want it warm enough to get everything nice and golden, but not so hot that it burns super fast. Melt in enough butter to coat the bottom; this is your ticket to that amazing crispy crust.
Carefully place your sandwich in the buttered pan. Cover it up – this traps the heat and helps that cheese melt beautifully. Let it cook for about 2 to 3 minutes. You’re looking for that bottom slice to turn a gorgeous golden brown and get nice and crisp.
Now for the flip! Use your spatula to carefully turn that sandwich over. Put the lid back on and cook for another 1 to 3 minutes. This side needs to get golden too, and the cheese should be perfectly melted and oozy. If your bread starts browning too fast before the cheese melts, just turn the heat down a notch. It’s all about that perfect balance!
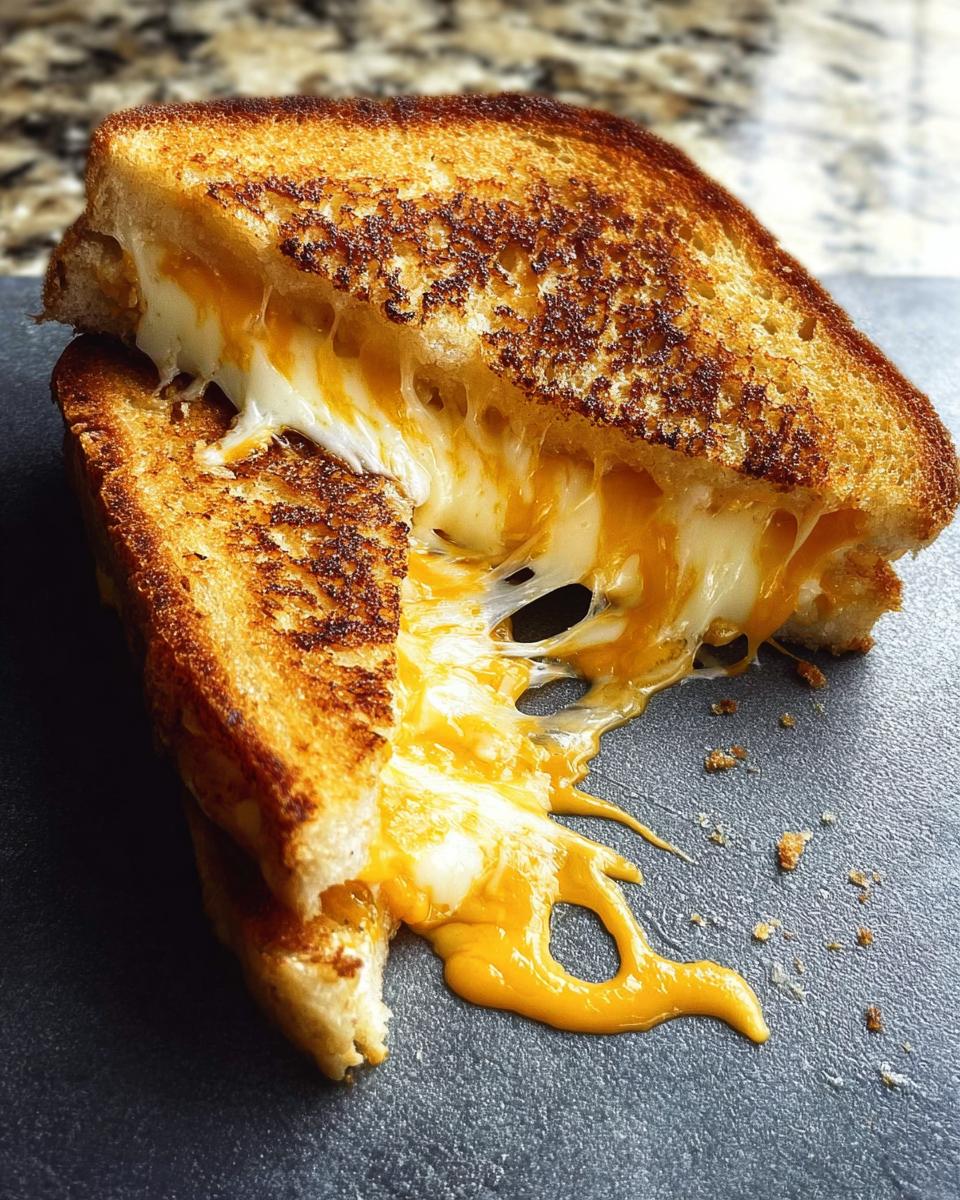
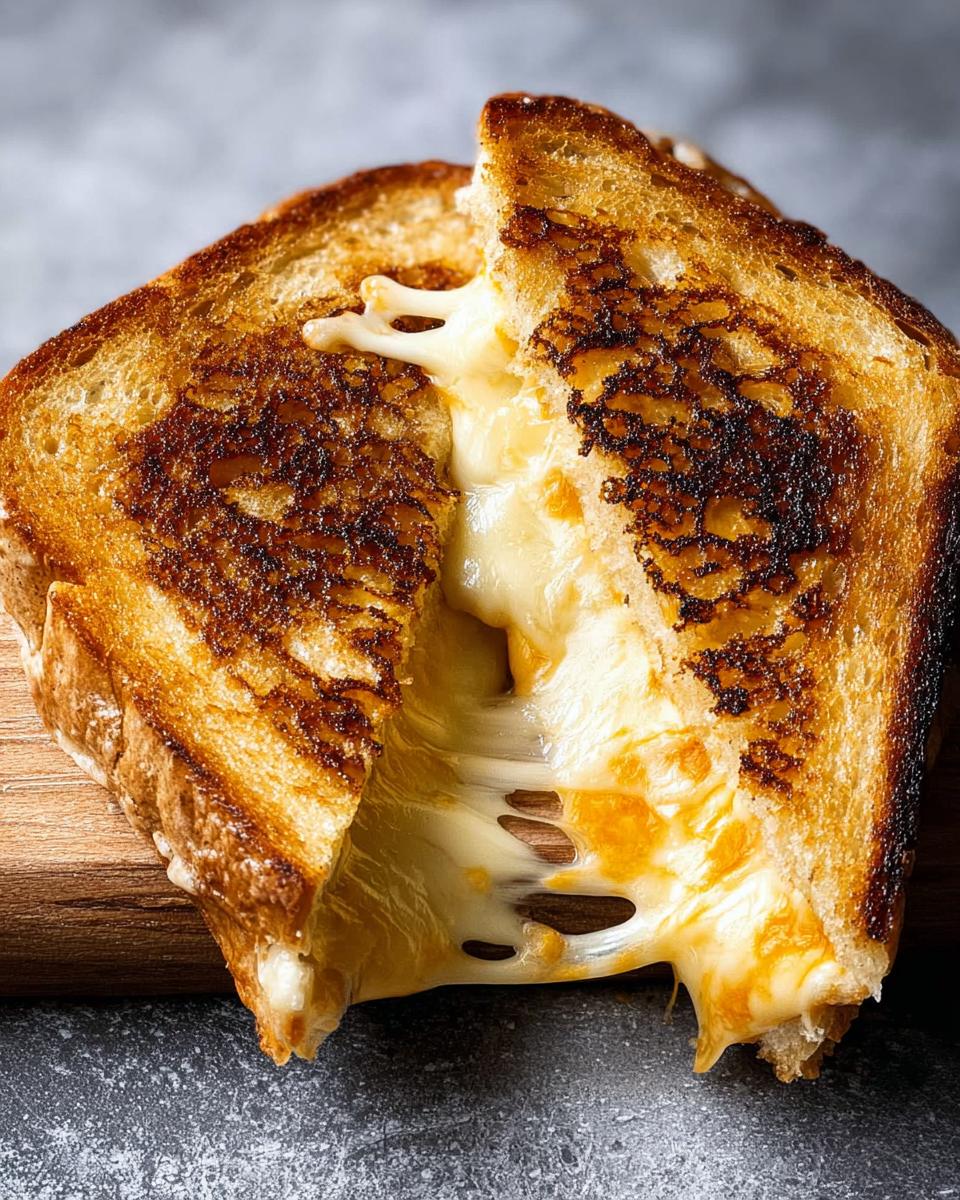
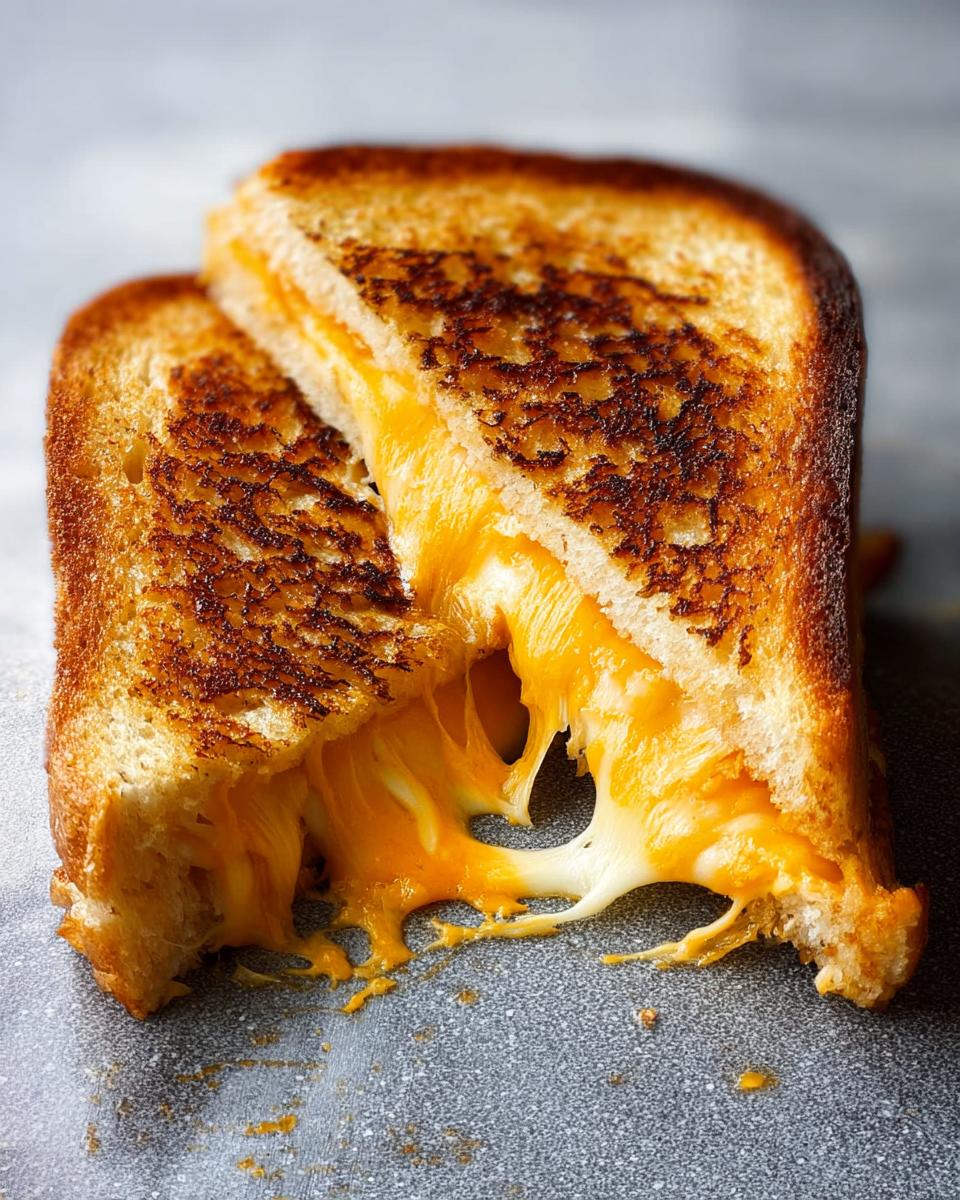
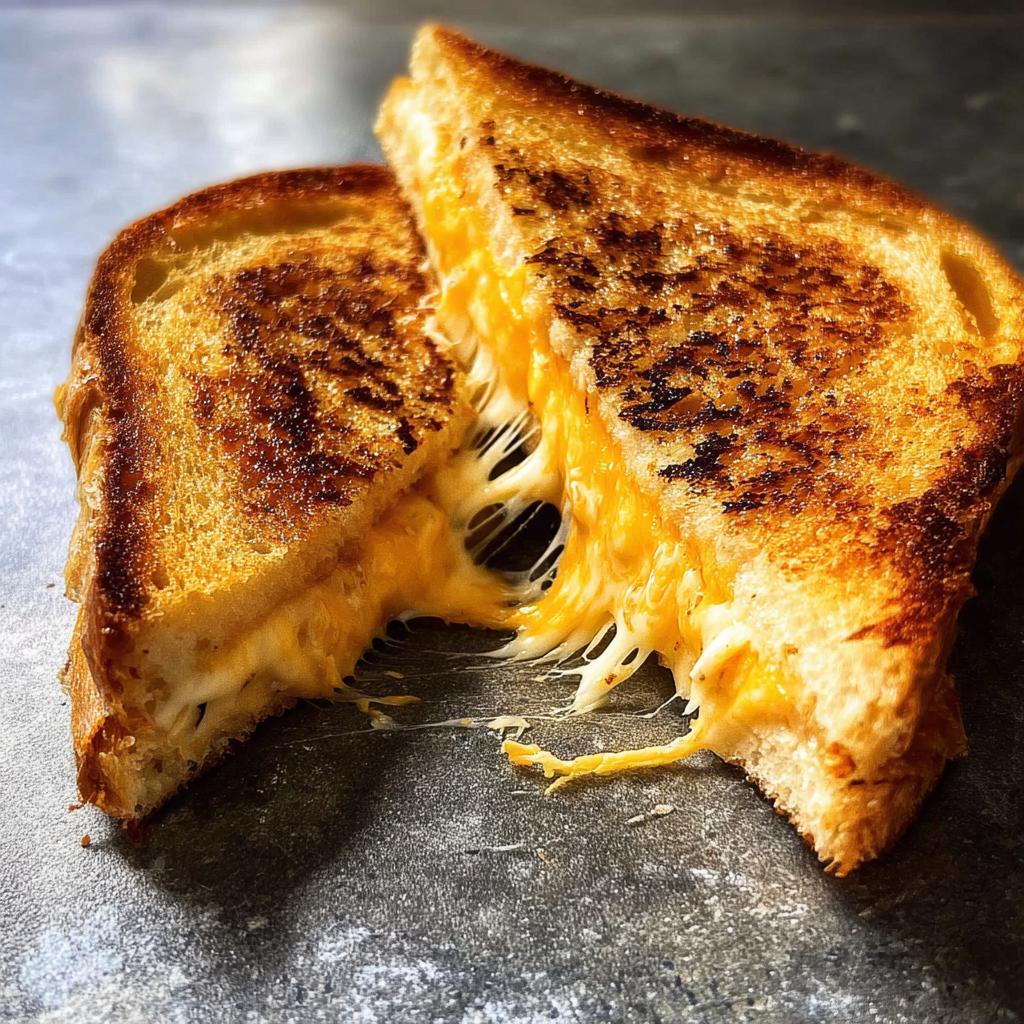
Once it’s perfectly golden on both sides with that melty cheese, slide it onto your cutting board. Slice it in half – watch that cheese pull! – and serve it up. So quick, so delicious, and so satisfying! It makes a perfect partner for a side of something yummy too!
Make-Ahead Tips for Your Grilled Cheese
Okay, so you know how I mentioned this recipe is a lifesaver for busy days? That’s thanks to the make-ahead magic! This is where the real genius comes in, especially when you want that cozy grilled cheese experience but don’t have a ton of time. It’s honestly one of my favorite tricks for busy weeknight dinners or even a super-fast lunch prep. We’re talking about enjoying that perfectly melty, golden-brown goodness without all the last-minute fuss!
Here’s the secret: assemble your sandwiches completely, just like we talked about in the instructions, but *hold off on the buttering the outside* part. Instead, wrap each assembled sandwich snugly in plastic wrap. Then, tuck them into an airtight container or a zip-top bag. You can pop these into the fridge and they’ll be perfectly good for up to 24 hours. So, you can totally do this the night before or even first thing in the morning!
When you’re ready for some cheesy perfection, just unwrap your prepped sandwich. Melt your butter (or use a spray of cooking oil if you’re in a pinch!) in your skillet over medium-low heat, just like the regular recipe. Then, place your sandwich in the pan and cook as directed. You might need to add just a *tiny* bit of extra time on each side, maybe an extra minute or two, to account for it coming straight from the fridge. Voila! You’ve got a delicious, hot grilled cheese with barely any effort. It’s perfect for anyone who needs a little help with that make-ahead magic.
Ingredient Notes and Substitutions for Your Grilled Cheese
You know, the beauty of a killer grilled cheese is its flexibility! While this combo is my absolute favorite, don’t hesitate to play around. The key is using ingredients that give you that amazing melty, crispy goodness. For the bread, while sourdough is fantastic for its sturdy texture and slight tang, a good country white or even a hearty whole wheat can work beautifully. Just make sure it’s not too thin, or it might get soggy!
And the cheese! Oh, the cheese possibilities are endless. Cheddar and Gruyère are a classic for a reason – they melt like a dream and have fantastic flavor. But try mixing in some Monterey Jack for extra meltiness, Colby for a milder taste, or even a touch of provolone for a bit of sharpness. If you’re looking for gluten-free options, there are some amazing gluten-free breads out there that can work wonderfully. The goal is a happy, cheesy, crispy sandwich!
Frequently Asked Questions About This Grilled Cheese Recipe
Got questions about making the ultimate grilled cheese? I’ve got answers! It’s one of my favorite things to make, so I’ve picked up a few tricks along the way. This recipe is pretty foolproof, but here are some common things people wonder about:
What is the best bread for grilled cheese?
Honestly, a good sturdy bread is your best bet! Sourdough, like in this recipe, gives you that awesome tang and holds up so well while getting super crispy. But really, a nice country white, a hearty whole wheat, or even a good brioche can work. Just avoid anything too thin or airy, or it might get soggy before the cheese melts.
How do I get my grilled cheese extra melty?
The secret to a super melty grilled cheese is two-fold: good cheese and medium-low heat! Using a blend of cheeses like cheddar and Gruyère (or raclette!) gives you the best of both worlds – great flavor and amazing meltability. And cooking it over medium-low heat, covered, allows the cheese to melt slowly and evenly without burning the bread. Patience is key here!
Can I freeze grilled cheese sandwiches?
You can totally freeze *assembled* grilled cheese sandwiches before cooking them! Just wrap them up tightly. When you’re ready to cook, just pop them straight from the freezer into a buttered pan over medium-low heat. They’ll take a little longer to cook, maybe 5-7 minutes per side, but you’ll still get that perfect melty goodness. It’s like having a quick meal ready to go!
Can I make this recipe ahead of time?
Absolutely! That’s one of the best parts of this recipe. You can assemble the sandwiches, maybe skip the mayonnaise on the outside for now if you’re doing up to 24 hours ahead, and wrap them well. When you’re ready, just unwrap, add the mayo and butter to the pan, and cook away! It’s a lifesaver for busy lunches or dinners. For more quick meal ideas, check out some taco Tuesday recipes!
Serving Suggestions for Your Melty Masterpiece
Now that you’ve got this perfect, melty grilled cheese masterpiece, what goes with it? Honestly, it’s almost a meal in itself, but a few little extras really make it shine! My absolute favorite is pairing it with a warm bowl of creamy tomato basil soup. That classic combo is just unbeatable, isn’t it? The soup is so comforting, and dipping that crispy sandwich into it? Heaven! Or, for something a little lighter, a fresh cucumber Caprese salad adds a lovely brightness that cuts through the richness of the cheese. Both are super simple and let your amazing grilled cheese be the star!

Storage and Reheating Instructions
Got leftover grilled cheese? Lucky you! To store, let it cool completely, then wrap it super tight in plastic wrap or pop it into an airtight container. It’ll keep nicely in the fridge for about a day. When you’re ready to reheat, the secret is to get it crispy again! Pop it back into a skillet over medium-low heat with a little butter. Cover it for a minute or two to get the cheese melty again, then uncover and toast until it’s golden and perfect. It’s almost as good as the first time! This way, you can enjoy that warm, comforting goodness again, maybe even alongside some delicious soup.
Nutritional Information (Estimated)
Just a heads-up, the nutritional details for your perfect grilled cheese can sneak up on you! Since we’re using a blend of cheeses and butter, it’s a bit of a decadent treat. For this recipe, you’re looking at roughly 450-550 calories, with about 30-40g of fat and 20-25g of protein per sandwich. Carbohydrates will vary based on your bread. This is an estimate, of course, and can change depending on the exact bread and cheese you use!
Why Everyone Loves This Grilled Cheese Recipes (+ Make-Ahead Tips)
Ingredients
Equipment
Method
- On a cutting board, spread mayonnaise on one side of each bread slice. Flip one slice and spread its other side with Dijon mustard.
- Layer the cheddar and Gruyère or Raclette cheeses on top of the mustard. Place the other bread slice on top, mayonnaise side out.
- Heat a nonstick or cast-iron skillet over medium-low heat. Melt enough butter in the pan to coat the bottom.
- Place the sandwich in the pan, cover, and cook for 2 to 3 minutes, until the bottom slice of bread is golden brown and crisp.
- Flip the sandwich, replace the lid, and cook for another 1 to 3 minutes, until the other slice of bread is golden brown and the cheese is melted. Reduce heat to low if bread browns too quickly.
- Slice and serve.


