You know, sometimes the best culinary adventures happen when you least expect them! I vividly remember the first time I stumbled upon Biscoff Tiramisu at this tiny, charming café in my neighborhood. It was just a little sweet treat I grabbed on a whim after a super long workweek, and oh my goodness, it completely blew me away. That first bite – the creamy, dreamy texture of tiramisu marrying perfectly with the warm, spiced hug of Biscoff cookies – it was pure magic! It felt like being transported to a cozy Italian piazza, even though I was just on my usual street. That experience sparked a mission to recreate that magic at home, and let me tell you, making this Biscoff Tiramisu has become a beloved tradition. It’s become my go-to way to show love, a sweet reminder that even the simplest desserts can make the most wonderful memories.
Why You’ll Love This Biscoff Tiramisu Recipe
Seriously, why wouldn’t you? This Biscoff Tiramisu is a total showstopper that’s ridiculously easy to whip up. You get that classic, dreamy tiramisu texture but with a warm, spicy kick from the Biscoff cookies that just takes it to a whole new level. It’s the perfect dessert to impress your friends and family, and the flavors actually get better as it sits. Plus, it’s no-bake, which is always a win in my book!
Gather Your Ingredients for Biscoff Tiramisu
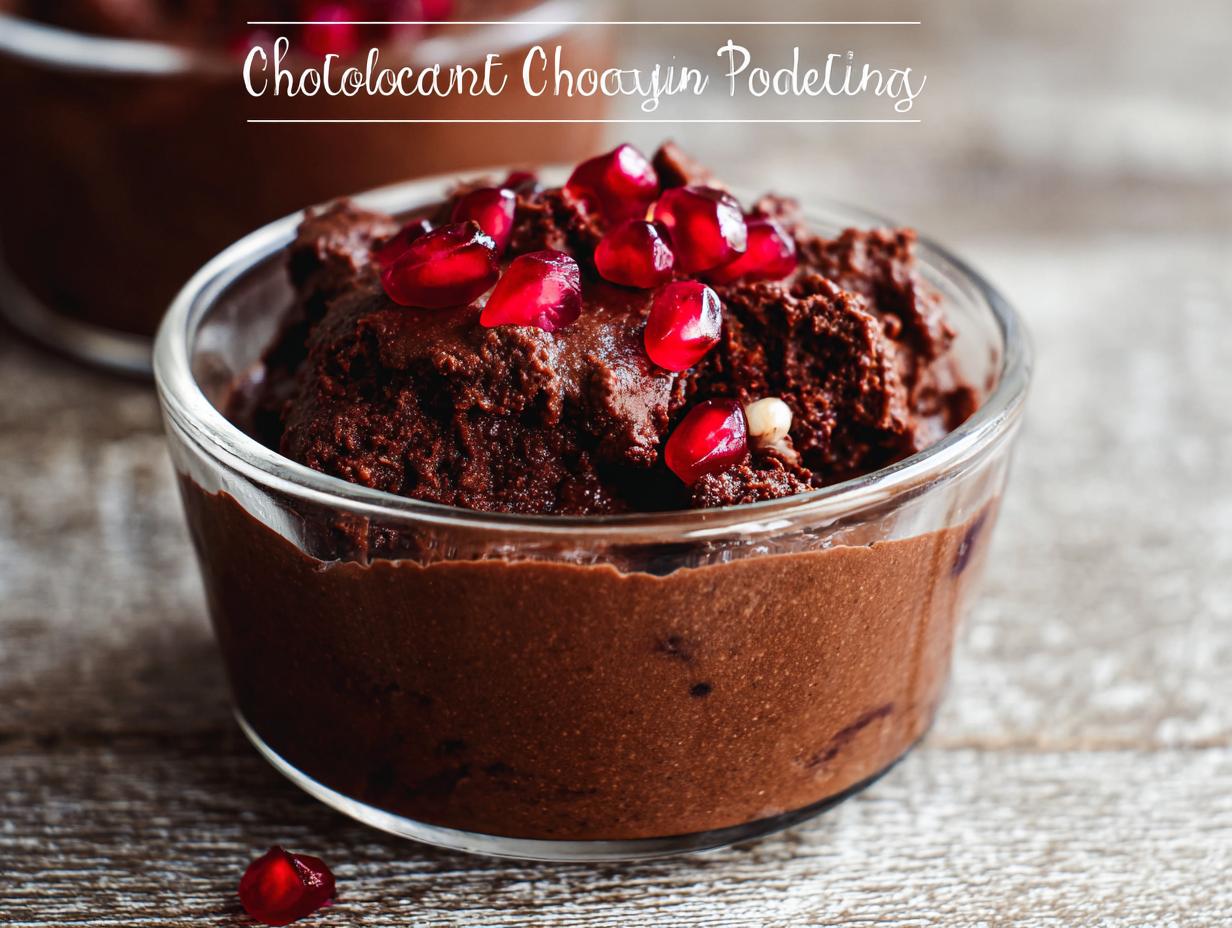
Alright, let’s get everything ready for our amazing Biscoff Tiramisu! It’s all about combining those familiar, comforting flavors with a little something special. Trust me, having these prepped makes the whole assembly process a breeze. Don’t worry if some things sound straightforward; it’s the combination that’s pure magic! For other dessert inspirations, check out this awesome berry bake; it’s to die for!
For the Cookies:
- 2 packets Biscoff cookies (that’s about 64 cookies total – plenty for dipping and maybe a sneaky one or two!)
For the Luscious Filling:
- 1/2 cup Biscoff cookie butter (the star of the show!)
- 2 cups chilled heavy whipping cream (make sure it’s cold for whipping!)
- 1 (16 oz) block cream cheese, softened to room temperature (this is super important for a smooth, lump-free filling)
- 1 Tablespoon vanilla extract (optional, but it adds a lovely fragrance)
- 1/4 cup raw sugar (optional, if you like your tiramisu a touch sweeter)
To Make the Coffee for Soaking:
- 1 1/2 cups water
- 4 Tablespoons espresso or strong coffee (cooled down, of course!)
To Dust on Top:
- 2-3 Tablespoons unsweetened cocoa powder
- 1 Tablespoon instant coffee granules (this really amps up the coffee flavor!)
Essential Equipment for Your Biscoff Tiramisu
You don’t need a fancy brigade of tools for this showstopper! Just a few everyday kitchen heroes will do the trick. Having these on hand means you can whip up this dreamy Biscoff Tiramisu without any fuss. Trust me, it’s going to be so worth it!
- A nice serving dish (around 8×8 inches or similar works great!)
- A couple of mixing bowls (one for the creamy filling, another for the coffee soak)
- A whisk (for getting that cream *just* right)
- A good spatula (for scraping every last bit of deliciousness)
Step-by-Step Guide to Making Biscoff Tiramisu
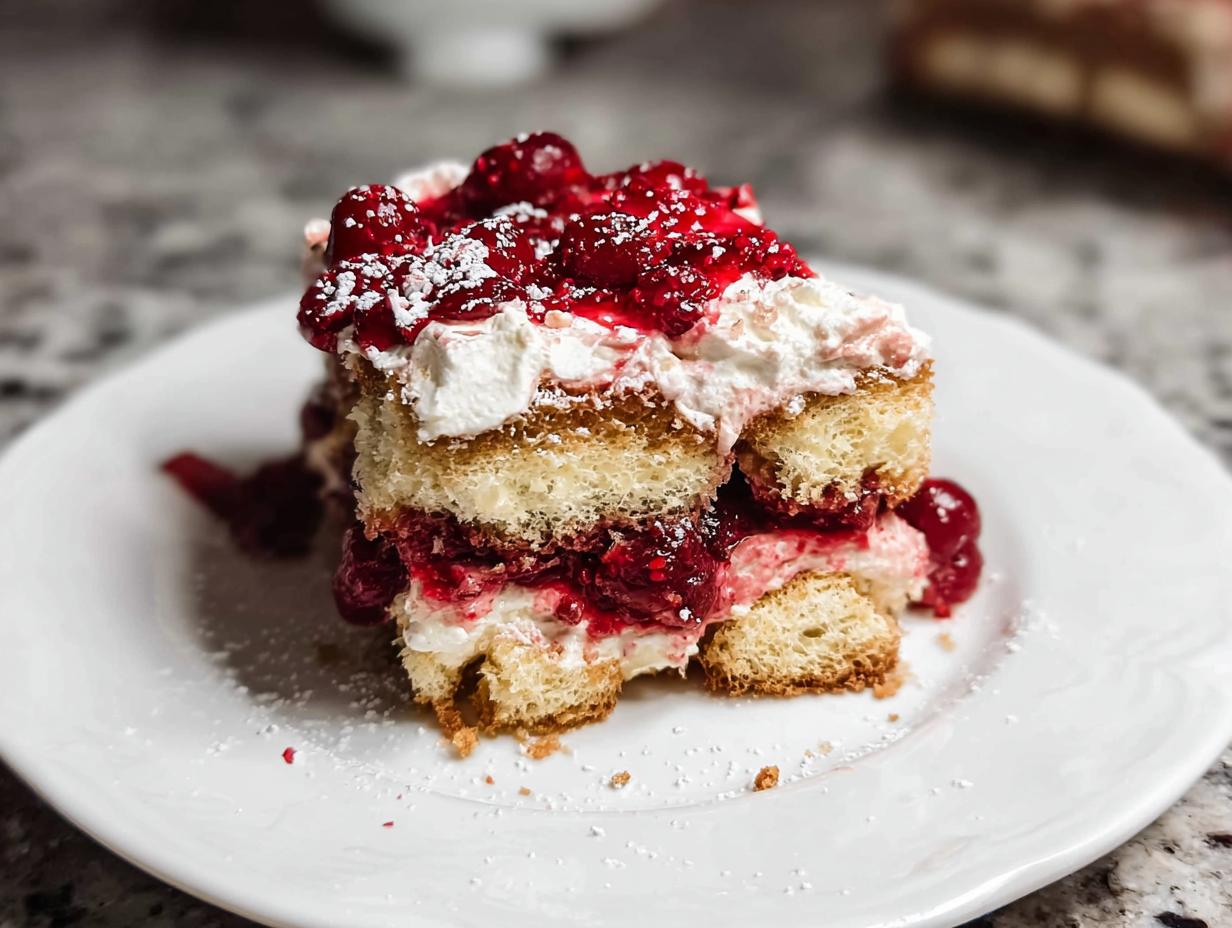
Okay, the fun part! Let’s bring this Biscoff Tiramisu to life. It’s really more about assembly than anything complicated, so don’t stress. We’re going to build layers of pure bliss. Think of yourself as an artist, but your medium is creamy, cookie goodness! If you’re looking for other easy-to-make goodies after this, you’ve got to check out these baked churro bites or this refreshing lemon chia pudding!
First things first, let’s get that coffee base ready to go and cooled down. You’ll want to mix that cocoa powder and instant coffee together in a little bowl for dusting later. And that cream cheese? Make sure it’s nice and softened. Seriously, don’t skip the softening part; it’s key to avoiding any little lumps in our dreamy filling. Having these little prep steps done makes the whole process so smooth, believe me!
Now, grab a big mixing bowl. Toss in your softened cream cheese, that glorious Biscoff cookie butter, and if you’re using them, the raw sugar and vanilla extract. Get in there with your whisk and beat it all together until it’s wonderfully creamy and smooth. You want it to look like a perfectly blended dream waiting to happen.
This is where the magic really happens! Pour in that *cold* heavy whipping cream. Now whisk it on medium speed. Keep going until you see stiff peaks forming. What are stiff peaks, you ask? Well, when you lift your whisk out of the bowl, the cream should stand straight up and hold its shape, not flop over. It’s like fluffy clouds! Scrape down the sides and bottom with your spatula to make sure everything is mixed in perfectly. We don’t want any bits left out!
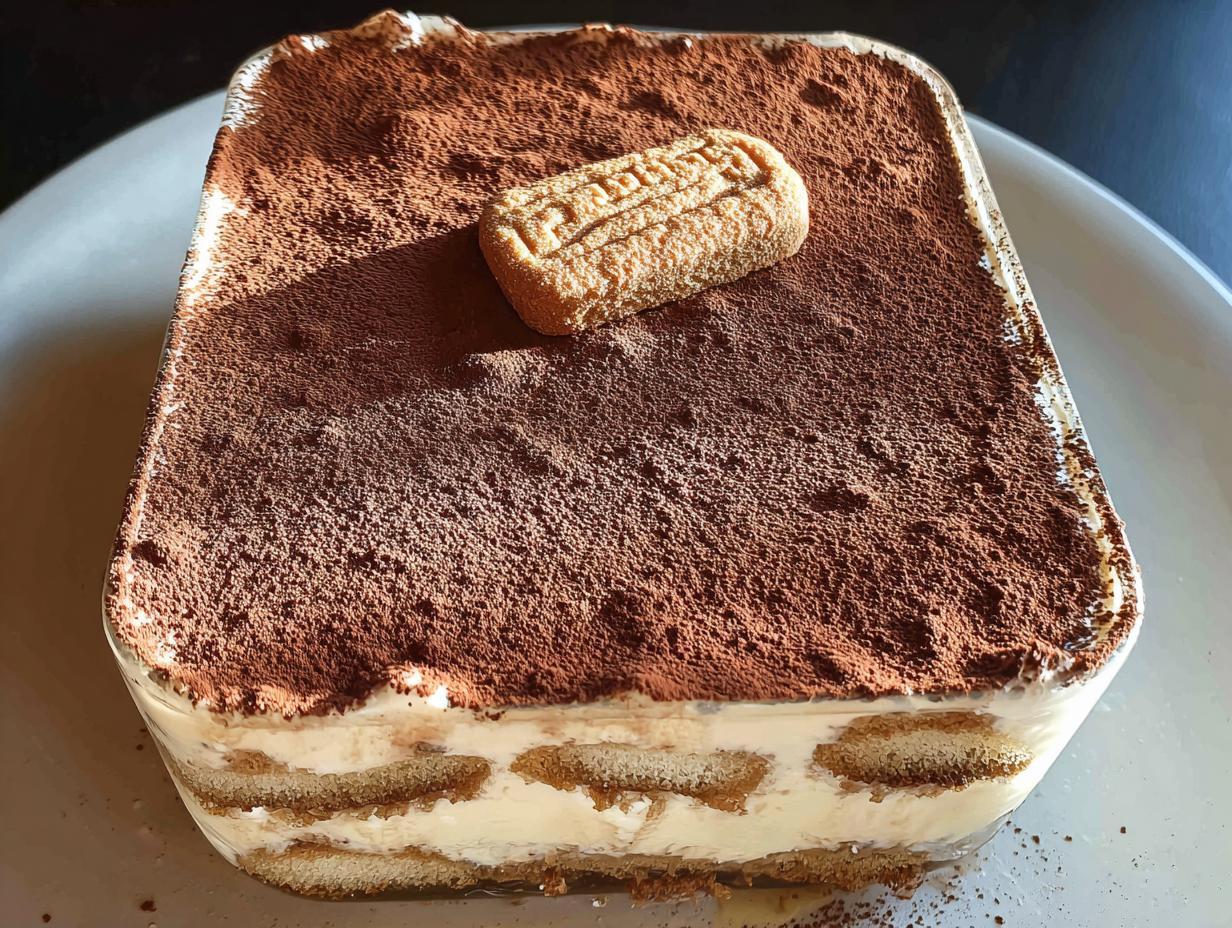
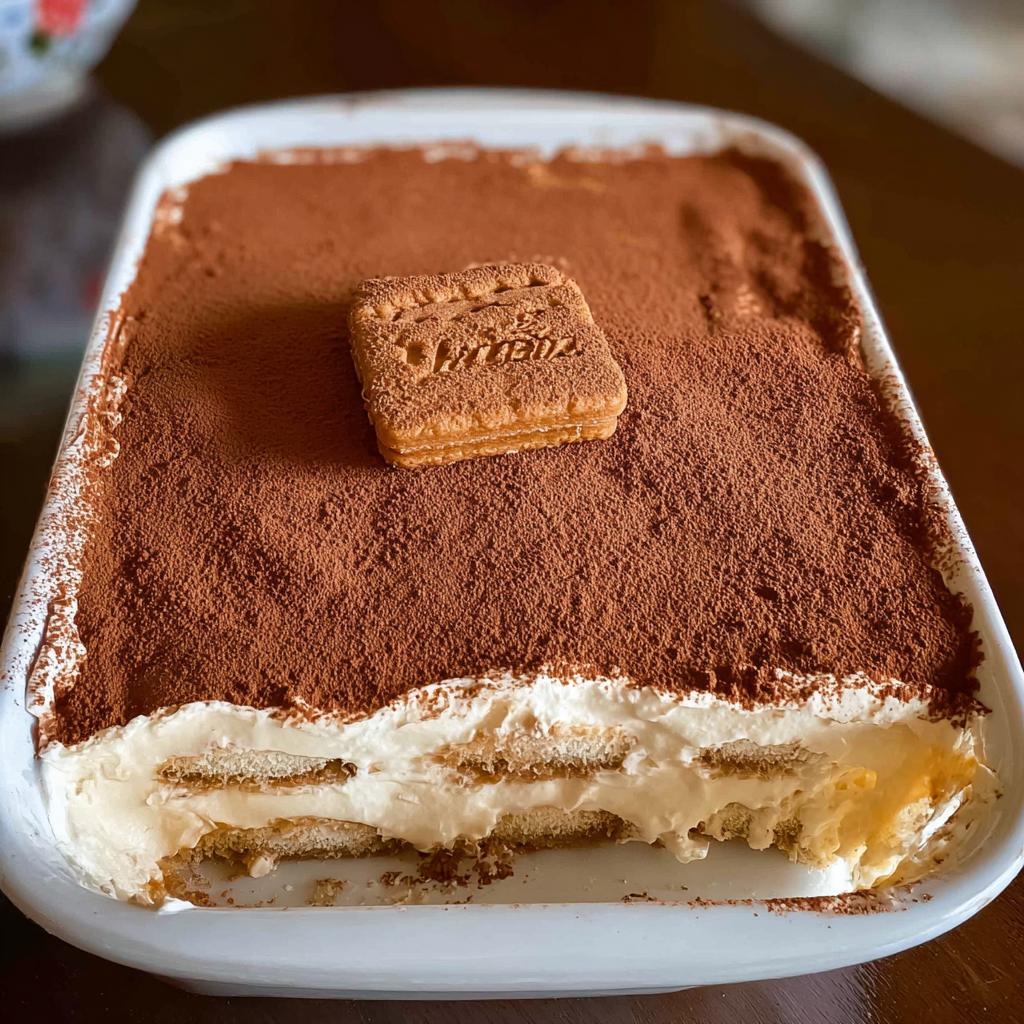
Time to assemble! Grab your serving dish. Deeply dip those Biscoff cookies into your cooled coffee mixture, just a quick dip so they don’t get too soggy. Arrange them in a single layer at the bottom of the dish. Then, spread about half of your amazing Biscoff cream mixture evenly over the cookies. See? It’s coming together!
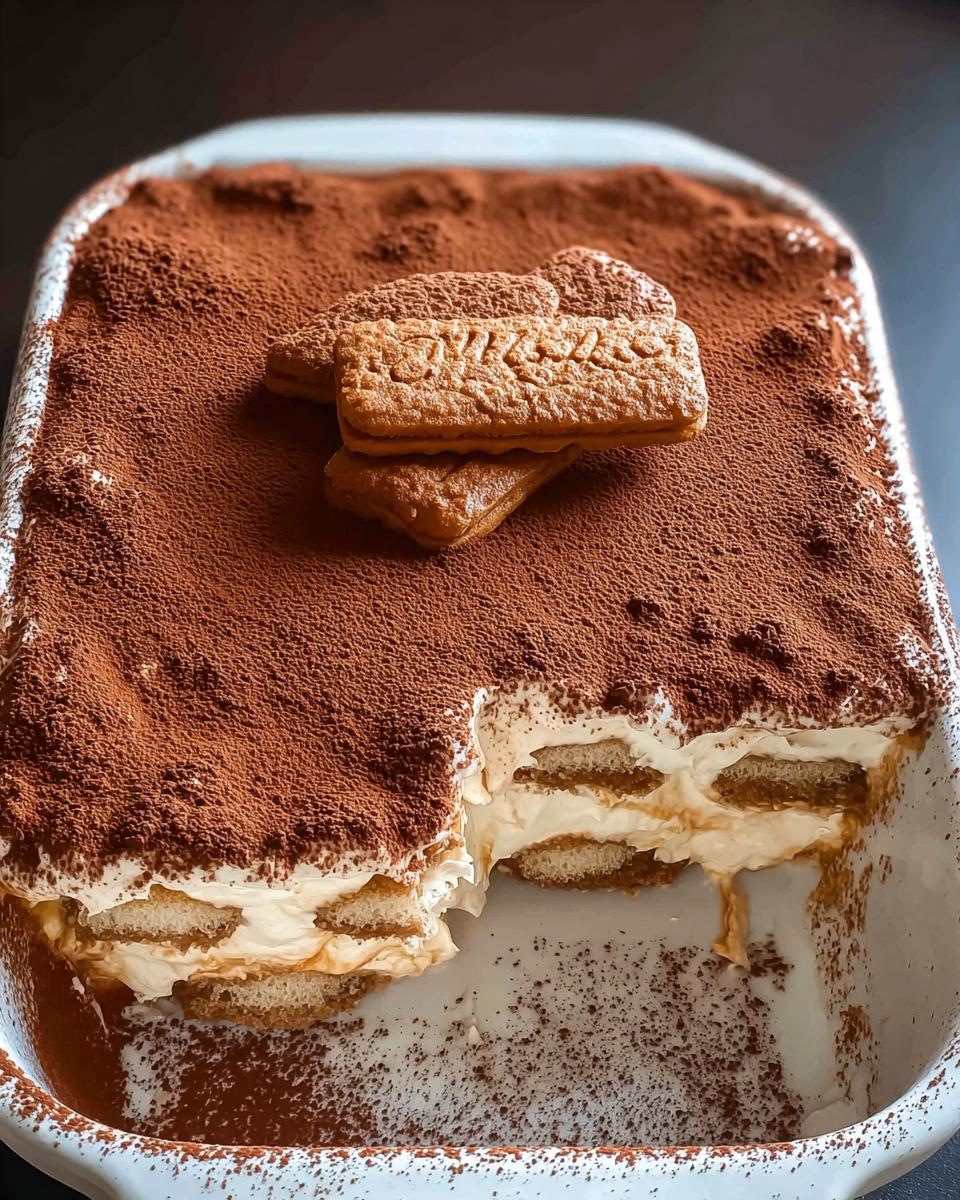
Repeat the process: dip more cookies, arrange them, and then spread the rest of your creamy Biscoff filling over the top. Make sure that top layer is nice and smooth. This is what everyone will see!
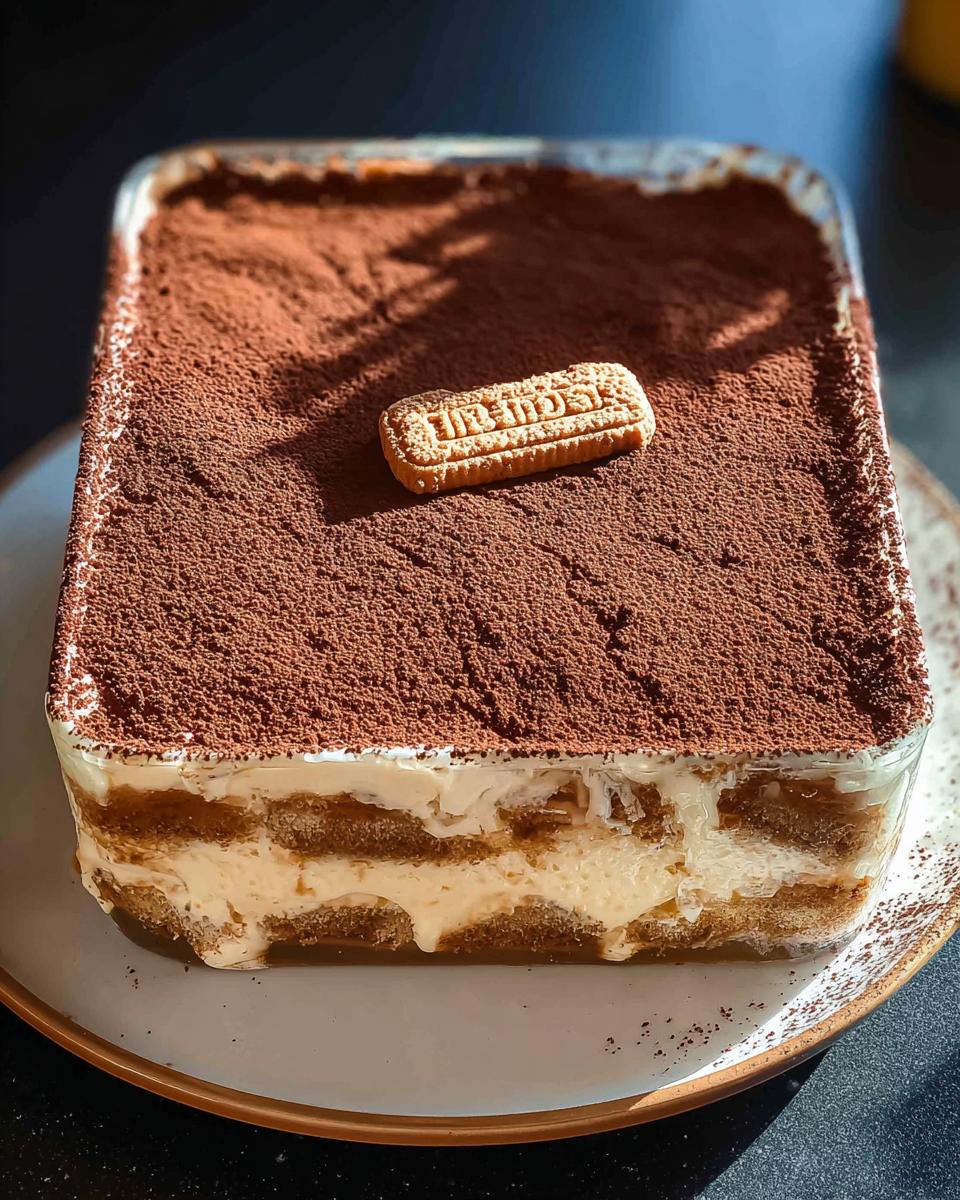
Almost there! Evenly dust the top with your cocoa and instant coffee mixture. It gives it that beautiful, classic tiramisu look and adds an extra punch of flavor. Cover your dish carefully – plastic wrap works great – and tuck it into the fridge. It needs to chill for at least 4 hours, but honestly, leaving it overnight is even better. This lets all those amazing flavors *really* meld together. For more inspiration on unique desserts, check out this detailed Biscoff Tiramisu recipe!
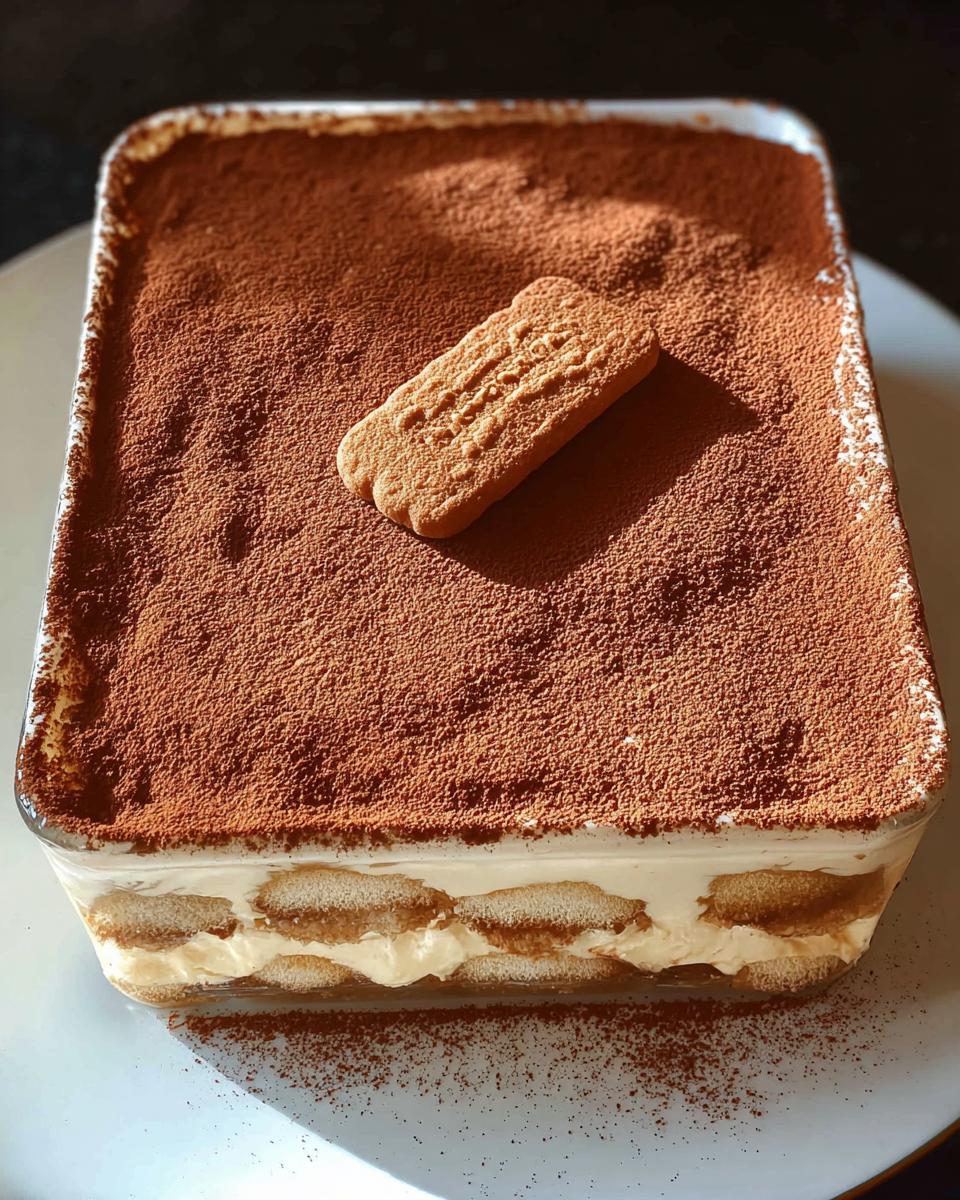
Before serving, a little something extra is nice: crush up a few extra Biscoff cookies and sprinkle them over the top. It adds a lovely texture and is just so pretty! Serve it chilled and get ready for the compliments!

Tips for the Perfect Biscoff Tiramisu
Okay, so you’ve got the recipe, and it’s going to be amazing, but let’s talk about those little secrets that take your Biscoff Tiramisu from “really good” to “OMG, I need another slice RIGHT NOW!” It’s all about paying attention to the details, and trust me, it makes a world of difference. For another fantastic dessert idea, you’ve got to try these chocolate strawberry yogurt clusters!
First off, ingredient quality is key! Use good quality Biscoff cookies – they’re the foundation! And please, please, please make sure your cream cheese is truly at room temperature. Cold cream cheese mixed with the Biscoff butter? Lumpy city! Whisking that cold heavy cream until it reaches stiff peaks is also non-negotiable for that fluffy, cloud-like texture. Don’t over-soak those cookies either; nobody wants a soggy bottom!
Variations for Your Biscoff Tiramisu Creation
While this Biscoff Tiramisu recipe is absolutely divine as is, sometimes it’s fun to play around, right? You can totally switch things up to make it your own! If you’re feeling adventurous, maybe add a pinch of cinnamon or nutmeg to the cream cheese mixture for an extra warm spice kick. For a different cookie vibe, try using stroopwafels if you can’t find Biscoff, or even a mix of both! And hey, ever thought about adding a layer of thinly sliced, slightly tart apples or pears between the cookie layers? It’s a little unexpected but really brightens things up. If you’re looking for more fun twists on classic treats, you should totally check out how to make cottage cheese flagels – they’re surprisingly good!
Storing and Reheating Your Biscoff Tiramisu
So, you’ve made this incredible Biscoff Tiramisu and (miraculously!) have some leftovers? Awesome! Tiramisu is one of those desserts that actually gets even better the next day. Once it’s nicely chilled and all those delicious layers have had time to really get to know each other, just pop it back into the fridge. Make sure it’s covered tightly with plastic wrap or in an airtight container so it doesn’t pick up any funky fridge smells. It’ll keep beautifully for about 5 to 7 days, which is pretty amazing for something so decadent! Reheating isn’t really a thing for tiramisu since it’s meant to be served cold and creamy, so just enjoy it straight from the fridge. If you’re curious about other make-ahead wonders, you should definitely check out these banana bread brownies; they’re fantastic!
Frequently Asked Questions about Biscoff Tiramisu
Got questions about our super yummy Biscoff Tiramisu? That’s totally normal! It’s a bit of a unique dessert, and I’m happy to dish out all the details to make sure yours turns out absolutely perfect. Don’t worry if you’re wondering about substitutions or making it ahead; this is where we cover all that!
Can I use other cookies instead of Biscoff?
Oh, that’s a great question! While Biscoff cookies are truly special with their spiced caramel flavor, you *can* use other cookies if you absolutely have to. Think of vanilla wafers, shortbread, or even ladyfingers if you want to lean more classic. Just know that the distinctive Biscoff taste is what makes this recipe *Biscoff* Tiramisu, so you’ll lose that unique twist. For something different but still no-bake and amazing, you should really try these no-bake Oreo cheesecake bites!
How far in advance can I make this Biscoff Tiramisu?
This is the best part! Tiramisu, and especially this Biscoff Tiramisu, are *made* to be prepared ahead of time. In fact, I highly recommend it! Making it the day before or at least 4-6 hours before serving is ideal. Why? Because all those amazing flavors need time to mingle and deepen. The cookies soften up perfectly, and the whole dessert becomes this incredibly cohesive, dreamy bite. It’s practically better the next day!
Can I make a lighter version or a dairy-free version?
That’s a common question! For a lighter version, you could *try* using light cream cheese and perhaps whipping some skim milk with a stabilizer, but honestly, the richness is part of what makes tiramisu so decadent. You’d lose a lot of that classic texture. For dairy-free, you’ll need to find dairy-free alternatives for the cream cheese and heavy cream. There are some good options out there now, but results can vary, and you might need to adjust sweetness or consistency. It’s definitely doable with the right ingredients!
What if my cream cheese filling is lumpy?
Oops! Don’t panic if your filling has a few lumps. The most common reason for this is not having your cream cheese softened enough. If you catch it early, try whisking it a bit longer with the Biscoff butter and sugar. If it’s still a bit bumpy, it might be worth carefully folding in the whipped cream and hoping the texture blends out as it chills. Next time, just make sure that cream cheese is nice and soft – let it sit on the counter for a good hour or two!
Nutritional Information for Biscoff Tiramisu
So, you want to know what you’re getting into with this glorious Biscoff Tiramisu? I get it! Remember, these are just estimates since everyone’s ingredients and portion sizes can vary a bit. This dessert is definitely more of an indulgence, and that’s perfectly okay! For another decadent treat idea, you’ve got to check out these chocolate mousse brownies; they’re incredible!
Per slice (estimated):
- Calories: 198
- Fat: 18g
- Carbohydrates: 9g
- Sugar: 7g
Biscoff Tiramisu
Ingredients
Equipment
Method
- Prepare the coffee and let it cool. Combine cocoa powder and instant coffee in a small bowl. Ensure cream cheese is at room temperature.
- In a large bowl, whisk together cream cheese, Biscoff cookie butter, sugar (if using), and vanilla extract (if using) until creamy.
- Add the cold heavy cream to the bowl. Whisk on medium speed until stiff peaks form. Scrape the sides and bottom with a spatula to ensure a uniform mixture.
- Dip Biscoff cookies in the cooled coffee and arrange them in a single layer at the bottom of your serving dish. Spread half of the Biscoff cream mixture over the cookies. Repeat with another layer of soaked cookies and the remaining cream mixture. The top layer should be cream.
- Dust the top evenly with the cocoa and instant coffee mixture. Cover the dish.
- Refrigerate overnight or for at least 4 hours until set. Decorate with crushed Biscoff cookies before serving.