
Oh, chicken breast. We’ve all been there, right? You bake it with the best intentions, following a recipe to the letter, and what do you get? A piece of poultry so dry it could double as shoe leather. It’s frustrating! For years, I struggled to find a go-to method for truly juicy chicken breasts. But I finally cracked the code for baked chicken that’s packed with flavor and stays wonderfully moist. These aren’t just any chicken breast recipes; this is my foolproof way to bake juicy Parmesan chicken every single time, and trust me, it’s a game-changer for weeknight dinners!
Why You’ll Love These Juicy Parmesan Chicken Breast Recipes
Seriously, this recipe is a weeknight warrior! Here’s why it’s earned a permanent spot in my rotation:
- Super Speedy: We’re talking minimal prep and quick baking. Dinner on the table in under 40 minutes, start to finish!
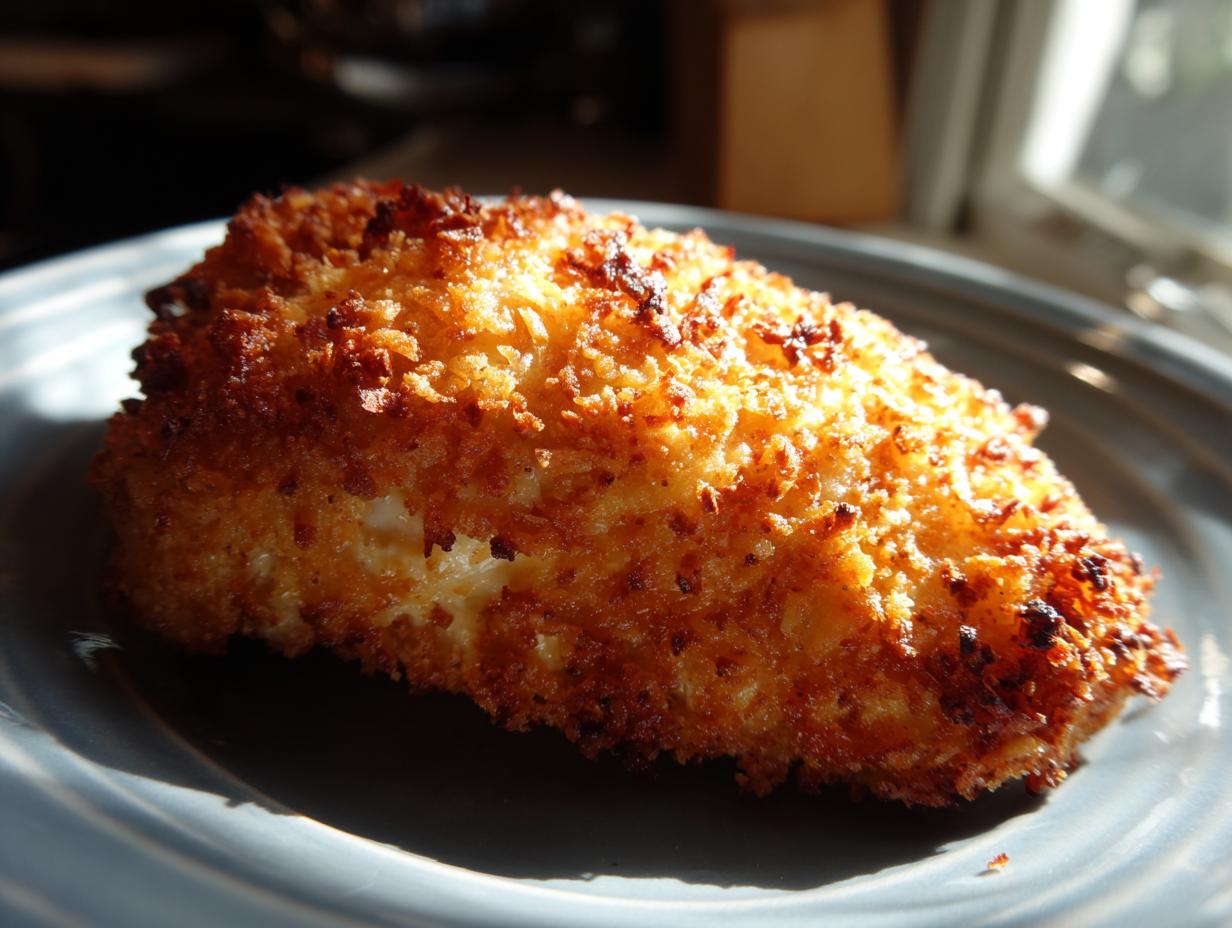
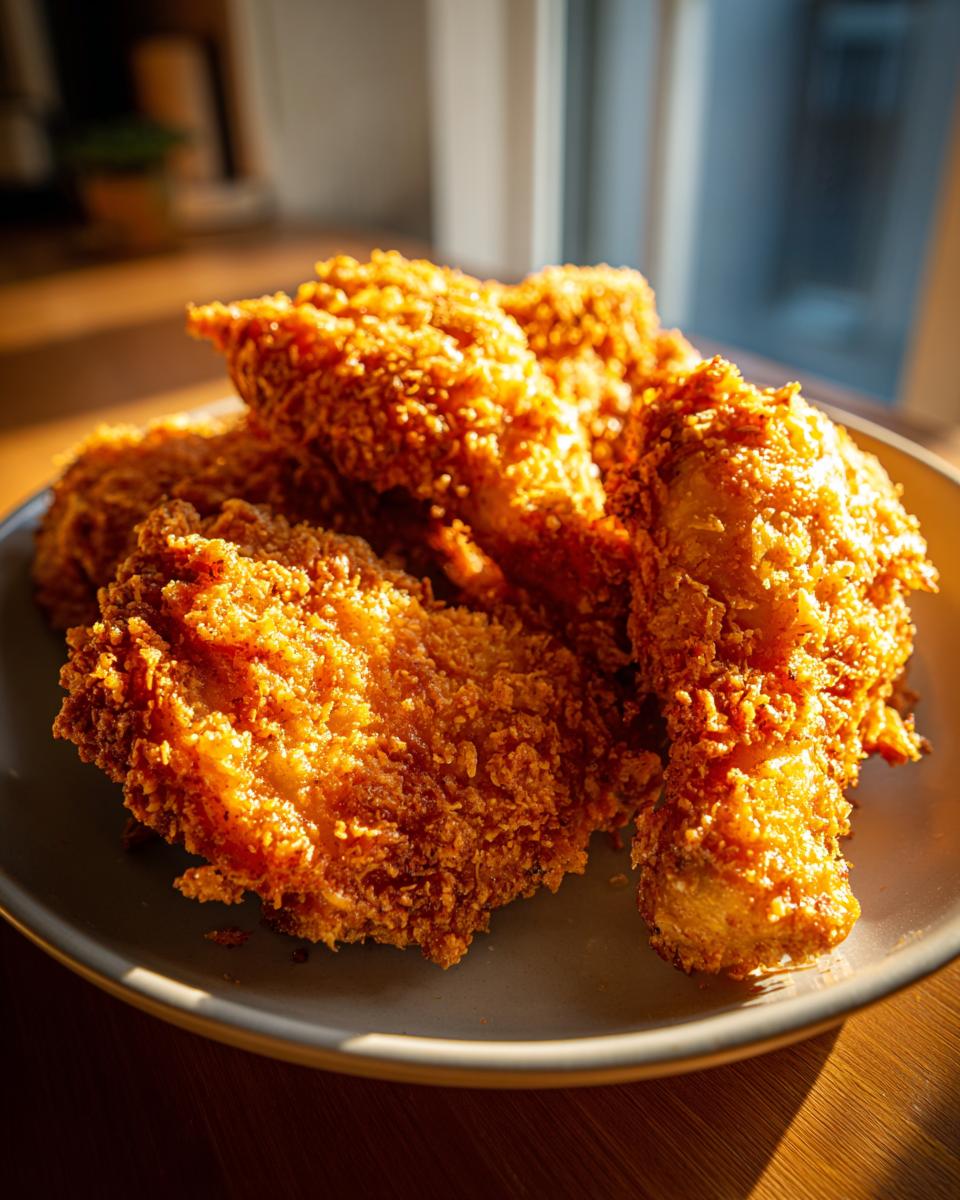
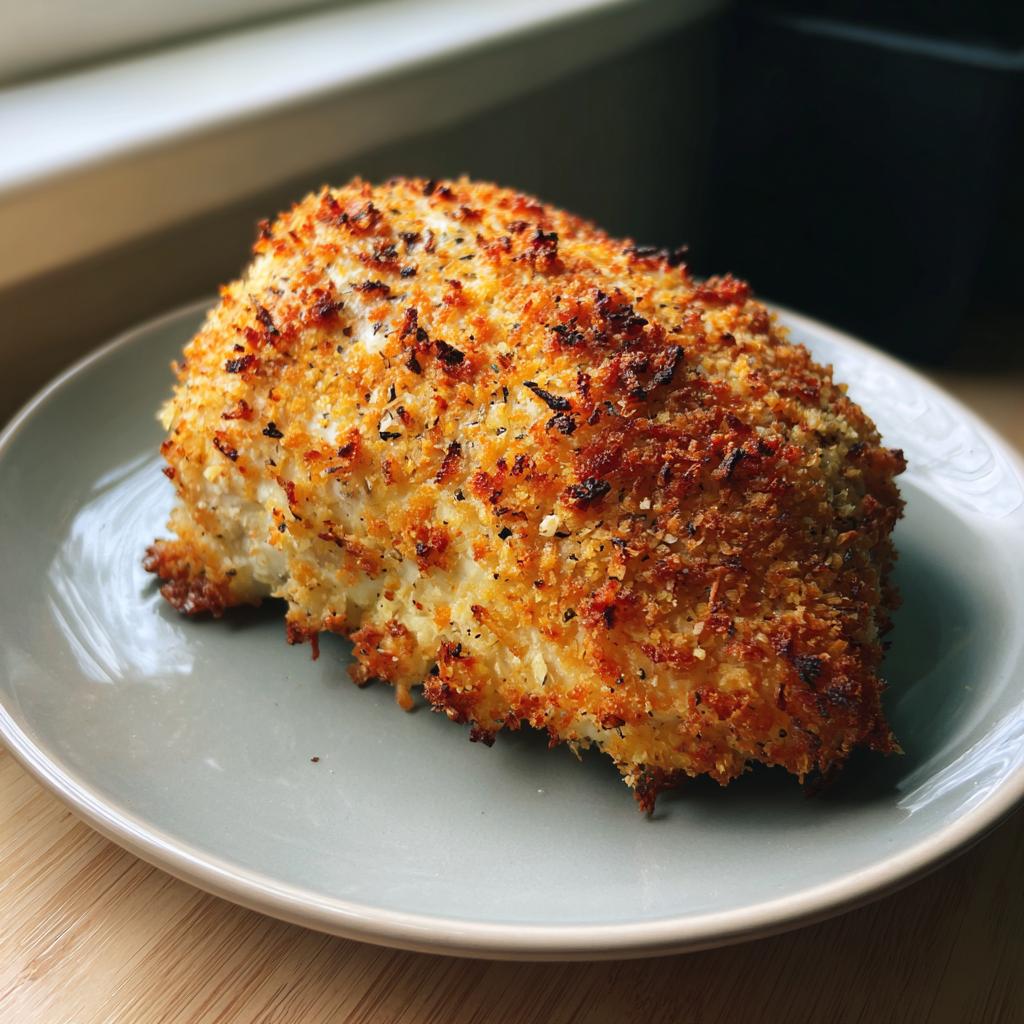
- Packed with Flavor: That crispy Parmesan coating? It’s pure salty, garlicky heaven that clings perfectly to the chicken.
- Foolproof Juiciness: Forget dry chicken! My method ensures every bite is tender and juicy. Promise!
- So Versatile: Serve it with pasta, salad, veggies, or just eat it on its own – it’s delicious however you slice it.
- Easy Cleanup: Usually just one baking dish to wash. Yes, please!
Ingredients for Juicy Parmesan Chicken
Alright, let’s talk about what you’ll need to make this magic happen. It’s honestly pretty straightforward, which is exactly what I love for busy nights. You probably have most of this hiding in your pantry already!
For the Chicken:
- 4 boneless, skinless chicken breasts (I usually grab ones that are about 6 oz each, they cook up so nicely)
- 1/4 cup olive oil (just a little bit to help everything stick and get golden)
For the Parmesan Coating:
- 1 cup grated Parmesan cheese (real cheese, please! It melts and crisps up way better than the pre-grated stuff in a tub.)
- 1/2 cup panko breadcrumbs (these give that amazing crispy texture!)
- 1 tsp garlic powder (or you can totally mince up a clove or two if you’re feeling fancy)
- 1/2 tsp salt
- 1/4 tsp black pepper (freshly ground is always best, if you have it!)
Equipment Needed for Juicy Parmesan Chicken
Okay, so you don’t need a fancy professional kitchen for this one! Honestly, just a few basic bits and bobs will get you there. You’ll want a good old baking dish – I usually grab an 8×8 inch one if I’m just making a few and a slightly larger one if I’m doubling it. Also, have a small bowl handy for mixing up that glorious Parmesan coating, and of course, your trusty measuring cups and spoons. That’s pretty much it!
How to Bake Juicy Parmesan Chicken Every Time
Alright, let’s get down to business! This is where the magic happens. Making sure your chicken breasts stay juicy is all about a few simple steps. Trust me, this method is a lifesaver and guarantees you’ll have delicious, flavorful chicken every single time. If you’re looking for amazing baked chicken recipes, you’ve found a winner!
Step 1: Prepare Your Oven and Dish
First things first, get that oven preheating to 400°F (200°C). While it’s warming up, lightly grease your baking dish. This little step makes sure nothing sticks and helps with easy cleanup later – a win-win!
Step 2: Prepare the Chicken Breasts
Grab your chicken breasts and pat them totally dry with paper towels. This is super important for getting that coating to stick! Then, place them in your baking dish and brush both sides generously with that olive oil. It’s like the glue for our cheesy coating!
Step 3: Mix the Parmesan Coating
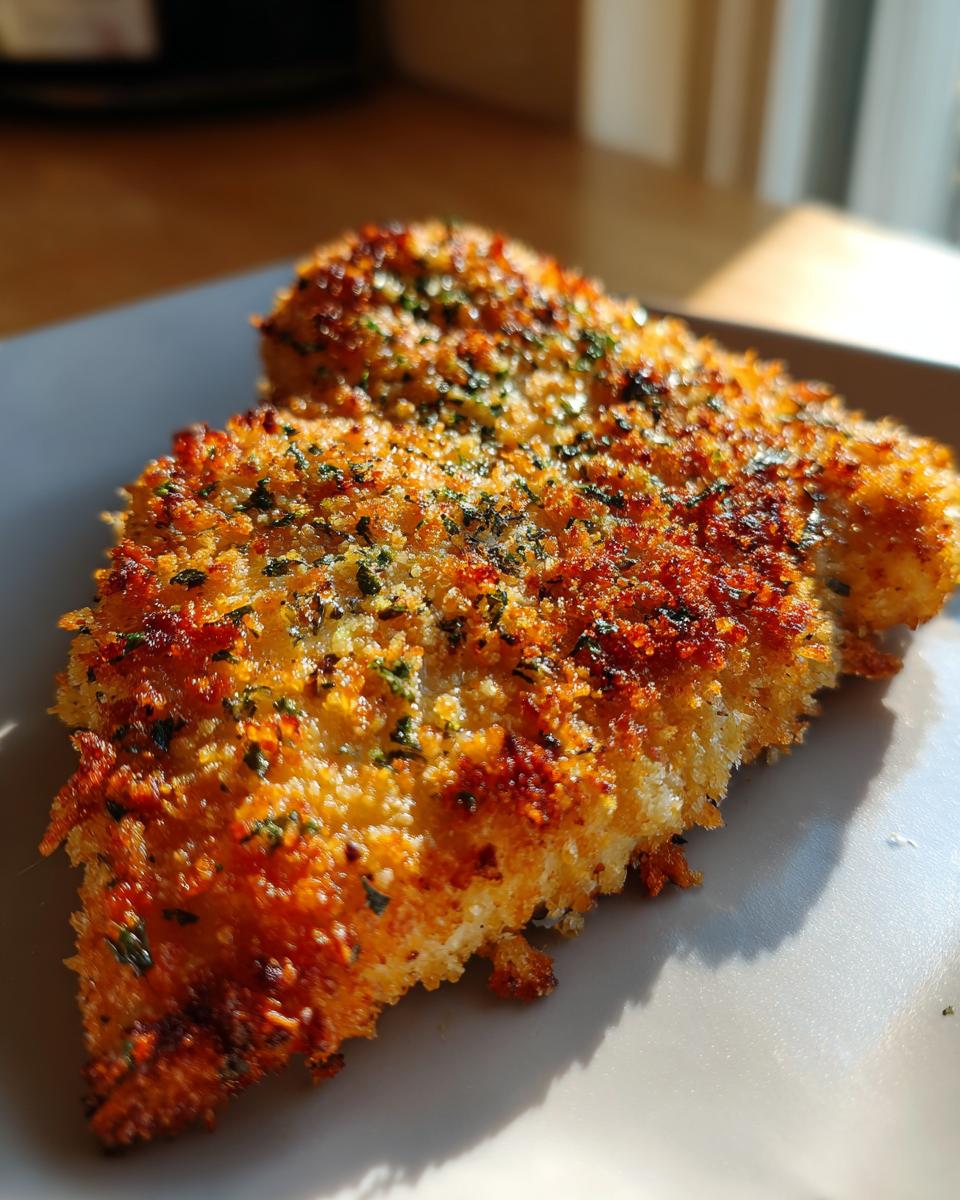
In your small mixing bowl, combine the grated Parmesan, panko breadcrumbs, garlic powder, salt, and pepper. Give it a really good mix until everything is nicely incorporated. You want it all to be one happy, flavorful party.
Step 4: Coat the Chicken
Now for the fun part! Take each chicken breast and press it firmly into the Parmesan mixture. Make sure both sides are totally coated. Really press it in there so you get a nice thick crust that’ll bake up golden and delicious.

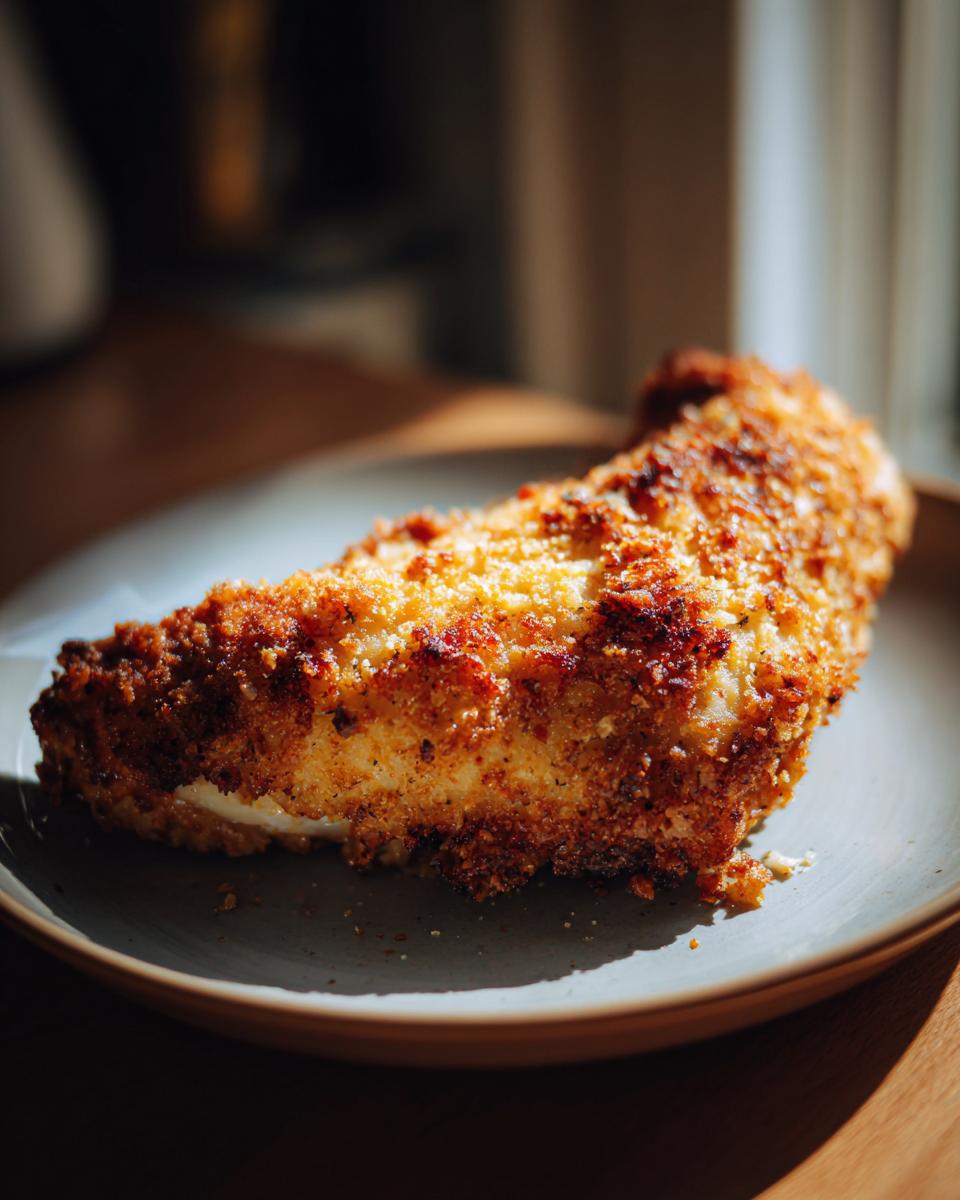
Step 5: Bake to Perfection
Pop that dish into your preheated oven and bake for about 20-25 minutes. You’re looking for that coating to be golden brown and crispy, and the chicken to be cooked through. The best way to know for sure is to check the internal temperature – aim for 165°F (74°C).
Step 6: Rest Before Serving
Once it’s out of the oven, be patient! Let the chicken rest for just a few minutes. This allows the juices to redistribute, keeping every bite wonderfully moist and tender. It’s the final secret to ultra-juicy chicken!
Tips for the Juiciest Parmesan Chicken
Okay, so you’ve got the basic recipe down, but if you *really* want to level up and guarantee the juiciest Parmesan chicken every single time, I’ve got a few tricks up my sleeve! It’s all about those little details that make a huge difference. If you love baked chicken recipes, these tips are golden.
First off, don’t skip patting your chicken super dry. Seriously, I can’t stress this enough! Moisture is the enemy of a crispy coating. A truly dry surface lets that olive oil and Parmesan mixture stick like glue. Also, make sure your oven is *fully* preheated. A hot oven means the outside cooks and crisps up quickly while the inside stays tender and juicy. And speaking of juicy, don’t overbake it! Use a meat thermometer if you have one – 165°F (74°C) is your sweet spot. Trust me, these little things make all the difference for perfectly juicy Parmesan chicken.
Ingredient Notes and Substitutions
Let’s chat about a couple of ingredients here because sometimes little tweaks make a big difference! For the Parmesan cheese, I really love using the finely grated stuff you find in the refrigerated section – it’s got a great punch of flavor and crisps up beautifully. If you can’t find that, the powdered stuff in a shaker *can* work in a pinch, but you might need a bit more to get that same good flavor. For the panko breadcrumbs, they really give that amazing crunch, but if you don’t have them, regular breadcrumbs will do. Just know the texture might be a little less crispy, but still delicious!
Serving Suggestions for Your Juicy Parmesan Chicken
So you’ve got this gorgeous, juicy Parmesan chicken ready to go – now what? This chicken is so versatile, it basically goes with anything! But if you need some inspiration, I’ve got you covered. For a super quick and easy meal, you can pair it with some of my favorite side dishes. Or, if you’re looking for ways to make your veggies shine, check out this guide to veggie sides! Roasted asparagus or a creamy mashed potato dish are always crowd-pleasers. Honestly, whatever you serve it with, this chicken is going to be the star of the show!
Frequently Asked Questions About Juicy Parmesan Chicken
Got questions about whipping up the most delicious, juicy Parmesan chicken breasts? I’ve got you covered! Here are some common ones I get:
Can I use chicken thighs instead of breasts for this recipe?
You sure can! If you opt for thighs, just know they might take a little longer to cook. Keep an eye on them and aim for that 165°F internal temperature. They’ll be just as delicious!
How do I prevent the Parmesan coating from falling off?
The trick is to make sure your chicken is really dry before you brush it with olive oil, then press the coating on firmly. Don’t be shy – really pack it on there!
What is the best way to store and reheat leftovers?
Let any leftovers cool completely, then pop them into an airtight container in the fridge. For reheating, I find a quick turn in the oven or an air fryer is best to crisp up that coating again!
Can I make this recipe gluten-free?
Absolutely! Just swap out the panko breadcrumbs for gluten-free breadcrumbs or even almond flour. Make sure your Parmesan cheese is gluten-free too, and you’re good to go for amazing, gluten-free juicy Parmesan chicken!
Nutritional Information
Okay, so you’re wondering about the deets, huh? While every kitchen is a little different and brands can vary, here’s a rough idea of what you’re looking at per serving for this delicious juicy Parmesan chicken. We’re talking about 4 servings here. Expect roughly 350-400 calories, with about 35-40g of protein, 15-20g of fat, and maybe 10-15g of carbs (mostly from the panko and cheese). Remember, this is just an estimate, but it’s a pretty healthy and satisfying meal!
Juicy Parmesan Chicken
Ingredients
Equipment
Method
- Preheat your oven to 400°F (200°C). Lightly grease a baking dish.
- Pat the chicken breasts dry with paper towels. Place them in the prepared baking dish and brush both sides with olive oil.
- In a small bowl, combine the grated Parmesan cheese, panko breadcrumbs, garlic powder, salt, and black pepper. Mix well.
- Press the Parmesan mixture firmly onto both sides of each chicken breast, ensuring they are well coated.
- Bake for 20-25 minutes, or until the chicken is cooked through and the coating is golden brown and crispy. The internal temperature should reach 165°F (74°C).
- Let the chicken rest for a few minutes before serving.


