
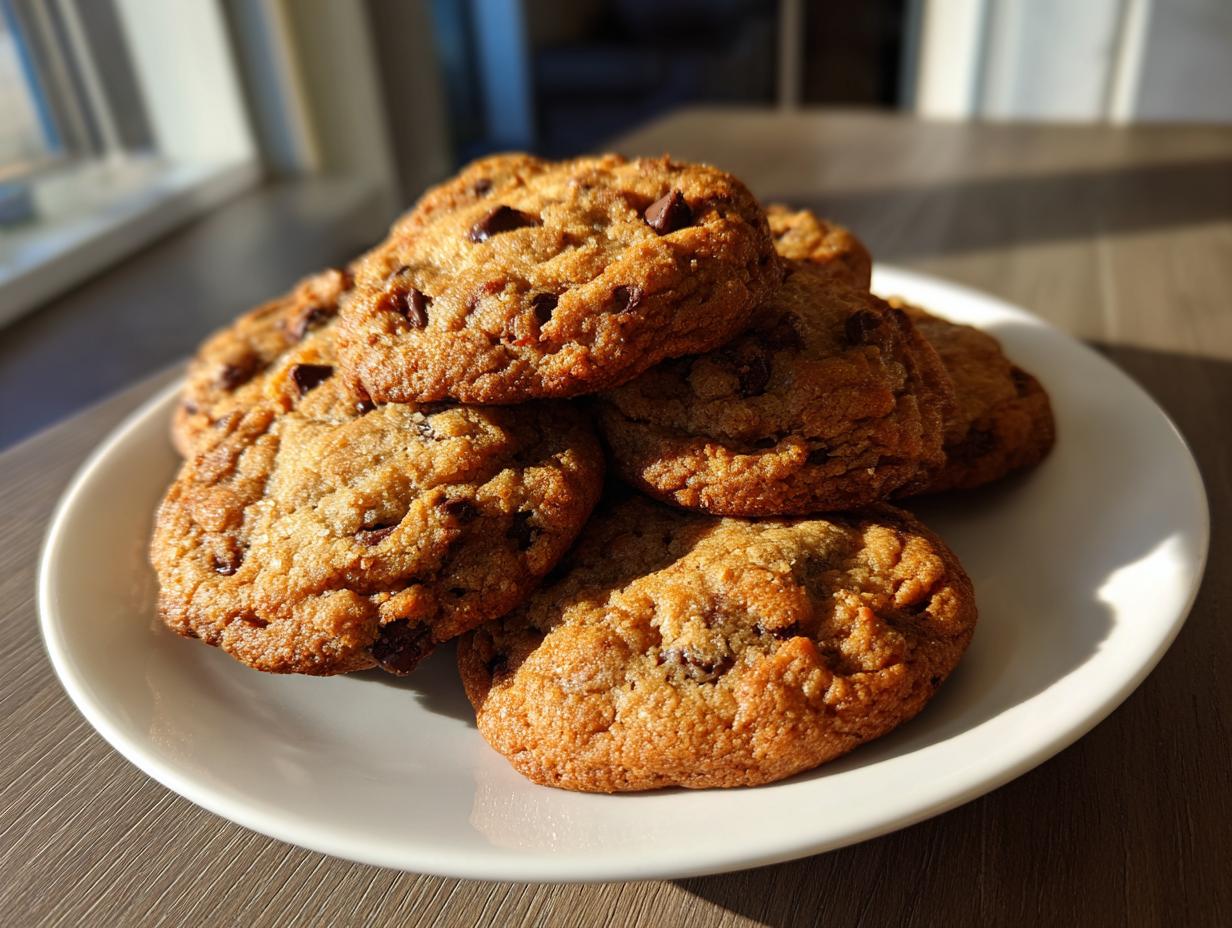
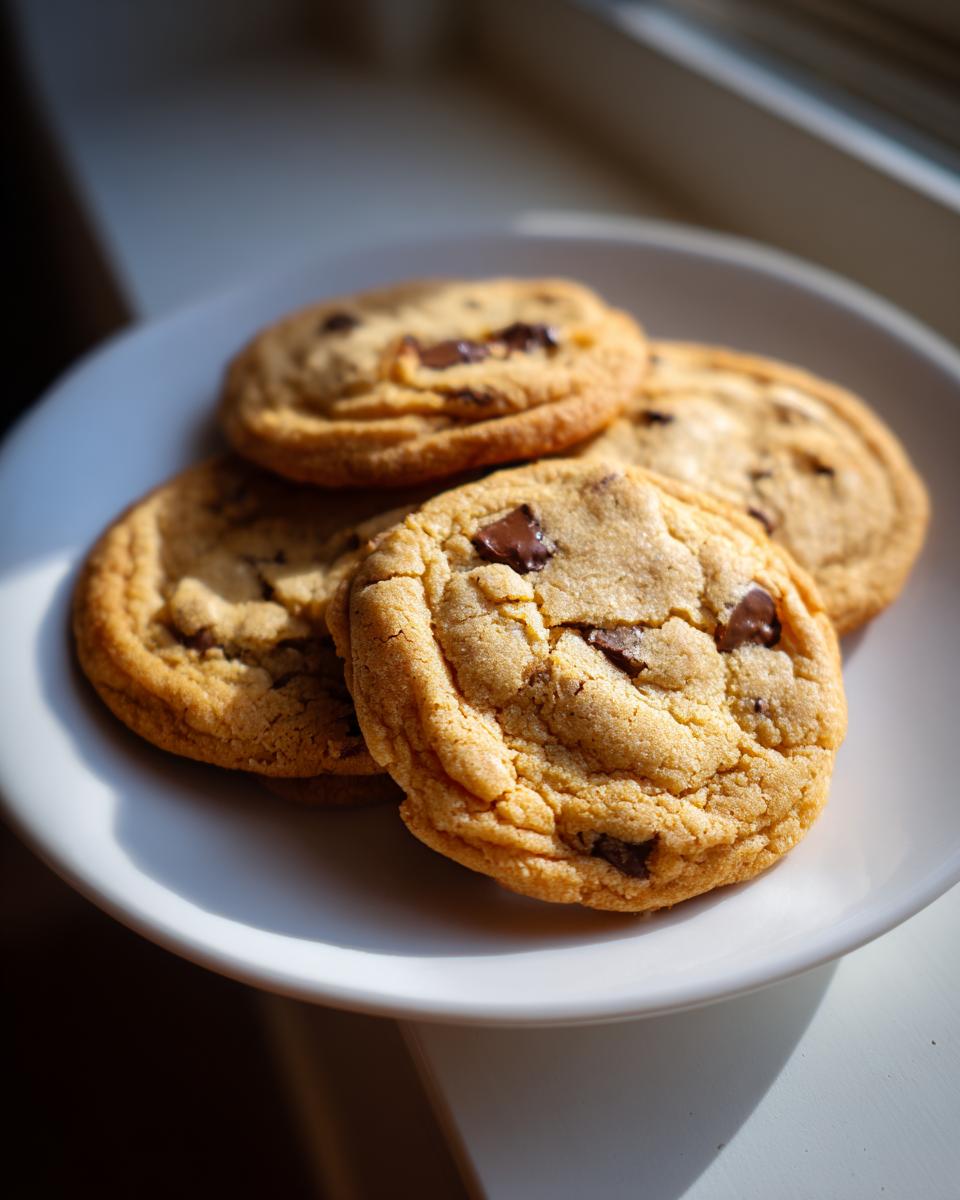
You know that feeling when you bite into a cookie from your favorite bakery and it’s just *perfect*? That incredible chewy center, those slightly crisp edges, and that amazing depth of flavor that makes you close your eyes? Yeah, me too. For the longest time, I chased that dragon in my own kitchen, trying every recipe I could find. It wasn’t until I really dug into the magic of brown butter that everything changed. Seriously, these Dessert Recipes That Make Brown Butter Cookies Taste Bakery Fresh are the real deal. I remember one rainy afternoon, I’d failed with yet another batch, and I was ready to give up. Then I tried browning the butter, and BAM! Suddenly, my cookies weren’t just good, they were *spectacular*. It’s all about unlocking that nutty, toasty flavor that store-bought just can’t replicate.
Why These Dessert Recipes Make Brown Butter Cookies Taste Bakery Fresh
So, what makes these Dessert Recipes That Make Brown Butter Cookies Taste Bakery Fresh so darn good? It’s not just one thing, but a few key players working together like a well-oiled machine. We’re talking about flavor boosters and texture secrets that are totally achievable right there in your own kitchen. Forget dry, crumbly cookies – these babies have got that amazing balance of chewy and crisp that makes you want to hoard them all to yourself!
The Magic of Brown Butter
Okay, seriously, let’s talk brown butter. When you melt unsalted butter and keep cooking it a bit longer, something amazing happens. Those milk solids in the butter toast up, turning a lovely amber color and giving off this incredible nutty, toffee-like aroma. It’s like the butter’s got a glow-up! This simple step takes your cookies from nice to absolutely WOW. It adds this deep, complex flavor that plain melted butter just can’t touch. It’s the secret sauce that makes my brown butter cookies taste like they were made by a pastry chef.
Achieving the Perfect Texture
Texture is EVERYTHING when it comes to bakery-style cookies. For these, we’re aiming for that dreamy combination: edges that have just a hint of crispness, but the center stays wonderfully chewy and soft. How do we get there? Well, starting with proper creaming of the butter and sugars is key, but the real MVP here is chilling the dough. Letting that dough rest in the fridge for at least 30 minutes (or even longer!) really lets the flavors meld and changes the cookie’s structure. It stops them from spreading too much in the oven, giving you those gorgeous, thick cookies that are chewy on the inside and beautifully golden on the outside.
Essential Ingredients for Bakery-Fresh Brown Butter Cookies
Alright, let’s get down to what you’ll need to make these cookies absolutely sing! It’s really about good quality basics, though, and one star ingredient that makes all the difference. Trust me, having these ready to go makes the whole process smooth sailing. Here’s your shopping list:
- 1 cup unsalted butter, melted and browned (that’s the secret weapon!)
- 1 cup packed light brown sugar
- 1/2 cup granulated sugar
- 2 large eggs
- 2 tsp vanilla extract
- 2 1/2 cups all-purpose flour
- 1 tsp baking soda
- 1/2 tsp salt
- 1 cup chocolate chips (semi-sweet or dark work best!)
Ingredient Spotlight: The Power of Browned Butter
You CANNOT skip browning the butter here, promise! It’s what takes these cookies from “nice” to “OMG, where did you buy these?” When you heat butter past the melting point, those little milk solids toast up, creating these amazing nutty, caramel notes. It’s a game-changer for flavor, adding a depth that you just can’t get with regular melted butter. It really is the foundation for that bakery-fresh taste we’re all after.
Tips for Ingredient Substitutions
So, you’re out of semi-sweet chips? No worries! Dark chocolate chips offer a richer flavor that plays beautifully with the brown butter. You could even toss in some chopped nuts for extra texture. If you’re looking for a gluten-free option, a good quality 1-to-1 baking blend usually works pretty well, though the texture might be slightly different. Just make sure your brown sugar is packed well – that’s key for chewiness!
Step-by-Step Guide to Bakery-Fresh Brown Butter Cookies
Alright, let’s get our hands dirty and make these magic cookies! Following these steps is pretty straightforward, but pay attention to the little details – that’s where the bakery-fresh secret sauce lives. Trust me, the smell alone while these are baking is worth it! For more brown butter goodness, check out this brown butter brookie recipe too!
Mastering the Brown Butter Process
First things first, let’s get that butter browned. Grab a light-colored saucepan – this helps you see the color change better. Melt your butter over medium heat. Keep an eye on it! Swirl the pan now and then. You’ll see it foam up, then the milk solids at the bottom will start to toast into gorgeous little golden-brown bits. It’ll smell absolutely divine, like nutty caramel. This usually takes about 5 to 8 minutes. As soon as it smells done and looks that beautiful amber color, pour it QUICKLY into a heatproof bowl. We don’t want it to keep cooking and burn!
Dough Preparation and Chilling
Now, pour that warm, nutty brown butter right into a big mixing bowl. Add in your packed light brown sugar and granulated sugar. Give it a good whisk until everything is smooth and combined. Then, it’s time for the eggs – whisk them in one at a time, just until they’re incorporated, followed by that lovely vanilla extract. In a separate bowl, quickly whisk together your flour, baking soda, and salt. Gradually add these dry ingredients to your wet mixture, stirring with a spatula until it’s *just* combined. Seriously, don’t overmix here! Fold in your chocolate chips, then cover that bowl tightly and pop it in the fridge for at least 30 minutes. This chilling step is SO important – it lets the flavors deepen and stops the cookies from spreading into sad, flat puddles.
Baking for Perfect Golden Edges
Time to get the oven ready! Preheat it to 350°F (175°C). While that’s heating up, grab your baking sheets and line them with parchment paper. Parchment paper is your best friend here for easy cleanup and perfect browning. Scoop out rounded tablespoons of that chilled dough and place them on the prepared sheets, leaving about 2 inches between them so they have room to spread their wings. Bake for about 9 to 11 minutes. You’re looking for the edges to be a lovely golden brown, but the centers should still look a little soft and underdone. Trust me, they’ll finish cooking on the hot pan. Let them cool there for a few minutes before carefully moving them to a wire rack to cool completely.
Tips for Achieving Bakery-Style Perfection
Okay, you’ve browned the butter, chilled the dough, and baked those beauties. But what if you want to take them from *really good* to *absolutely mind-blowing* bakery-level? It’s all in the little tweaks! These aren’t game-changers, but they’re the secrets that make all the difference. Think of it as leveling up your cookie game!
First, let’s talk ingredient temps. While we brown the butter when it’s warm, having your eggs at room temperature helps them emulsify better with the butter and sugar, creating a smoother dough and more even texture. Also, don’t be tempted to overmix after adding the flour! Just stir until you don’t see big streaks of dry stuff. Overmixing develops gluten, which can lead to tougher cookies. For that truly bakery-style look, I love using a cookie scoop. It makes them all uniform, and they bake more evenly. And if your cookies spread too much? It’s usually because the dough was too warm or maybe got a bit overworked. Chilling it properly and not overmixing are your best defenses!
Frequently Asked Questions About Brown Butter Cookies
Got questions? I’ve got answers! Making these bakery-style brown butter wonders is usually super straightforward, but I get it – sometimes you just need a little reassurance. Here are some things people often ask me:
Can I skip browning the butter?
Oh, I really, *really* don’t recommend it if you want that amazing bakery flavor! Browning the butter is what gives these cookies their signature depth and nutty, caramel notes. Using regular melted butter will make a good cookie, sure, but it won’t *quite* have that wow factor that makes them taste like they came from a fancy shop. It’s the secret weapon!
How long can I chill the dough?
This is a great question! Chilling the dough is super important for flavor and texture. You can chill it for just 30 minutes like the recipe says, and they’ll be fantastic. But if you want to take it up a notch, you can chill it for up to 72 hours! Seriously, the longer it chills, the more the flavors meld together and the chewier your cookies will be. Just make sure it’s covered well.
What’s the best way to store these cookies?
The best part? These cookies actually store really well! Once they’re completely cool, keep them in an airtight container at room temperature. They’re usually best within the first 3-4 days, but honestly, they rarely last that long in my house! The brown butter helps keep them wonderfully soft and chewy for longer than a regular cookie.
Nutritional Information
Now, I know we’re all about that delicious taste and magical texture, but sometimes it’s good to have a ballpark idea of what you’re digging into, right? Keep in mind, these numbers are just estimates, and they can totally bounce around depending on the exact brands of butter, sugar, and chocolate chips you use. But for a classic bakery-style brown butter chocolate chip cookie, you’re looking at something like:
- Calories: Around 200-250
- Fat: Roughly 10-15g
- Protein: About 2-3g
- Carbohydrates: Approximately 25-30g
It’s always fun to know, but honestly, these are best enjoyed without too much stressing over the numbers!
Bakery-Fresh Brown Butter Cookies
Ingredients
Equipment
Method
- Melt the butter in a light-colored saucepan over medium heat. Continue cooking, swirling the pan occasionally, until the butter turns a golden brown color and smells nutty. This should take about 5-8 minutes. Immediately pour the browned butter into a heatproof bowl to stop the cooking process.
- To the browned butter, add the brown sugar and granulated sugar. Whisk until well combined.
- Whisk in the eggs one at a time, then stir in the vanilla extract.
- In a separate bowl, whisk together the flour, baking soda, and salt.
- Gradually add the dry ingredients to the wet ingredients, mixing with a spatula until just combined. Do not overmix.
- Fold in the chocolate chips.
- Cover the bowl and refrigerate the dough for at least 30 minutes. This step is crucial for achieving the bakery-style texture.
- Preheat your oven to 350°F (175°C). Line baking sheets with parchment paper.
- Scoop rounded tablespoons of dough onto the prepared baking sheets, leaving about 2 inches between cookies.
- Bake for 9-11 minutes, or until the edges are golden brown and the centers are still slightly soft. They will continue to set as they cool.
- Let the cookies cool on the baking sheets for a few minutes before transferring them to a wire rack to cool completely.


