

Oh, my gosh, are you tired of watching your bank account weep every time you hit the drive-thru for that afternoon coffee fix? Me too! Trust me, I’ve been there, staring longingly at the menu board while my wallet was basically crying mercy. That’s honestly how this recipe for the Mocha Frappuccino (Budget-Friendly) was born. It wasn’t a fancy experiment; it was pure necessity mixed with a deep craving for chocolate and caffeine!
I still remember the first time I decided to recreate my favorite cafe treat at home during one of those tight months where my budget was screaming for mercy. It was a hot summer day, and as I blended up coffee, chocolate, and ice, the rich aroma filled my kitchen. With each sip of my homemade creation, I felt like I had found a hidden gem amidst the shelves of pricey coffee houses. It reminded me that with a little creativity and resourcefulness, it’s entirely possible to enjoy my favorite flavors without losing my financial stride. Since then, my budget-friendly take on this blended coffee has become a staple, offering a delightful escape without ever feeling indulgent. We’re ditching the steep price tags for this homemade Mocha Frappuccino (Budget-Friendly) and embracing the magic of the blender!
You can check out some other easy drink ideas here, but honestly, this one is a game-changer when you need that sweet treat fast.
Why This Mocha Frappuccino (Budget-Friendly) Recipe Works
Listen, the reason this recipe is my go-to when money’s tight is because it skips all the fancy, expensive fillers the big chains rely on. We trade specialty syrups for basic pantry staples, and the results? Incredible! This is the ultimate chocolate drink that tastes way more expensive than it actually is. It’s my favorite way to get a satisfying sweet treat without the guilt about hitting my savings goal!
Here’s the breakdown of why this technique wins:
- You’re using up already-brewed coffee by freezing it—zero waste!
- The main sweetness comes from simple sugar, not pricey flavored syrups.
- It comes together in minutes, so you’re not wasting time waiting in line.
Cost Comparison: Cafe vs. Homemade Mocha Frappuccino (Budget-Friendly)
I can’t even tell you the difference! A standard cafe-style drink can easily run you four or five dollars, sometimes more if you add an extra shot. My version? We’re talking about pennies when you compare the cost of the milk and cocoa powder you already have lying around. Plus, freezing your coffee means you use less actual ice!
If you use plain ice cubes, they dilute the coffee rapidly. Since we’re blending frozen coffee cubes, the flavor stays strong and concentrated, meaning you need fewer ingredients overall to get that intense, mocha hit.
Tips for Sourcing Cheap Ingredients for Your Mocha Frappuccino (Budget-Friendly)
Affordability is key here, right? Don’t stress if you think cocoa powder is pricey; it lasts forever because a little goes a long way in this recipe. Buy the bigger container if you see a sale; it’s much cheaper per ounce.
For your milk, use whatever is cheapest that week—whole milk gives the best richness, but 2% or even unsweetened almond milk works just fine if that fits your budget better. And that sugar? Just stick to standard granulated sugar. Honestly, the chocolate notes from the cocoa powder mask anything basic about the sugar we use here. It’s all about smart shopping!
Essential Equipment for Your Mocha Frappuccino (Budget-Friendly)
Okay, the good news is that you probably already own everything you need for this super simple blended coffee. You don’t need any fancy, expensive gadgets—just the basics! We only need three main things to make this sweet treat happen.
First, you absolutely have to have a good, high-powered blender. This is non-negotiable when you’re crushing frozen coffee cubes. If your blender is older or struggles with frozen items, don’t just start it on high! Run the blender on low speed first, maybe even pulsing it a few times, to break up the big ice chunks before you let it rip. That keeps your motor happy!
You’ll also need an ice cube tray (where your amazing coffee ice cubes are made, obviously) and a microwave, just in case we need that little bit of extra time to soften things up a bit before blending.
Ingredients for the Perfect Mocha Frappuccino (Budget-Friendly)
This is where the real budget magic happens, friends! The reason we can keep the cost down is because we are relying on ingredients you likely already have or can grab very cheaply. Forget those weird, overpriced coffee powders. We are building flavor from the ground up, and the absolute star here is the frozen coffee.
You need to brew your coffee—make it strong, just how you would if you were drinking it hot—and then freeze it solid in your ice cube trays. Those coffee ice cubes are the secret weapon in this Mocha Frappuccino (Budget-Friendly) because they chill the drink without causing a watery disaster like regular ice! Check out some fast meal hacks while those cubes are freezing if you need something else to do!
For the Blended Coffee Base
Here’s what you’ll gather for a perfect, rich blend for two servings. I always measure these out the night before so I can just dump and blend in the morning.
- Coffee Ice Cubes: You need about 2 cups—that’s roughly a full tray, maybe 14 cubes. Remember, this is your coffee base!
- Milk: 1 cup is perfect. Use whatever you have on hand.
- Sugar: 3 tablespoons. Feel free to adjust this based on how sweet you like your chocolate drink.
- Cocoa Powder: 1.5 tablespoons is what gets that deep chocolate finish.
- Vanilla Extract: Just a tiny splash, about 0.25 teaspoon, to really wake up the flavors.
- Salt: A tiny pinch! Trust me on this one; it makes the chocolate richer.
- Instant Coffee Granules: 1 teaspoon, totally optional, but if you want that extra punch like a coffee house, toss it in!
Optional Topping Suggestions
Since we are being budget-conscious, whipped cream is definitely optional! If you skip it, you can dust the top lightly with a bit more cocoa powder for a classy look.
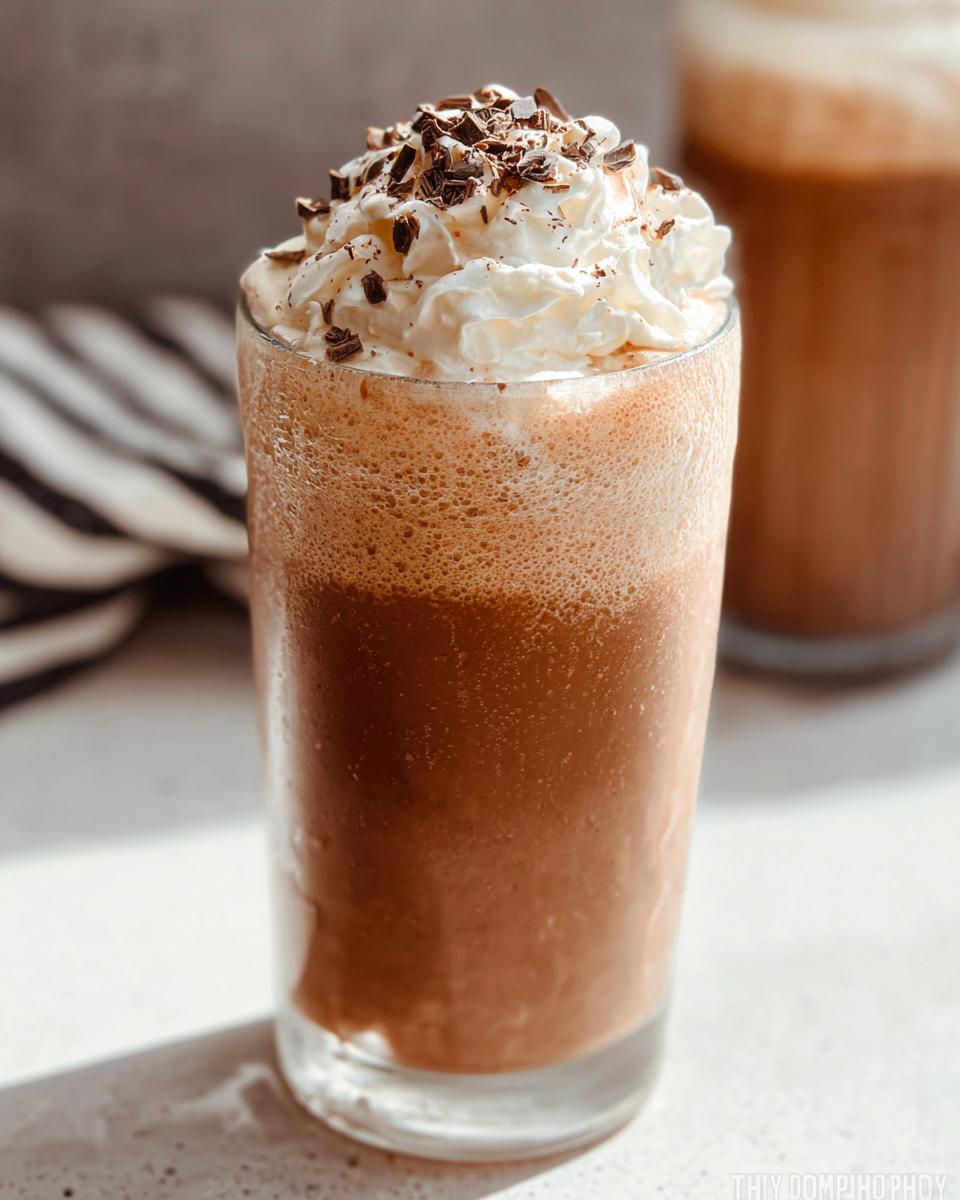
- Whipped Cream: Just a dollop if you’re feeling fancy!
Step-by-Step Instructions for Making Your Mocha Frappuccino
This is the exciting part—turning all those frozen cubes and powders into a glorious, thick chocolate drink! Don’t rush this, but honestly, it goes fast. We’re aiming for that perfect, thick, pourable consistency that screams summer indulgence. It helps to have everything measured out before you even turn the blender on!
If you’re looking for some fast ways to manage your time, check out these foolproof ways to speed up kitchen tasks while your drink is resting!
Blending the Chocolate Drink
First things first: load up that blender! You want to put the softer ingredients in first if your blender isn’t super industrial. Drop in your milk, the sugar, the cocoa powder, the vanilla extract, and that tiny pinch of salt. Then, you toss in your frozen coffee ice cubes and the optional instant coffee granules if you want that extra caffeine kick. It’s just everything in there to get ready for the vortex!
Troubleshooting Blending Issues for a Smooth Mocha Frappuccino (Budget-Friendly)
Now, hit the blend button! You’ll start slow and ramp it up. If the blades get stuck and you just have a thick, chunky mess, don’t panic and don’t keep running the motor until it smells burnt! That’s when we use the secret trick for this Mocha Frappuccino (Budget-Friendly).
Just turn the blender off and let the mixture sit for about 5 to 10 minutes. This gives the coffee ice cubes just enough time to soften around the edges. Then, give it another try. It should blend up beautifully smooth after that short pause! Once it looks silky, pour it right into your glasses.
Ingredient Notes and Substitutions for This Budget Recipe
I get asked all the time about swapping ingredients in this recipe, and honestly, that’s the joy of making something at home! When you aren’t chained to someone else’s set menu, you can play around, but knowing what keeps the right texture saves you from sadness later. Since we are sticking to a budget recipe, we want to use what we already have, but if you’re missing something, don’t stress too much.
For instance, if you are low on regular milk, any non-dairy alternative works great for achieving that blended coffee texture. Oat milk adds a lovely creaminess, but even watered-down soy milk will do the trick in a pinch! If you happen to have a less powerful blender that struggles with crushing those hard coffee cubes, remember the troubleshooting tip I mentioned earlier? If blending stalls, just let the whole mixture sit for about 5 to 10 minutes. Or, if you’re really in a hurry, you can zap those cubes in the microwave on the defrost setting for just about 45 seconds. Be super cautious here; we want them softened, not melted into actual water!
What if you ran out of coffee entirely? Well, technically, it stops being a Mocha Frappuccino (Budget-Friendly), but you could use strong cold brew concentrate instead of brewing and freezing standard coffee. Just use a little less liquid overall in the blend since concentrate is usually stronger. If you have the optional instant coffee granules, you could make a super-chocolaty, non-coffee version using just hot (cooled) water to activate the cocoa and instant coffee, then freeze *that* mixture. It’s a fun little experiment! You can always find more great tips on ingredients over at my favorite resource for cooking guides.
Tips for Success When Making a Mocha Frappuccino (Budget-Friendly)
Making this drink consistently great every single time really comes down to a few little tricks I’ve picked up over testing this recipe dozens of times to keep my budget happy. Don’t just throw things in the blender and hope for the best! A little planning makes you look like a pro.
Here are my absolute must-do tips:
- Prep Your Coffee Ice Cubes Early: This is the most important thing! Brew your strong coffee the night before or whenever you have a few extra minutes, and freeze it solid. Having these ready means you can whip up a creamy Mocha Frappuccino (Budget-Friendly) in under five minutes flat. It’s the ultimate grab-and-go strategy!
- Taste Before You Pour: Before you turn the blender off for good, stick a spoon in there and taste it. Is it sweet enough? Does the chocolate flavor really pop? If it tastes a little dull, this is your last chance before you pour it out. Add another half teaspoon of sugar or maybe just a few more granules of instant coffee and pulse it again. You deserve perfect flavor!
- The Texture Check: If your final drink is too thin and runny, you used too much regular ice or didn’t brew your coffee strongly enough to begin with. The fix? Freeze any leftovers! If you have a slightly too-thin batch, pour it into a freezer-safe mug and let it firm up for 30 minutes. It will gain that thick, desirable texture back. You can always make it thicker, but stretching out a watery mess is nearly impossible.
Consistency is everything when it comes to enjoying those little budget wins, and sticking to these steps means you’ll have a perfect sweet treat every time. For more insights on getting things just right in the kitchen, check out this great guide on what makes perfect recipes!
Serving Suggestions for Your Homemade Blended Coffee
Okay, so you’ve got this gorgeous, thick, budget-friendly Mocha Frappuccino sitting in the blender. Don’t ruin the moment by pouring it into the first slightly sticky glass you find! Presentation matters, even when we’re being frugal. Since we skipped the expensive add-ons like fancy syrups in the mix, let’s keep the finishing touches simple but effective. This is still a special moment, even if it only cost you pennies!
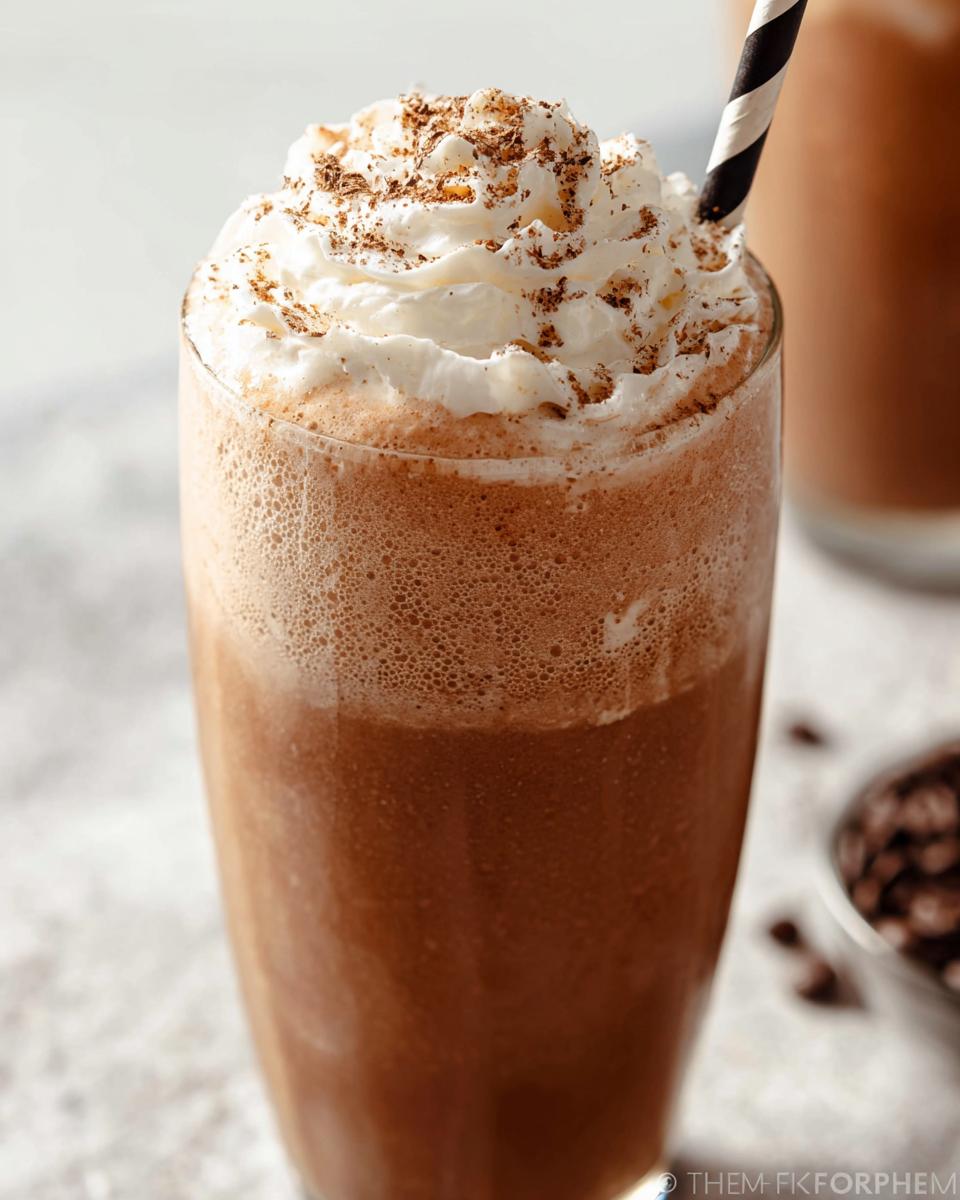
The easiest thing you can do is dust the top of the drink with a little bit of extra cocoa powder. It looks professional and really emphasizes that rich chocolate flavor we worked so hard to achieve. If you don’t have whipped cream, a dusting of cocoa powder or even a tiny sprinkle of leftover sugar gives it that classic, dark contrast against the lighter brown of the blended coffee.

If you happen to have any chocolate chips lying around—even just four or five—you can crush them coarsely in a plastic bag with a rolling pin and sprinkle those right over the top for a little texture boost. It adds that satisfying crunch! If you’re having these on a busy weeknight, check out some of my quick tips for making sure dinner is ready too, so you can enjoy this drink stress-free! These meal prep ideas might free up your evening!
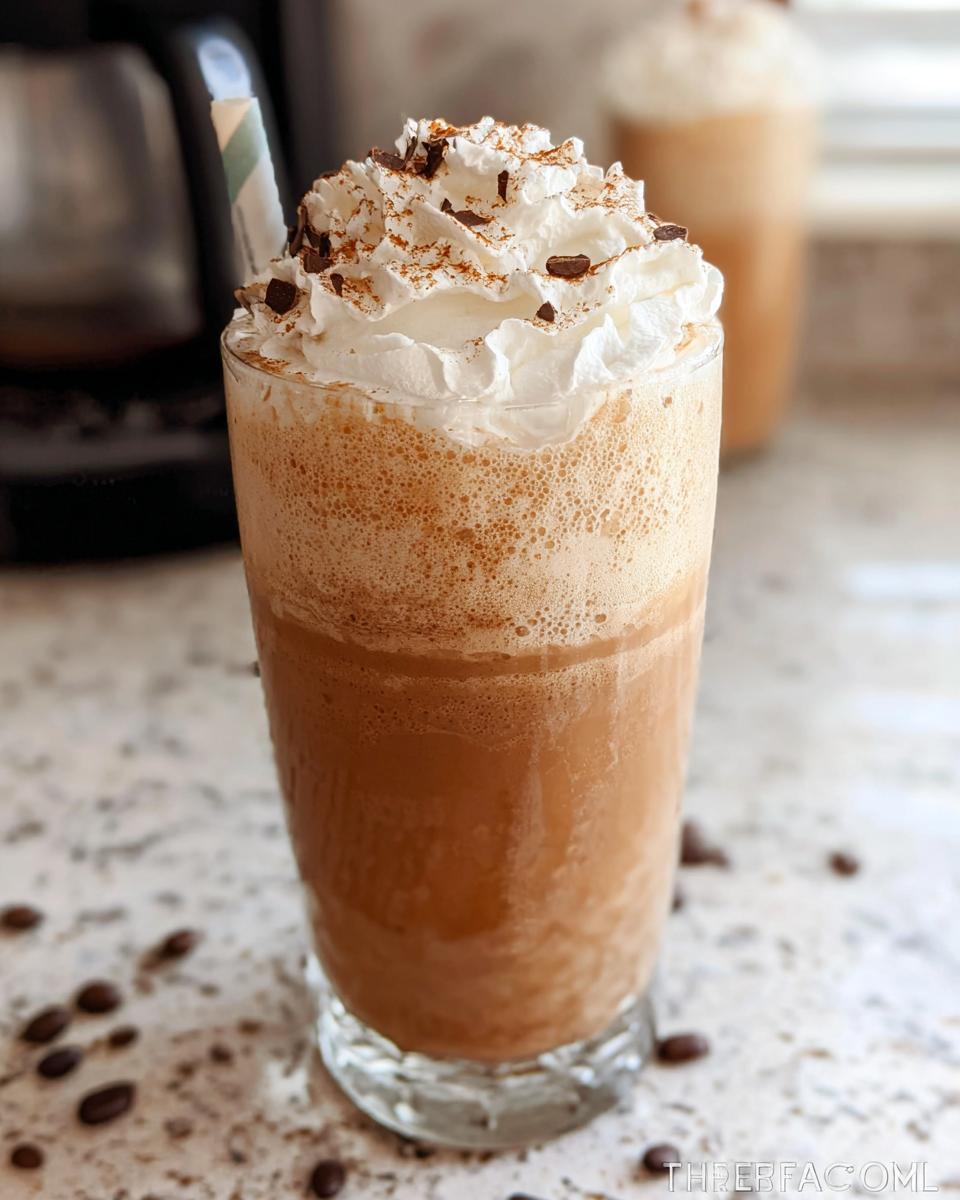
And don’t forget the straw! Using a reusable metal or sturdy plastic straw just makes drinking that thick, icy goodness so much more satisfying. It feels like you’re truly treating yourself, even though you made this delicious blended coffee yourself right in your own kitchen.
Frequently Asked Questions About This Budget Recipe
I know you probably have a few last-minute thoughts buzzing around before you race to the freezer to grab those coffee cubes! That’s totally normal when you’re trying out a new budget recipe. We want that perfect flavor and texture, and I’m here to make sure your Mocha Frappuccino (Budget-Friendly) turns out spot-on every time. Getting the little answers sorted ahead of time makes for a much smoother blending process!
If you’re looking for more general kitchen advice, you can always browse through all my other kitchen tips and recipes!
Can I make a Mocha Frappuccino (Budget-Friendly) without instant coffee granules?
Oh, absolutely! Please don’t worry if you don’t have instant coffee granules hanging around. The backbone of this entire drink is the frozen, strong brewed coffee you made. That’s where 99% of your coffee flavor is coming from! The tiny bit of instant coffee is truly just a boost if you like things extra potent, like a quadruple-shot level of intensity. Without it, you still have a delicious, rich chocolate drink that’s wonderfully balanced!
How far in advance can I freeze the coffee ice cubes?
This is such a smart question because prepping ahead is the real secret weapon to keeping this a quick treat! You can absolutely make the coffee ice cubes weeks in advance. Just brew the coffee, let it cool completely—and I mean completely, we don’t want freezer burn from steam!—and then pop those cubes straight into the freezer. Once they are rock hard, immediately transfer them from the plastic tray into a sturdy, zip-top freezer bag. Squeeze out all the air and seal it tight. They stay perfect for at least two months, maybe longer, but trust me, they never last that long in my house!
Is this better than store-bought because it’s a healthier Chocolate Drink?
That’s debatable, but generally, yes, it’s certainly more honest! When you make this at home, you control every ingredient. You know exactly how much sugar is going into your sweet treat. Most places pump these drinks full of corn syrup and artificial flavorings. Since we are using real cocoa powder and just regular sugar (and you control the measurement!), you can make this significantly healthier than the pre-made options. You could even use a sugar substitute if you want, though I prefer the taste of the real sugar with the cocoa in this recipe!
What happens if I use regular ice instead of coffee ice?
If you use regular ice cubes, you are going to end up with a very watery, flavorless version of what we are trying to achieve here. Regular ice melts fast and just dilutes everything it touches. The entire point of this Mocha Frappuccino (Budget-Friendly) being so effective is that the ice *is* the coffee! So, if you run out of pre-frozen cubes, the best thing to do is brew a cup of coffee, let it cool slightly, and use that liquid in place of some of the milk, maybe adding just a few regular ice cubes only if you need extra bulk for blending. But try to rely on frozen coffee always for the best result!
Storage and Reheating Instructions for Leftover Mocha Frappuccino
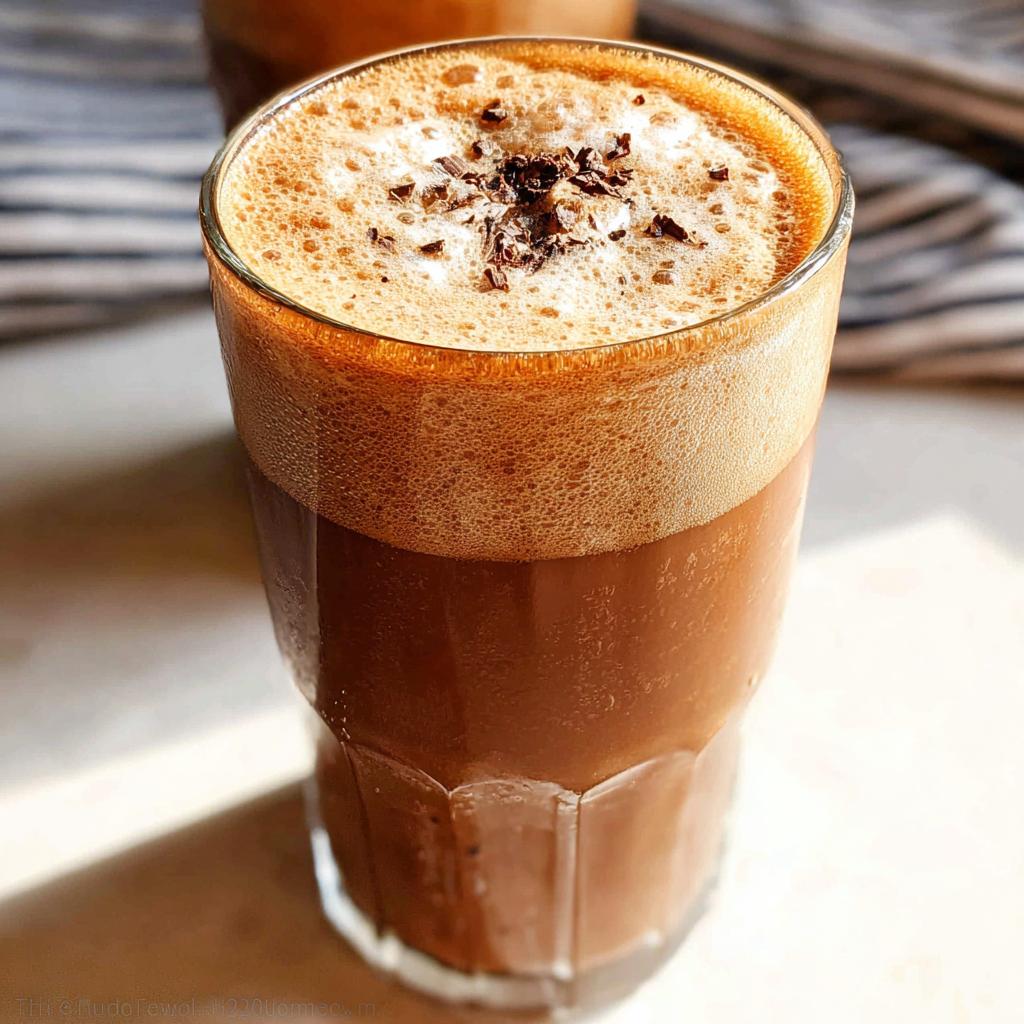
Now, let’s be real: if you’ve made this amazing, budget-friendly blend, there probably won’t be any leftovers! It’s that good. This blended coffee is designed to be consumed immediately when it’s perfectly thick and icy. That texture is fragile, you know? Once those ice crystals start melting, you lose that satisfying, creamy mouthfeel.
But okay, maybe you were planning ahead (good for you!) or maybe your kids poured a glass and decided they were suddenly full. Don’t dump it! Even if it has melted a little, it’s not wasted. In fact, since we used strong coffee cubes, it retains its flavor way better than those sugary cafe slushies.
How to Store Any Leftover Mocha Frappuccino (Budget-Friendly)
If you know you won’t drink the rest right away, the freezer is your best friend. Pour any remaining Mocha Frappuccino (Budget-Friendly) directly into a freezer-safe container, like a small Mason jar or a sturdy plastic container. Just leave a little bit of headspace at the top because liquids will expand slightly when they freeze, and we definitely don’t want exploding jars!
Seal it up tightly, and you can keep it frozen for up to a week. It won’t be perfectly smooth anymore—it’ll be frozen solid, like a little mocha ice block—but that’s exactly what we want because it means the flavor hasn’t gone anywhere!
Reheating or Reviving Your Frozen Chocolate Drink
When you are ready to enjoy this budget recipe again, DO NOT try to microwave it! Microwaving that frozen block turns it into instant, lukewarm brown water. That defeats the purpose of having made a lovely sweet treat in the first place!
Here’s the fast fix: Take the frozen mixture out of the freezer and let it sit on the counter for about 10 to 15 minutes, just until the edges start looking frosty and softened. Then, you need to bring in the heavy artillery—your blender!
Toss that semi-solid block back into the high-powered blender. You might need to add just a splash—maybe two tablespoons!—of fresh milk to get the blades moving again, but that’s all. Blend it until it’s smooth and creamy again, like it was freshly made. You’re back in business without spending another penny! If you’re trying to get dinner ready while you’re juggling this reheating process, take a peek at these 20-minute win dinner ideas for inspiration!
Mocha Frappuccino (Budget-Friendly)
Ingredients
Equipment
Method
- Place the coffee ice cubes, milk, sugar, cocoa powder, vanilla extract, salt, and optional instant coffee granules in a high-powered blender.
- Blend until the ice cubes are crushed and the mixture is smooth.
- If the mixture is difficult to blend, let it sit for 5 to 10 minutes, then try blending again.
- Pour the blended mixture into glasses.
- Top with whipped cream, if desired.


