
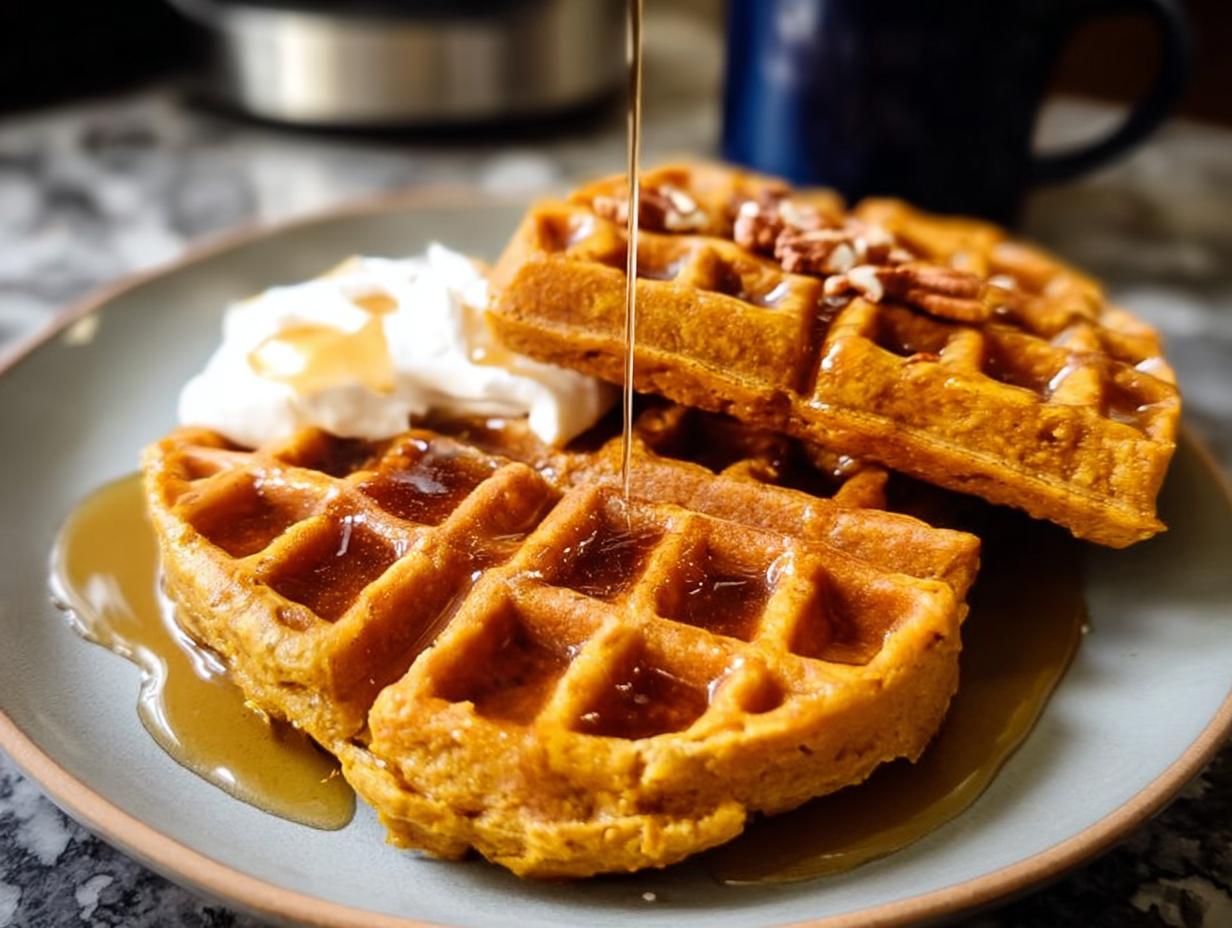
You know those mornings? The ones where your alarm feels like a personal attack and the thought of making breakfast feels like climbing Mount Everest? Yeah, I’ve been there. As ‘The Keto Performance Chef,’ I’m always juggling workouts, recipe development, and, well, life! That’s exactly why these Blender Pumpkin Waffles (Freezer-Friendly) became my absolute saving grace last fall. I needed something seriously fast, super nutritious, and packed with that cozy autumn flavor. After a bunch of recipe testing (and a few sticky situations!), I landed on this gem. It’s ridiculously simple – just toss everything in the blender, pour, and cook. My freezer quickly became my best friend, stocked with perfectly crisp, golden waffles that made even the craziest mornings feel effortless. Trust me, this is the meal-prep secret weapon you didn’t know you needed!
Why You’ll Love These Blender Pumpkin Waffles (Freezer-Friendly)
Seriously, what’s not to adore about these waffles? They’re a total game-changer for busy mornings:
- Super Quick: Thanks to the blender, the batter comes together in minutes – way faster than traditional methods!
- Effortlessly Easy: Just dump and blend! It’s practically foolproof, even if you’re not a morning person.
- Perfectly Crispy: We’re talking that satisfying crunch you dream of, not soggy sadness.
- Make-Ahead Magic: Having these ready-to-go in the freezer means a healthy, delicious breakfast is always just minutes away.
- Fall Flavor Bomb: Packed with pumpkin and warm spices, they capture that cozy autumn taste we all crave.
Gather Your Ingredients for Blender Pumpkin Waffles
Okay, time to get our ingredients lined up! This recipe is super straightforward, and honestly, having everything ready to go makes the whole blender process even faster. Trust me on this one. For our delicious fall waffles, you’ll want to have these staples on hand.
First, the dry stuff:
- 1 cup whole wheat pastry flour (or white whole wheat flour works too!)
- 2 teaspoons baking powder
- 1 teaspoon cinnamon – that classic fall spice!
- ½ teaspoon nutmeg
- ½ teaspoon ground ginger
- ¼ teaspoon ground cloves – just a pinch for depth!
- ½ teaspoon salt
And now for the wet ingredients that make these so moist and wonderful:
- ¾ cup pumpkin puree (make sure it’s pure pumpkin, not pie filling!)
- ¾ cup unsweetened almond milk (or pretty much any milk you have on hand will work)
- 1 large egg
- 1 teaspoon vanilla extract
- 2 tablespoons pure maple syrup for a touch of sweetness
- 1 tablespoon coconut oil, melted
Having these ready means you can toss them all into the blender and be on your way to waffle heaven in minutes. Check out my list of essential keto pantry items if you need a restock!
Equipment Needed for Your Blender Pumpkin Waffles
You don’t need a whole lot of fancy gadgets for these, which is part of why I love them so much! For these Blender Pumpkin Waffles, just grab:
- A good ol’ Blender – this is our star player!
- Your trusty Waffle Iron – Belgian or standard, it works either way!
- A Large Bowl for a quick whisk if you prefer, but honestly, the blender does most of the work.
That’s really it! Simple tools for a simple, delicious breakfast.
Step-by-Step Guide to Making Blender Pumpkin Waffles
Alright, let’s get these delicious waffles into your life! This is the part where everything comes together super fast, thanks to that magic blender. Remember how I was juggling deadlines and coaching sessions? This is the part that saved me precious minutes! We’re going from ingredients to golden waffles in no time. Just follow these simple steps and soon you’ll be enjoying your own batch of these amazing pancake-like pumpkin delights.
Preheat and Combine Dry Ingredients
First things first, let’s get that waffle iron heating up! You want it nice and hot so your waffles get that perfect crisp when they hit the surface. While it’s warming, grab a large bowl. Add all your dry ingredients – the whole wheat pastry flour, baking powder, cinnamon, nutmeg, ginger, cloves, and salt. Give them a good whisk together. This just makes sure all those spices and the leavening agent are evenly distributed, so you don’t get any weird pockets of just flour in your waffles. Easy peasy!
Mix the Wet Ingredients and Combine
Now for the fun part! In your blender, combine all the wet ingredients: the pumpkin puree, your milk of choice, the egg, vanilla extract, maple syrup, and that melted coconut oil. Pop the lid on and blend until everything is nice and smooth. It should look like a beautiful, thick orange swirl. Now, carefully pour this wet mixture into the bowl with your whisked dry ingredients. Give it a gentle mix with a spatula or whisk – just until everything is *combined*. Seriously, don’t go wild here! Overmixing can make your waffles tough, and we want them tender and fluffy, not like little hockey pucks.
Cook Your Blender Pumpkin Waffles
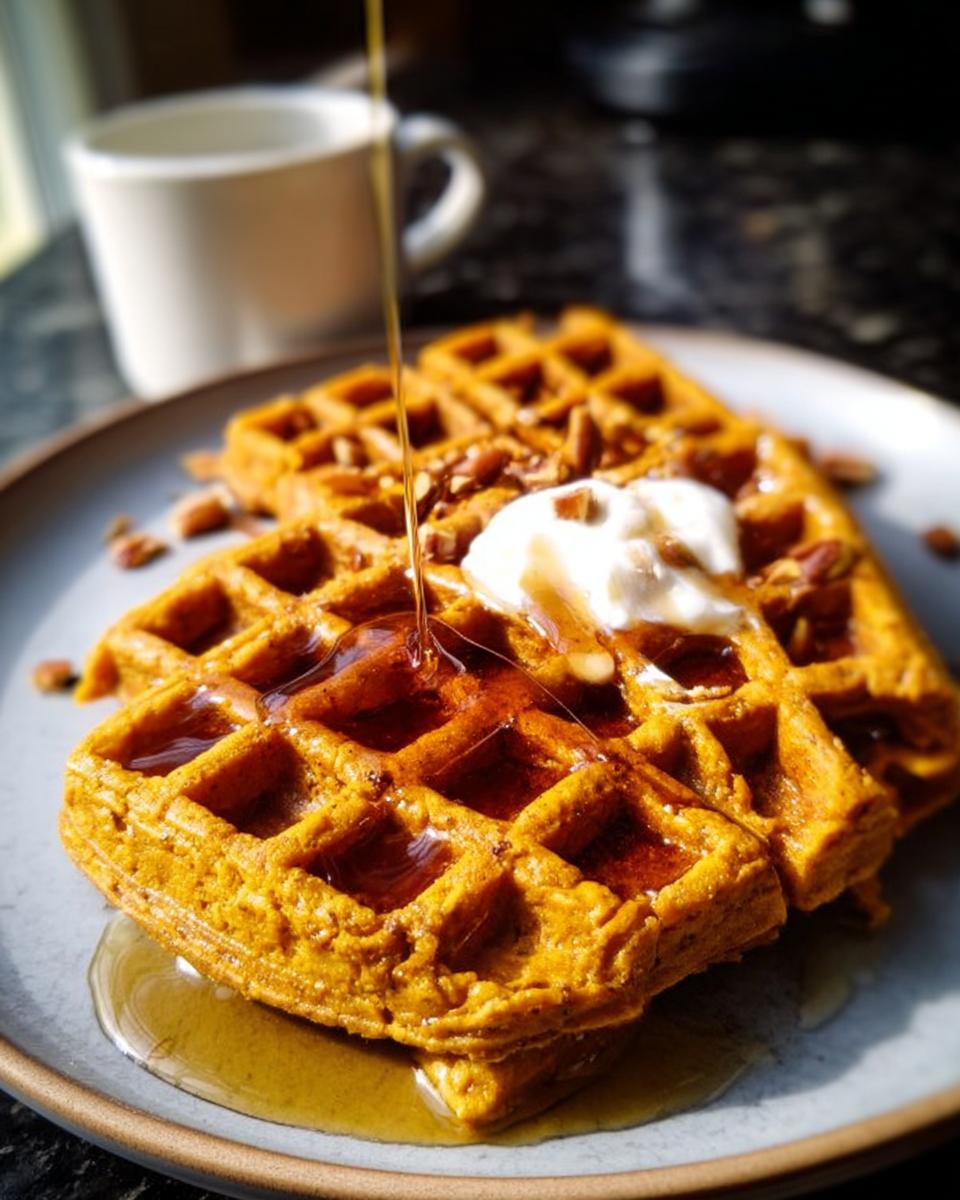
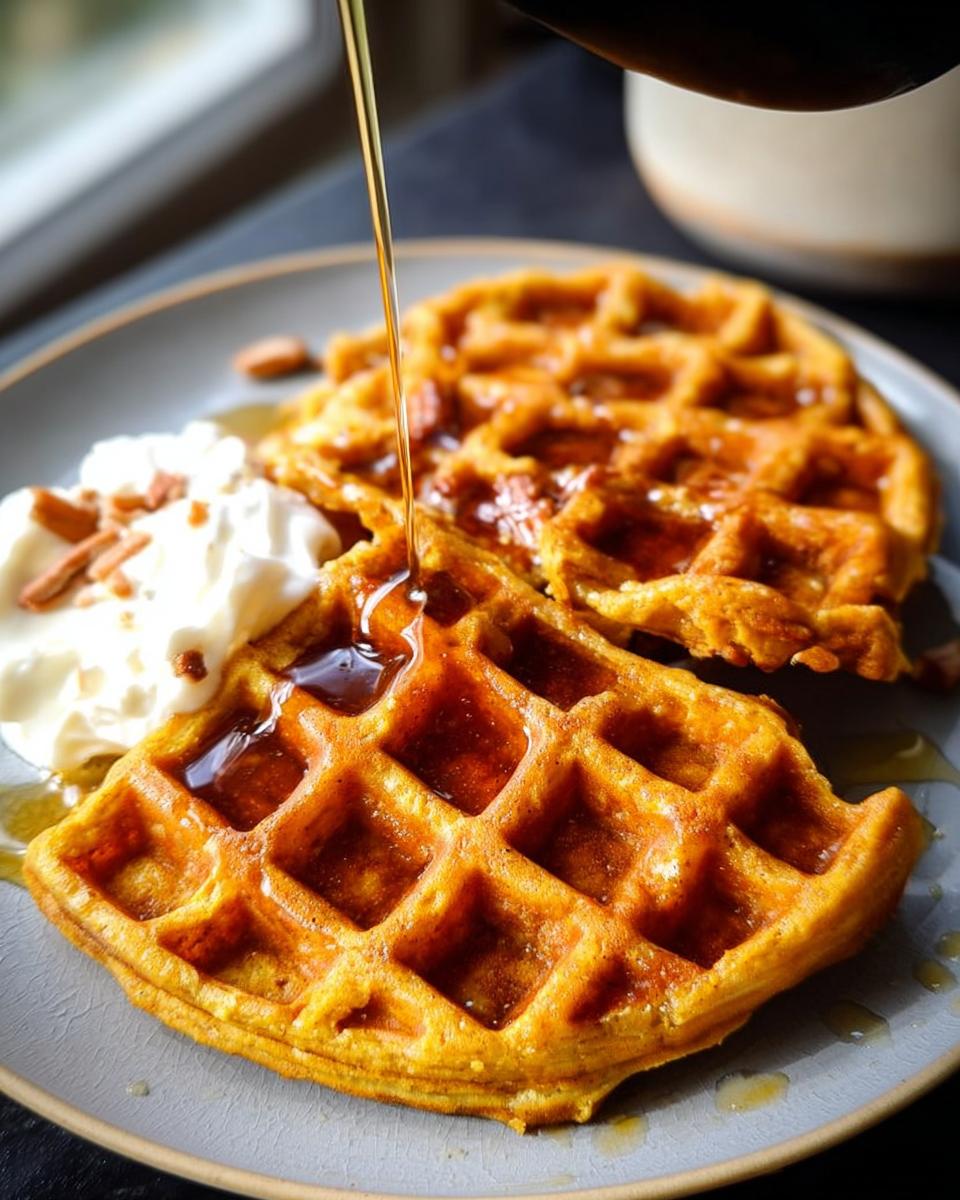
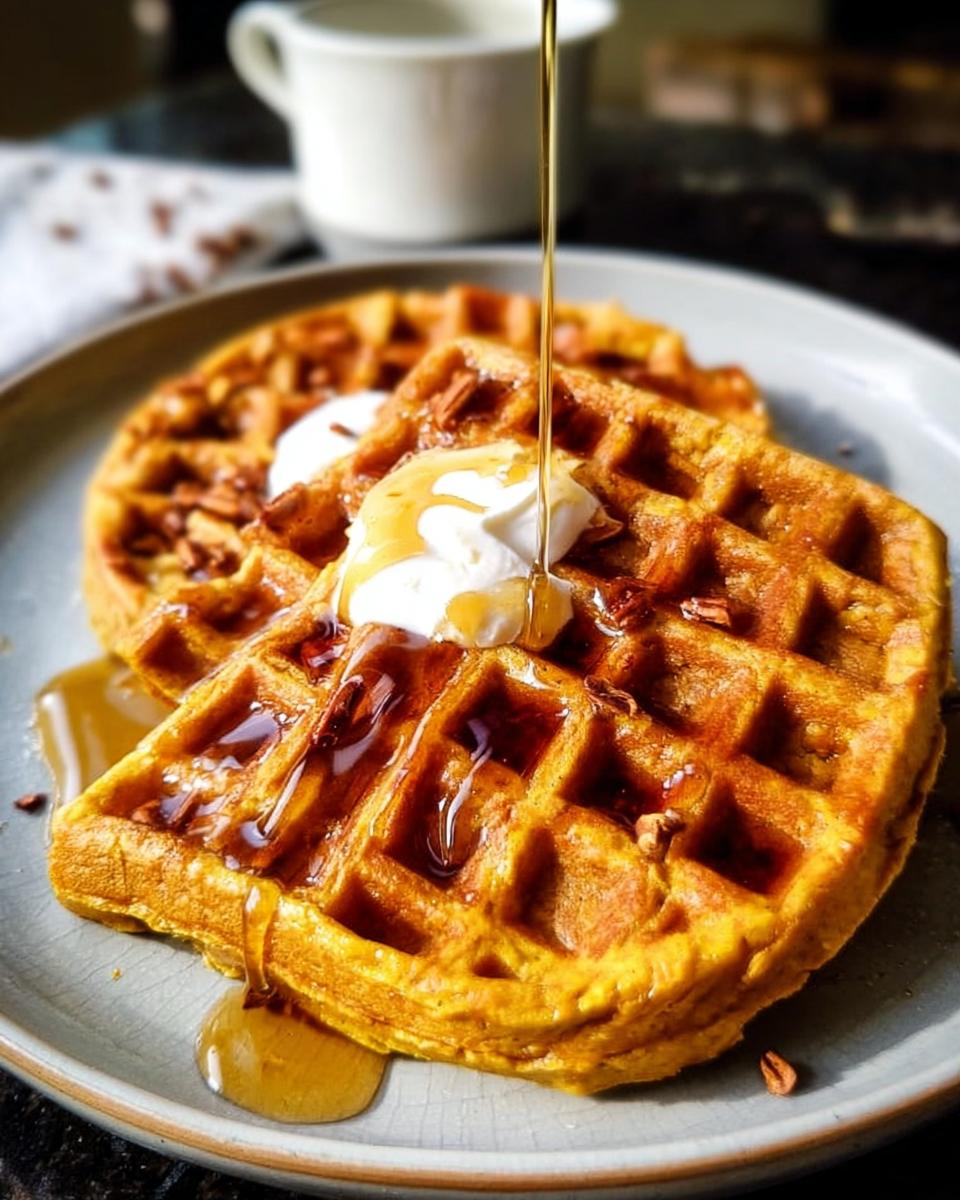
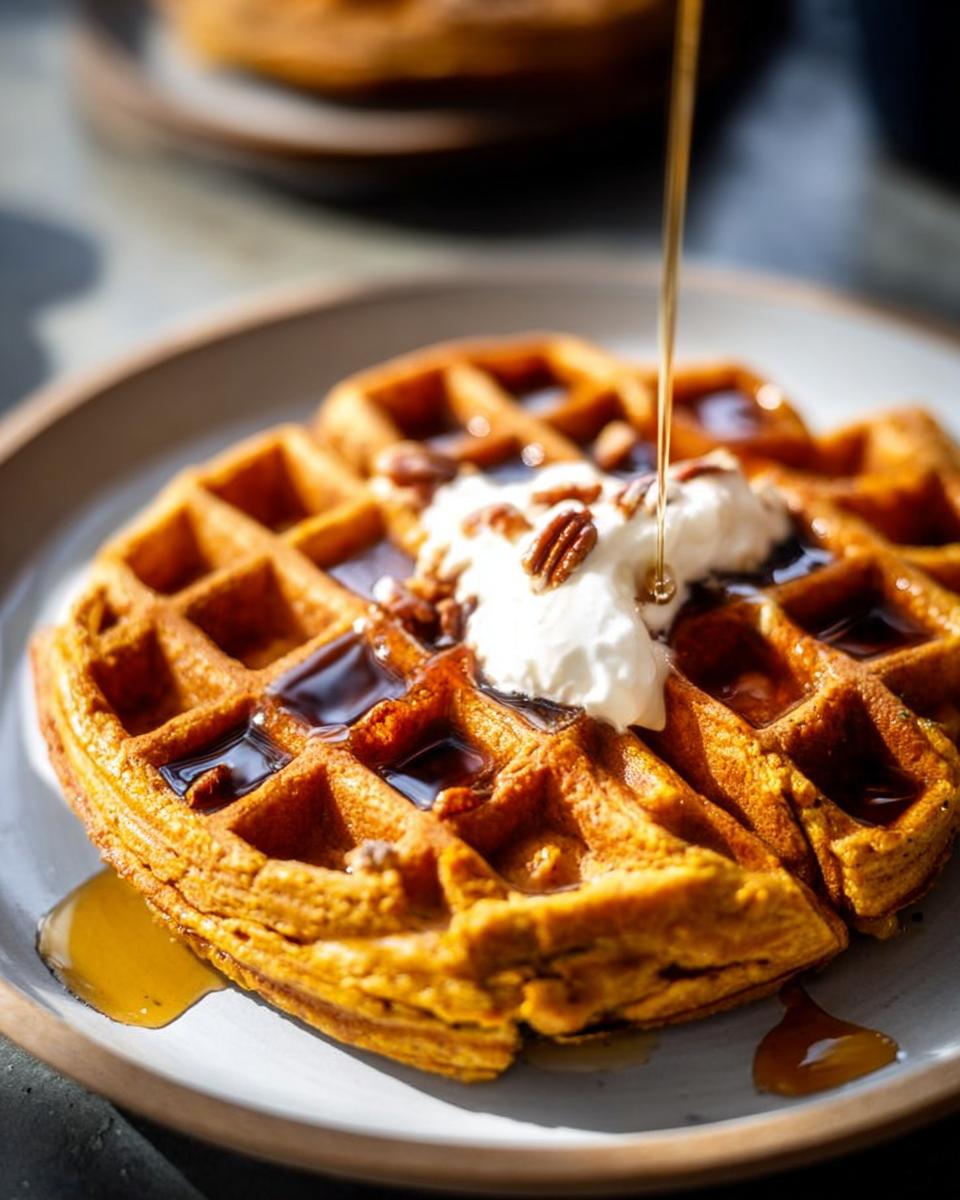
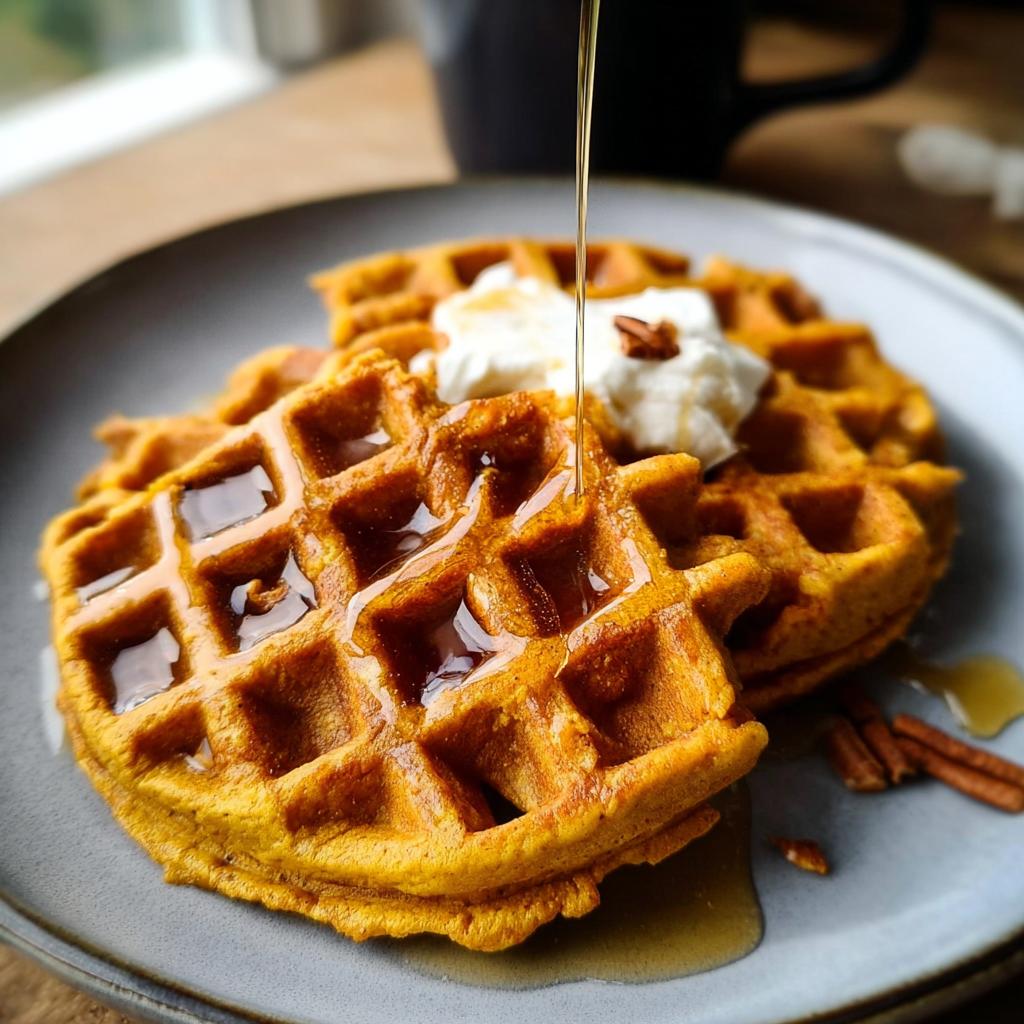
Time to make some waffle magic! Lightly spray your preheated waffle iron with a non-stick spray – this helps prevent sticking and ensures those beautiful waffles slide right out. Pour about ½ cup of batter onto the hot iron (or whatever amount your specific waffle iron recommends). Close the lid and let it cook according to your waffle iron’s instructions, usually about 3-4 minutes. You’re looking for a deep golden brown color and that delightful crispiness. This recipe makes about 2 large Belgian waffles. And when they’re done? Oh, top them with a dollop of Greek yogurt, a drizzle of nut butter, or a splash of maple syrup. Pure bliss, and remember, they’ll be delightfully crisp!
Tips for Perfect Freezer-Friendly Blender Pumpkin Waffles
Alright, let’s talk about getting these waffles *just right*, especially if you’re planning on freezing them. I learned a few things from all those batches I made – because, let’s be honest, who doesn’t love a perfectly crisp, comforting waffle ready to go?
First off, don’t overmix that batter! I know I mentioned it, but it’s super important. Overmixing develops the gluten too much, and you’ll end up with tough waffles instead of light and fluffy ones. Just stir ’til it’s combined, and that’s it. Trust me on this – it makes a huge difference.
When it comes to crispiness, your waffle iron is your best friend. Make sure it’s fully preheated and don’t be shy with the non-stick spray, especially if you’re making a big batch. A little bit of spray between each waffle helps get that wonderful crackly exterior. Also, make sure you’re not undercooking them; let them develop that lovely golden-brown color. You want them cooked through, not pale and sad!
And for the freezer-friendly part? Patience is key! Let those waffles cool *completely* on a wire rack before you even think about bagging them up for the freezer. If you pack them while they’re still warm, they’ll steam, and you’ll lose all that glorious crispiness. Nobody wants a soggy frozen waffle, right? It’s these little steps that make all the difference. Check out my other meal prep ideas for more ways to save time!
Make-Ahead and Freezer Storage Instructions
Okay, let’s talk about the *real* magic of these Blender Pumpkin Waffles: they’re fantastic for making ahead! This is where we turn simple batter into a week’s worth of effortless breakfasts. Once your waffles are cooked, the most crucial step is letting them cool *completely*. I mean it – completely! Lay them out on a wire rack and give them time to cool down to room temperature. If you pack them while they’re still warm, they’ll get soggy, and nobody wants that. After they’re cool, pop them into an airtight container or a good-quality freezer bag. They’ll stay yummy for up to 3 months this way!
Frequently Asked Questions about Blender Pumpkin Waffles
Got questions about making these amazing waffles? I’ve got answers! Since I’ve made these so many times, I’ve pretty much heard it all. Here are some of the most common things people ask:
Can I use fresh pumpkin puree instead of canned?
You absolutely can! If you have some fresh pumpkin on hand, go for it. Just make sure you roast it, puree it until it’s super smooth, and then drain off as much excess moisture as possible. You don’t want watery pumpkin in your batter! Canned pumpkin puree is just so convenient, and it works like a charm every time, but fresh is totally doable if you’re up for it.
What are the best milk alternatives to use?
Honestly, pretty much any milk works here! I usually reach for unsweetened almond milk because it’s light and doesn’t add extra sugar. But oat milk, soy milk, regular dairy milk, or even a simple water will do the trick in a pinch. The main thing is just the liquid itself to help bind everything together. You really can’t go wrong!
How long do these waffles last in the freezer?
This is the beauty of making them ahead! Once they’re completely cooled and stored properly in an airtight container or freezer bag, they’ll stay good for about 3 months. I find they’re best within the first month, but if you use a good freezer bag and get all the air out, they’re still perfectly delicious for longer. They’ve truly saved my mornings countless times!
How do I reheat them for the best results?
For that perfect crispy texture, I always recommend using a toaster or a toaster oven. Just pop a frozen waffle in, set it to your usual setting, and it’ll be warm and delicious in just a few minutes. Microwaving works in a pinch, but they tend to come out a bit softer, so I save that for when I’m really, really pressed for time. Check out all my other easy recipes for more quick meal ideas!
Estimated Nutritional Information
Now, keep in mind these numbers are just estimates – because what brand of pumpkin puree you use or the exact size of your egg can make a little difference! Based on the ingredients for these Blender Pumpkin Waffles, you’re looking at roughly 280-320 calories per large Belgian waffle. You’ll also get a good dose of fiber and a decent amount of protein, which is awesome for keeping you full and fueled up! It’s a pretty balanced way to start your day.
Share Your Blender Pumpkin Waffles!
Alright, now that you’ve got the scoop on these amazing Blender Pumpkin Waffles (Freezer-Friendly), I really hope you give them a try! Seriously, let me know how they turn out for you. Did you try any fun toppings? Drop a comment below and tell me all about it! And if you snap a pic, tag me on social media – I’d absolutely love to see your waffle creations!
Blender Pumpkin Waffles (Freezer-Friendly)
Ingredients
Equipment
Method
- Preheat your waffle iron. Add all the dry ingredients to a large bowl and whisk them together.
- In a separate large bowl, combine all the wet ingredients and mix until smooth. Add the dry ingredients to the wet ingredients and mix until they are just combined. Do not overmix.
- Spray your waffle iron with nonstick cooking spray. Cook the waffles according to your waffle iron’s directions, which usually takes about 3-4 minutes per waffle. This recipe makes 2 large Belgian waffles. You can top them with Greek yogurt, nut butter, and maple syrup if you like.


