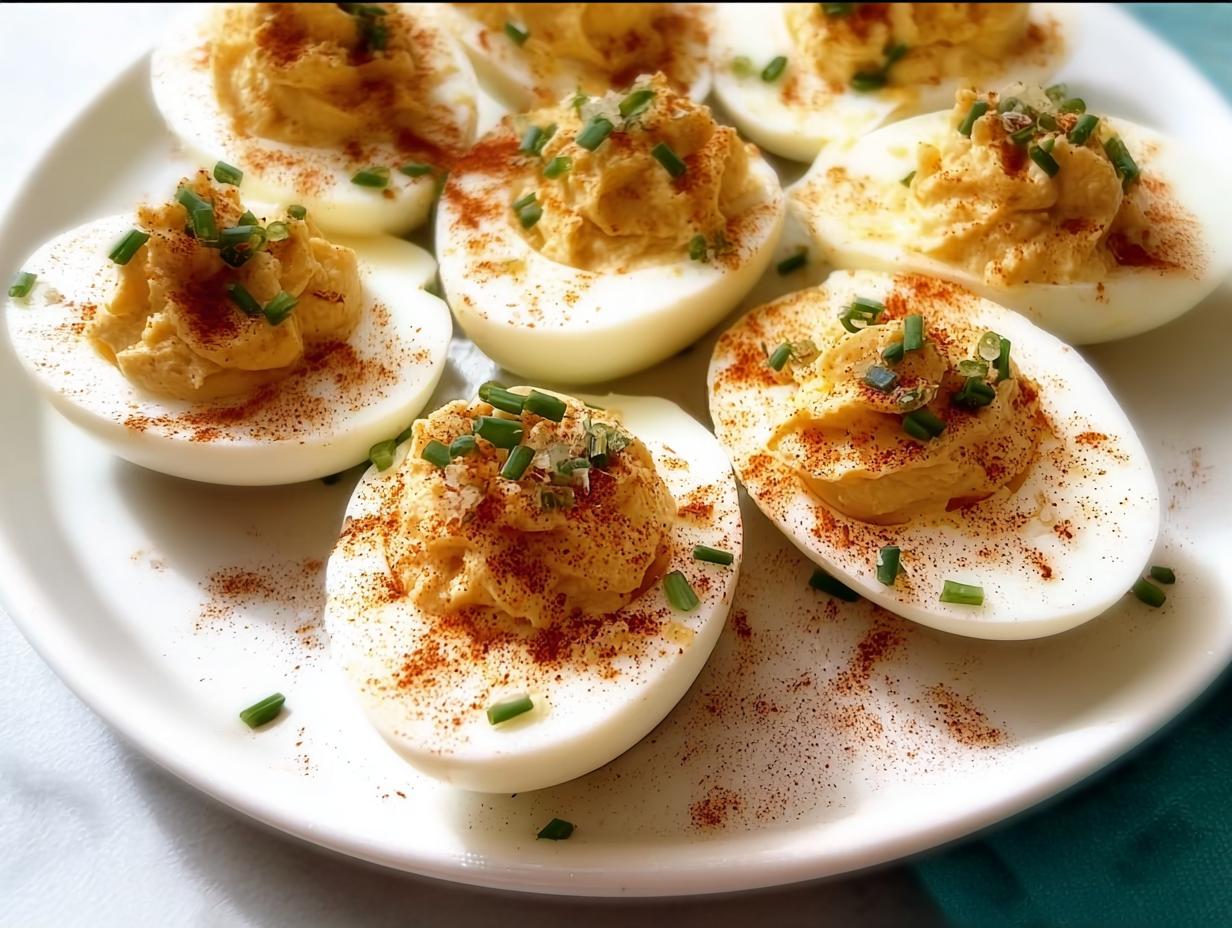
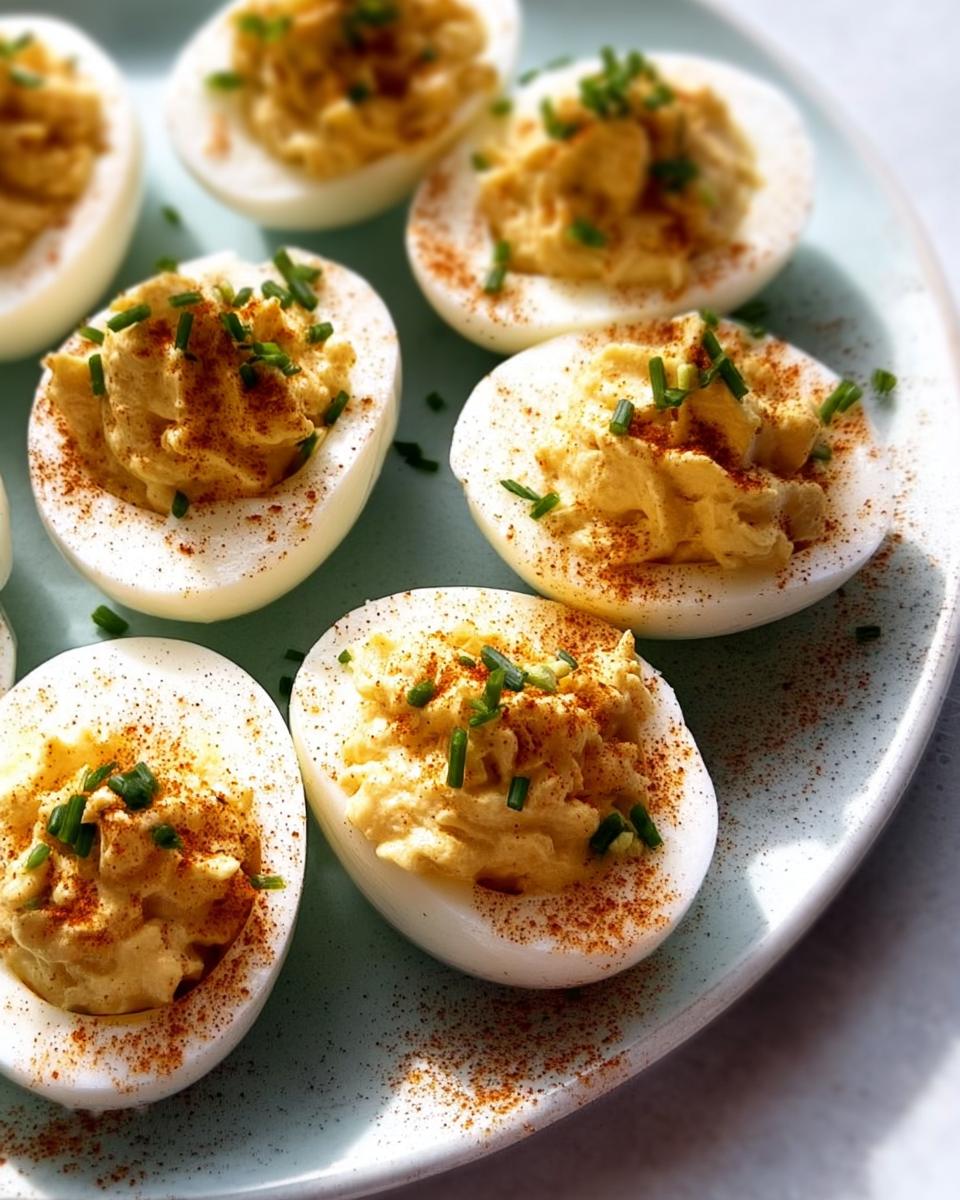
There is just nothing that says ‘home celebration’ like a platter piled high with those perfect little bites of savory delight. Seriously, when I see a tray of Classic Deviled Eggs at a party, I know where I’m heading first! These aren’t just appetizers; they are pure comfort food, making them the ultimate crowd favorite for everything from picnics to major holidays.
My fondest memory of these comes from family gatherings where the kitchen just buzzed with laughter and chatter. My grandmother always made a huge batch, and I loved helping her—the way she expertly mixed the yolks with mayonnaise, mustard, and a sprinkle of paprika felt truly magical back then. After trying my hand at it years later, I realized the beauty of deviled eggs lies not just in their flavor, but in the stories shared around them. Each time I whip these up now, I can almost hear her laughter, reminding me that great recipes are always about connection and love.
Why This Recipe for Classic Deviled Eggs is a Crowd Favorite
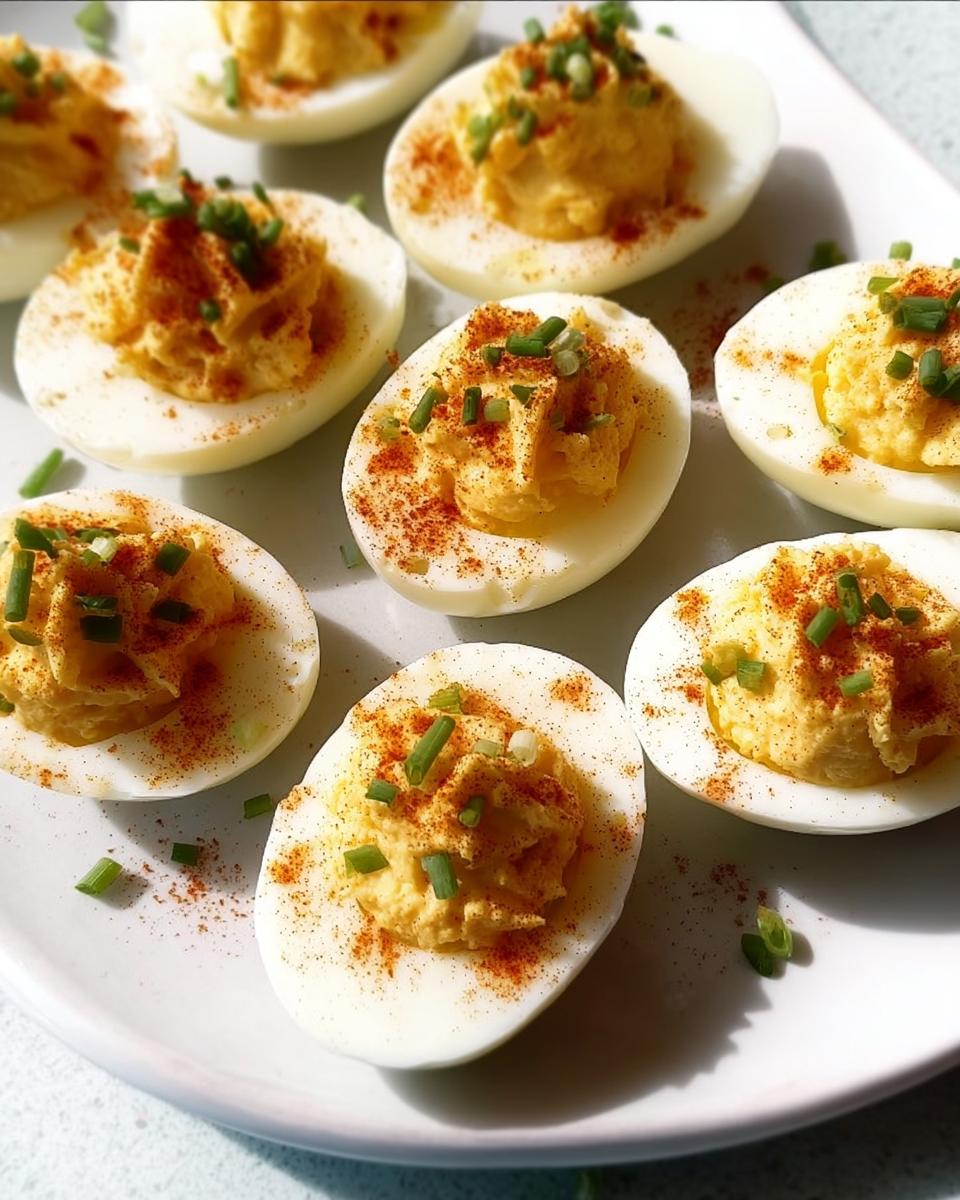
If you want guaranteed success on your next holiday tray or picnic spread, you need this recipe. What sets these Classic Deviled Eggs apart from the rest is that perfect creamy texture we all crave. We’ve nailed the balance of tanginess and richness—something so simple shouldn’t be this good, but trust me, it is!
These aren’t just *good* deviled eggs; they’re the ones people ask for year after year. They are the ultimate Crowd Favorite because they hit all the right nostalgic notes without tasting heavy or overly sweet. I have tons of other amazing appetizers you can check out over at my main recipe index when you’re planning your next big meal!
Recipe Snapshot: Prep, Cook, and Total Time
You can whip these up faster than you think, though you do need a little patience for the cooling phase! It’s totally worth the minimal time investment, though.
- Prep Time: 15 minutes
- Cook Time: 10 minutes
- Cooling Time: 2 minutes (The bare minimum!)
- Total Time: Just 27 minutes!
Essential Ingredients for Perfect Classic Deviled Eggs
To make truly stellar Classic Deviled Eggs, you can’t skimp on the quality of your core components. We are keeping things classic here, so the ingredients are simple, but every single one counts. You’ll need six large eggs, of course, to start things off. Then, for that creamy filling, we mix in three tablespoons of mayonnaise, two teaspoons of your favorite mustard—I usually switch between yellow, Dijon, or even a little kick of horseradish if I’m feeling bold—and just a little salt and pepper to make the flavor pop.
Don’t forget the fresh chives for that pretty pop of green, and of course, paprika for the signature color finish! I also included an optional breadcrumb topping if you want a little crunch, but always check out resources like The Kitchn if you need quick substitutions.
Ingredient Notes and Substitutions for Classic Deviled Eggs
Okay, listen up, because this is where the magic happens. For the mayo, use a brand you genuinely love. Since it’s the base, a good quality one makes a huge difference! And when it comes to the mustard, taste it first. If your mustard is really sharp, you might want to dial that back to just one teaspoon.
Fresh chives are absolutely non-negotiable for me; those dried flakes just don’t give you the bright, fresh flavor that cuts through the richness of the yolk. If you happen to be making these for a low-carb crowd—and you know I love my keto recipes!—just skip that optional Panko breadcrumb topping entirely. That’s the easiest way to keep your Deviled Eggs keto-friendly and still delicious.
- Eggs: 6 large eggs
- Creamy Base: 3 tablespoons mayonnaise, 2 teaspoons prepared mustard (yellow, Dijon, or horseradish)
- Seasoning & Garnish: 1/4 teaspoon kosher salt (plus more), fresh black pepper, 2 fresh chives (thinly sliced), 1 pinch paprika (for garnish)
For the Breadcrumb Topping (Optional):
- 1 tablespoon unsalted butter or olive oil
- 1/4 cup panko breadcrumbs
- 1/4 teaspoon garlic powder and 1/4 teaspoon paprika
- 1 pinch kosher salt
Step-by-Step Instructions to Master Classic Deviled Eggs
Getting the hard-boiled egg right is half the battle! We start by covering those six eggs in a medium saucepan with cold water, making sure the water level is about an inch over the top. Bring that water to a rolling boil, and the second it starts boiling hard, kill the heat immediately, slap a lid on it, and let it sit undisturbed for ten full minutes. This gentle cooking keeps the yolks perfectly set, not that grey-green ring nonsense!
While they steep, have that ice water bath ready. Speaking of the optional topping, if you want that little bit of crunch, melt your butter in a small skillet and toast those panko breadcrumbs until they are golden brown—watch them like a hawk because they go from perfect to burnt in two seconds flat! Mix in your garlic powder and spice, then set them aside.
Expert Tips for Perfectly Cooked Eggs for Classic Deviled Eggs
When those ten minutes are up, move those eggs straight from the hot water into the ice bath. You need that rapid chill! This is the real secret to easy peeling. Let them sit there for a couple of minutes until they feel cool to the touch. After peeling, slice them neatly in half. Don’t worry if your yolk looks a little crumbly coming out; that’s what we want before we add the creamy stuff in!
Also, before you drain the yolks into that big mixing bowl, take a peek at them. If you are looking for an incredibly smooth filling, you want to press those yolks through a fine-mesh sieve first. It’s an extra step, but it makes the texture divine! You can find more foolproof tips for cooking basics over at my post on making great dishes.
Creating the Creamy Filling for Classic Deviled Eggs
This is the fun part. Mash those yolks until they are as fine as sand using a fork. Now, slowly mix in your mayonnaise and that mustard. Don’t just dump it all in! Take your time folding it together. Once combined, this is your chance to be a flavor detective. Add that 1/4 teaspoon of salt and pepper, stir it up, and taste it. Does it need a little more tang? Maybe a dash more salt? Adjust until it tastes perfect *to you*.
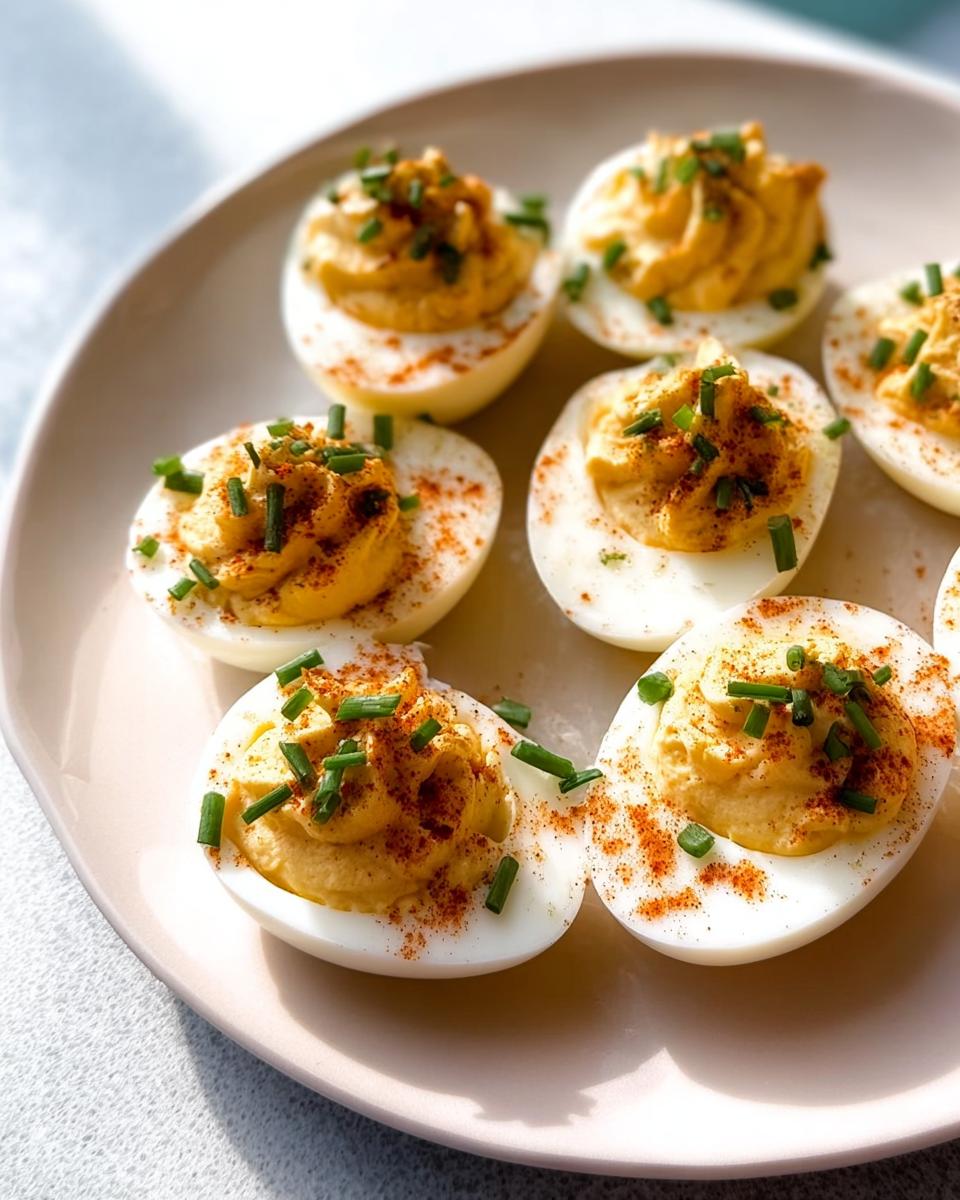
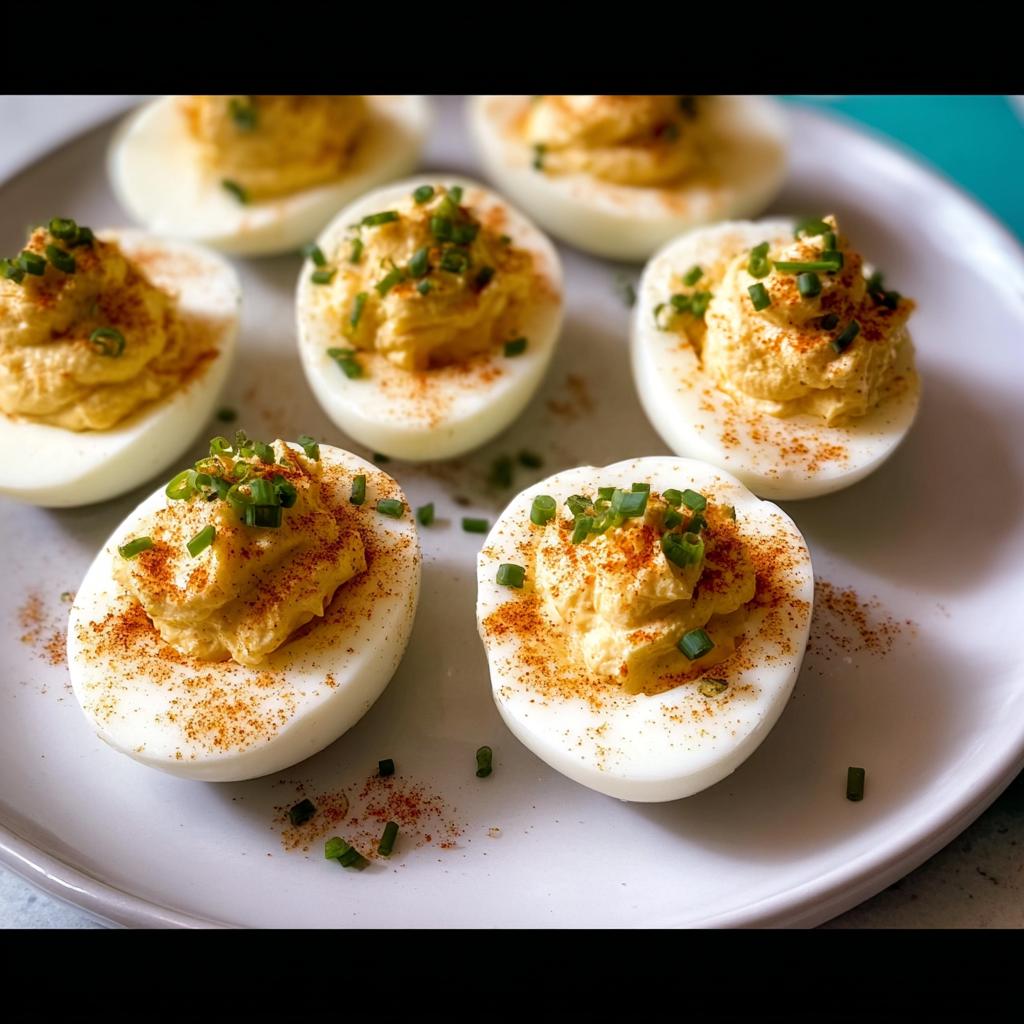
Once you’re happy with the seasoning, load that smooth filling into a piping bag—or, if you’re like me when I’m rushed, a sturdy plastic bag with the corner snipped off works just as well! Pipe generous swirls back into those empty whites. Don’t forget our garnish step next!
Serving Suggestions for Your Classic Deviled Eggs Platter
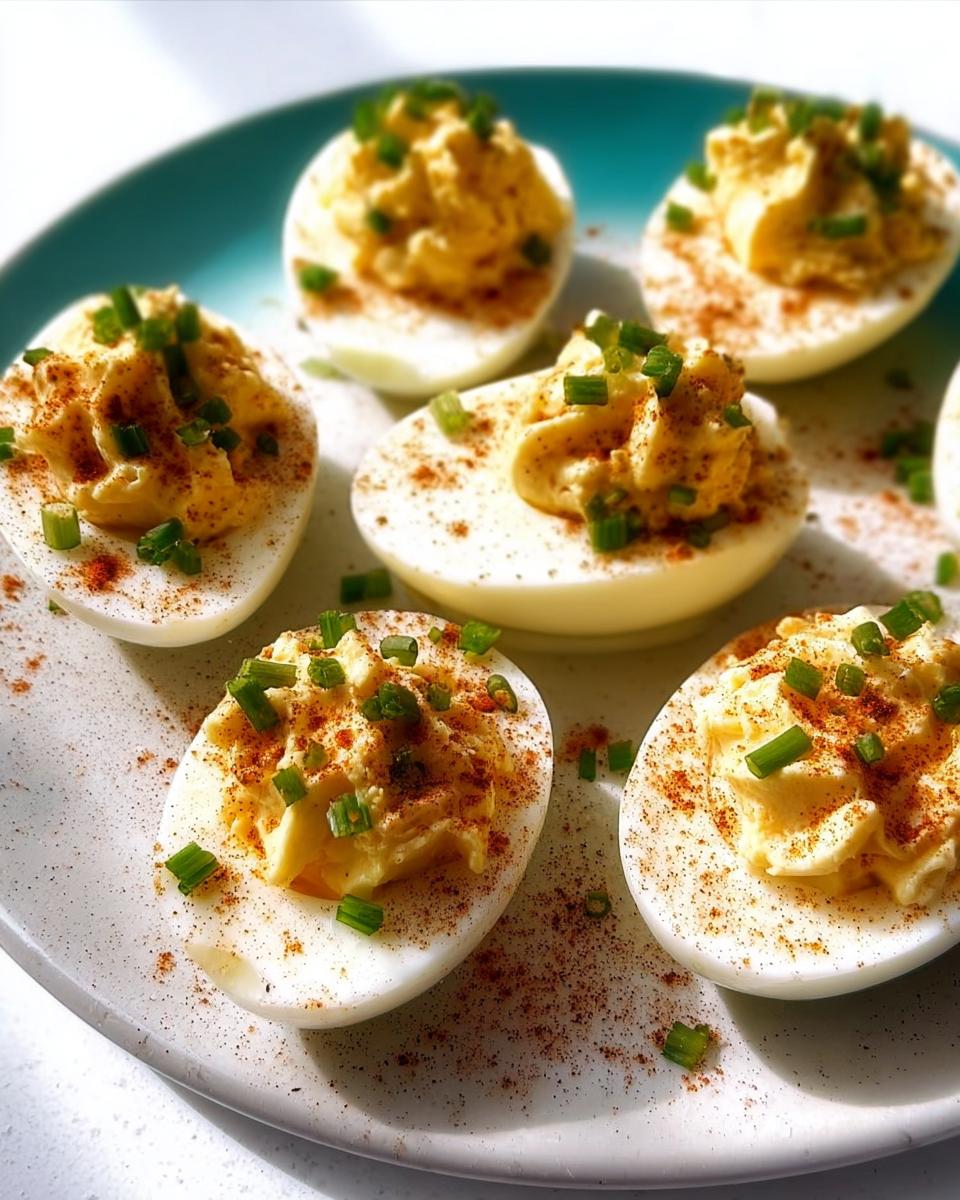
Once you have that beautiful, creamy filling mounded perfectly in the whites, it’s time for the show-stopper decorations! Paprika is the classic finish, of course, but don’t stop there. If you’re putting these out for a big spread, especially on a holiday tray, try a tiny sprig of fresh dill on top of half the batch. Or, if you need something heartier, crumbled crispy bacon bits are simply divine!
These make fantastic Picnic Food because they hold up well when kept cool, but they are always the first thing gone regardless of the setting. Remember, presentation matters even for a humble egg appetizer!
Storage and Reheating Instructions for Classic Deviled Eggs
Because these delicious Deviled Eggs rely on mayonnaise, we have to be a little careful with storage, and honestly, you just shouldn’t reheat them! They are truly best served cold or maybe just slightly chilled from the fridge. If you’re making them for a big event, just keep them covered tightly in their container in the coldest part of your refrigerator.
If you need to prep ahead, here’s my tip: keep the hard-boiled egg whites ready, and mix up the yolk filling separately in an airtight container. Then, just before you need to serve them (say, within four hours), pipe the filling back into the whites. Never try to microwave these, though! The texture will just separate and get ugly fast. They are meant to be that cool, refreshing bite.
Troubleshooting Common Issues with Classic Deviled Eggs
Even with the best instructions, sometimes things go a little sideways in the kitchen, right? Don’t worry, these little fixes will save your tray of Deviled Eggs every time. The number one issue I hear about is dry yolks. If your mashed yolks look crumbly instead of creamy, you simply didn’t add enough mayonnaise or mustard! Just stir in an extra teaspoon of one or the other until you get that beautiful, pipeable texture.
If you see liquid pooling on top of your filling—that’s called weeping, and it happens when the filling sits too long—just take a clean paper towel and gently blot the surface before you garnish. This happens sometimes when the filling gets exposed to air for too long.
And for those stubborn eggs that refuse to peel? Remember the ice bath! If you skip that step, or if the eggs are super fresh, they stick like glue. Next time you buy eggs, check the date; eggs that are about a week and a half old peel much easier than farm-fresh ones. If you want to read up on more kitchen heroics, I have a whole rundown on what makes a perfect dish!
Frequently Asked Questions About Classic Deviled Eggs
I get so many great questions about this recipe, especially around holidays when everyone wants a perfect tray of Deviled Eggs ready to go! It’s smart to plan ahead, so let’s tackle some of the most common things folks ask me about preparing these for parties or packing them up as Picnic Food.
Can I make the filling for Classic Deviled Eggs ahead of time?
Yes, you absolutely can get a big step done early, but safety first! Because the filling has mayonnaise, you should never mix the yolk mixture and put it into the egg whites ahead of time, especially if it’s going to sit out for a while. What I do is mash the cooked yolks and mix them thoroughly with all the mayo and spices, keeping that finished mixture covered super tightly in the fridge. Then, no more than an hour or two before serving, I pipe the filling back into the whites. This keeps everything tasting its brightest and ensures it stays safely chilled!
How do I make these Classic Deviled Eggs low-carb or Keto-friendly?
This is my specialty, so I’m happy you asked! The core of these Classic Deviled Eggs is naturally low-carb, which is great news. Eggs, mayo, mustard—that’s all fantastic for keto! The only thing you absolutely must avoid is the optional breadcrumb topping. Panko is full of carbs, so for your keto batch, just skip that step entirely. Instead, pile on the flavor with extra smoked paprika, maybe some finely chopped dill, or even a sprinkle of crumbled bacon bits if you’re feeling indulgent. They are still unbelievably good without the crunch!
If you’re looking for more ways to simplify meal prep for busy weeknights, check out my tips over here at my meal prep guide!
Nutritional Estimate for Classic Deviled Eggs
Now, I know some of you are tracking macros—especially my friends trying to keep things low-carb! It’s important to remember that since ingredients like mayonnaise can vary brand to brand, these numbers are just a general ballpark estimate based on the standard recipe using full-fat mayo and skipping that optional breadcrumb topping.
This estimate is calculated per serving (which is one deviled egg half).
- Calories: Approximately 70-85 kcal
- Fat: Around 6-7 grams
- Protein: 3 grams
- Net Carbs: Less than 1 gram (when topping is omitted)
If you decide to add that crunchy Panko topping, you’ll obviously see a slight increase in carbs and maybe a little extra fat depending on what you use for toasting. But generally speaking, these Deviled Eggs are a fantastic, keto-friendly way to start off any meal!
Share Your Favorite Classic Deviled Eggs Creations
I truly hope you loved making these as much as I love sharing them with you! If you tried this recipe for your next family gathering or holiday party, please come back and drop a comment below. Tell me what garnish you chose—did you stick to the classic paprika or go wild with bacon?
If you ended up with the perfect platter of Classic Deviled Eggs, please give the recipe five stars! It really helps other folks find these little bites of joy. And when you’re ready for more trusted recipes from me, Jenny Miller, hop over to my author page and check out everything else I’m cooking up!
Classic Deviled Eggs
Ingredients
Equipment
Method
- Place eggs in a saucepan and cover with cold water by 1 inch. Bring to a boil over high heat, then remove from heat. Cover and let sit for 10 minutes. Prepare an ice water bath.
- If making breadcrumbs, melt butter or heat oil in a small skillet over medium heat. Add panko breadcrumbs and cook, stirring constantly, until toasted, 1 to 2 minutes. Remove from heat. Stir in garlic powder, paprika, and salt. Transfer to a small bowl.
- When eggs are ready, remove from hot water. Tap each egg to crack the shell. Transfer to the ice water bath and cool for at least 2 minutes.
- Remove eggs from water and peel. Halve the eggs lengthwise. Remove yolks and place in a small bowl. Arrange egg whites on a platter cut-side up.
- Mash yolks with a fork until fine. Stir in mayonnaise, mustard, and 1/4 teaspoon kosher salt. Season with black pepper and more salt as needed.
- Transfer filling to a piping bag or plastic bag. Pipe filling into egg whites. Garnish with breadcrumbs (if using), paprika, and chives.