
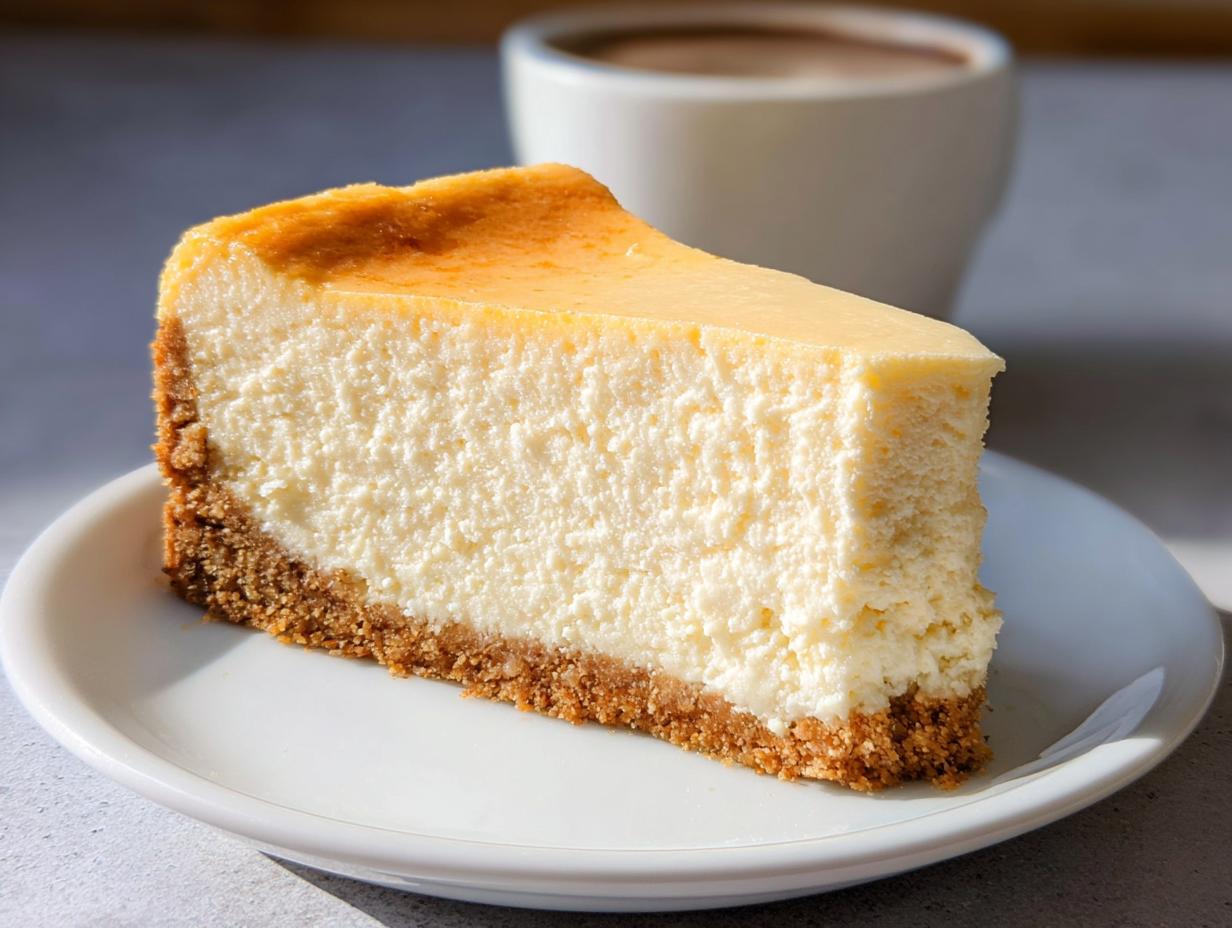
Oh, trust me when I say that nothing shouts ‘celebration’ quite like the dense, velvety perfection of a truly incredible dessert. For years, my greatest culinary crush was the Classic New York Baked Cheesecake—that thick, impossibly creamy dream you find in those fancy bakeries. When I started my journey into keto baking, I thought that piece of heaven was officially off-limits. I mean, how do you make that classic richness without all that sugar?
But I refused to give up! I remember trying to recreate it years ago, back when I hadn’t even thought about carb counts, and it cracked into a million pieces—a total disaster! Fast forward to now, armed with almond flour and my new-found sweetener, eritritol, I dove into the challenge. As the cheesecake baked, the warm, inviting aroma filled my kitchen and transported me right back to that hot summer day when I first fell in love with this dessert. When I finally took that first bite of my rewritten masterpiece, it felt like a sweet victory, proving that even the classics can be revived perfectly; I’m Jenny Miller, by the way, Master of Keto Confectionery Arts, and I’ve cracked the code. You can find more of my game-changing baking experiments over here: all my best low-carb recipes.
This recipe delivers that authentic, soul-satisfying texture you crave, just without the sugar crash. Stick with me!
Why This Classic New York Baked Cheesecake Recipe Stands Apart
Listen, there are cheesecakes, and then there’s this! You can search high and low for creamy dessert ideas, but nothing quite replicates *this* specific New York experience. I made sure this version is worth every minute you spend prepping it.
Here’s what makes this recipe my absolute go-to for birthdays and holidays:
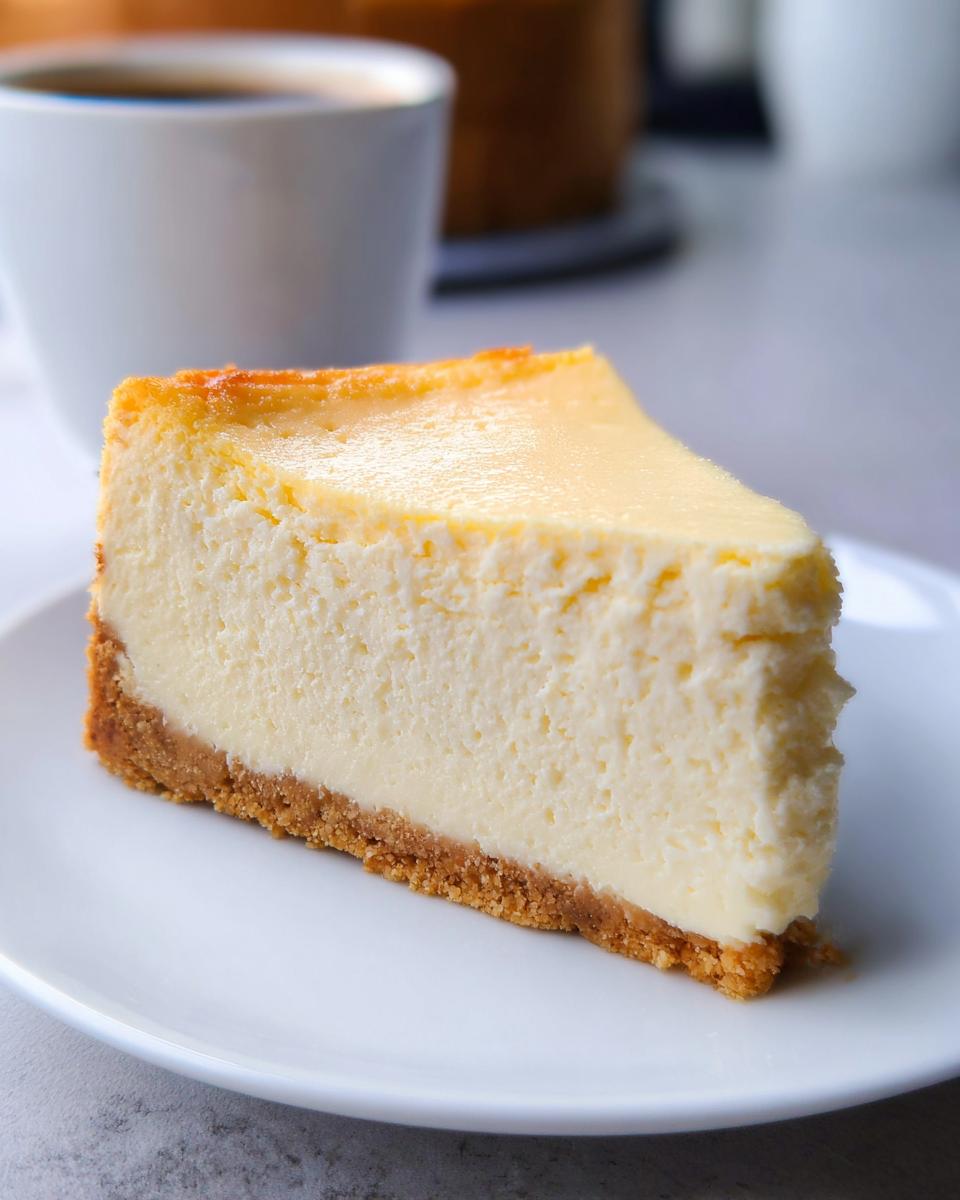
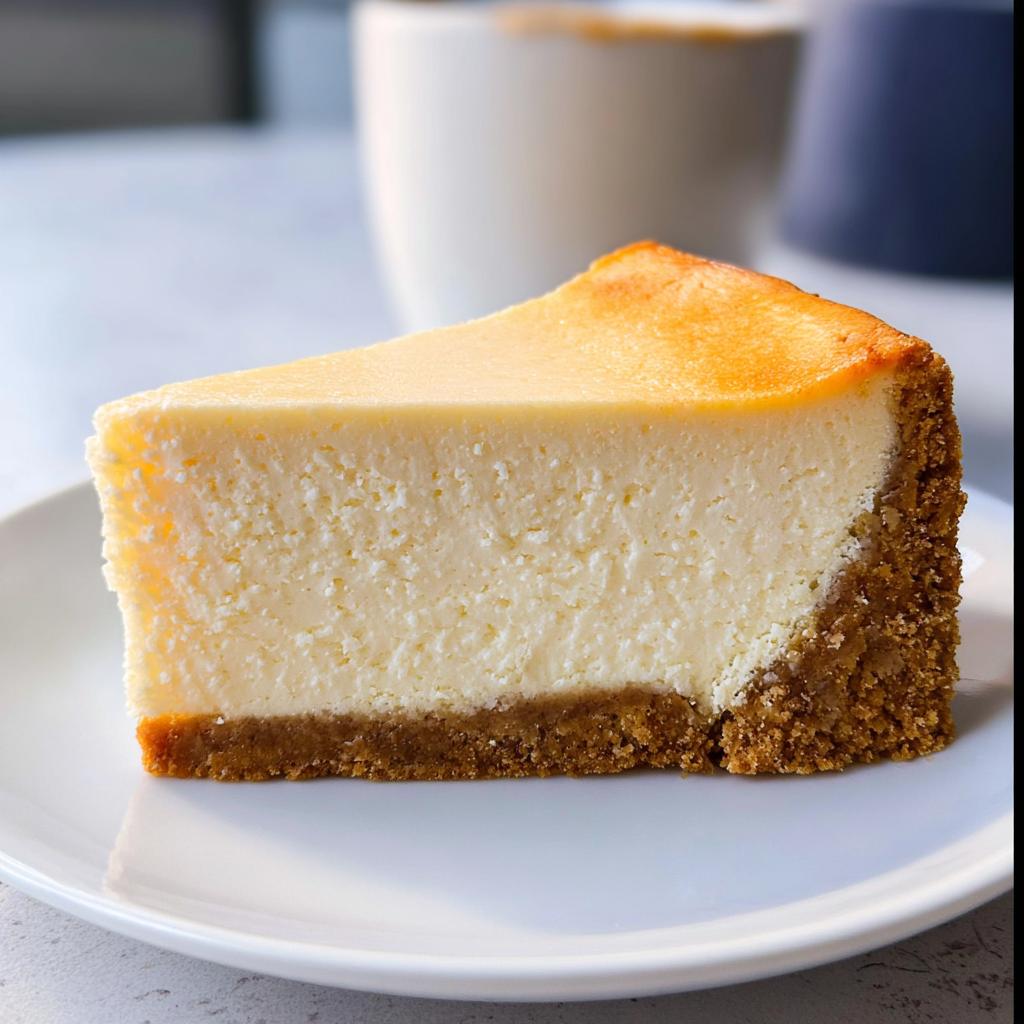
- It hits that authentic, velvety texture that only a true baked cheesecake can achieve—no grainy shortcuts here!
- The subtle tang from the lemon zest and sour cream balances the richness perfectly. It tastes exactly how you remember it tasting.
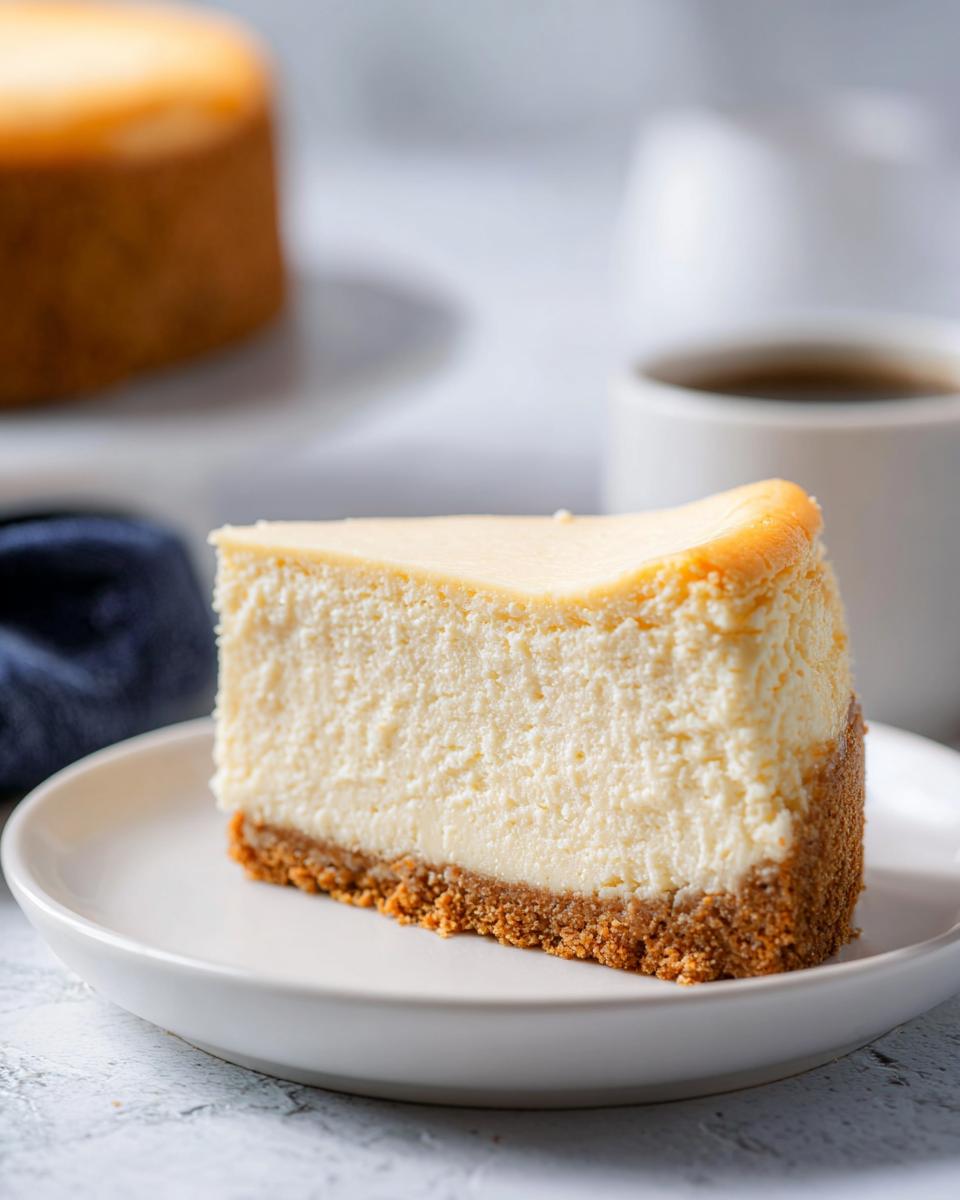
- It holds up beautifully! That thick crust and dense body mean it travels well and tastes just as good the next day.
Seriously, prepare to wow everyone at your next gathering!

Essential Equipment for Your Classic New York Baked Cheesecake
You can’t build a masterpiece without the right tools, right? For this new york cheesecake, there are a couple of items that are absolutely non-negotiable if you want to avoid a watery mess. Honestly, just go ahead and pull these out now.
First up, you must have a 9- or 10-inch springform pan. This is how we get those clean, high sides when it’s done—a regular cake pan just won’t cut it for that classic look! Second, and this is critical, grab your heavy-duty aluminum foil. We’re going to wrap that pan up like a mummy because the water bath is essential, and we need zero chance of leaks seeping into that beautiful crust.
And of course, you’ll need your electric mixer with the paddle attachment or decent beaters. We need to mix this properly, but gently!
Gathering Ingredients for the Perfect Classic New York Baked Cheesecake
Okay, now that we have the right tools ready, let’s talk about what goes inside. If you take away one lesson from me today, let it be this: temperature matters! Especially for this baked cheesecake recipe. If your cream cheese or eggs are cold, you are going to get lumps, and nobody wants a lumpy classic dessert, right?
When you assemble your ingredients, make sure that cream cheese (all 32 ounces of it!) and those six large eggs have been sitting out for at least an hour. They need to be truly room temperature to mix into that luxurious, smooth batter we are aiming for. Don’t rush this part, it’s worth the wait!
For all my keto pals out there, remember that for my version, we are swapping out the traditional sugar for a granular sweetener—you can see my favorite pantry staples over here for tips on stocking up your low-carb kitchen: essential keto pantry items.
For the Graham Cracker Crust
This crust is super simple, but it needs to be pressed down firmly. You need:
- 1 and a half cups of graham cracker crumbs (that’s about 12 whole crackers, crushed finely!)
- 5 tablespoons of unsalted butter, melted until perfectly smooth.
- 2 tablespoons of sugar (or your sweetener equivalent).
- 1/8 teaspoon of salt.
Just mix it all in a bowl until it looks like wet sand. That’s the perfect consistency for pressing into the bottom of your pan!
For the Rich Creamy Filling in Your Classic New York Baked Cheesecake
This is where the magic happens; this filling is what defines a truly authentic Classic New York Baked Cheesecake. Remember, everything here needs to be soft and ready to blend beautifully:
- 32 ounces of cream cheese, making sure it is softened to room temperature.
- 2 cups of sugar.
- 3 tablespoons of all-purpose flour (this helps stabilize the filling).
- 4 teaspoons of vanilla extract.
- 1 teaspoon of packed lemon zest (make sure you get zest from just one lemon!).
- 2 teaspoons of fresh lemon juice.
- 1/4 teaspoon of salt.
- 6 large eggs, also at room temperature.
- 1/2 cup of sour cream.
Mix that cream cheese first until it’s totally smooth before adding anything else—we are eliminating lumps before they even have a chance to form!
Optional Toppings for Serving
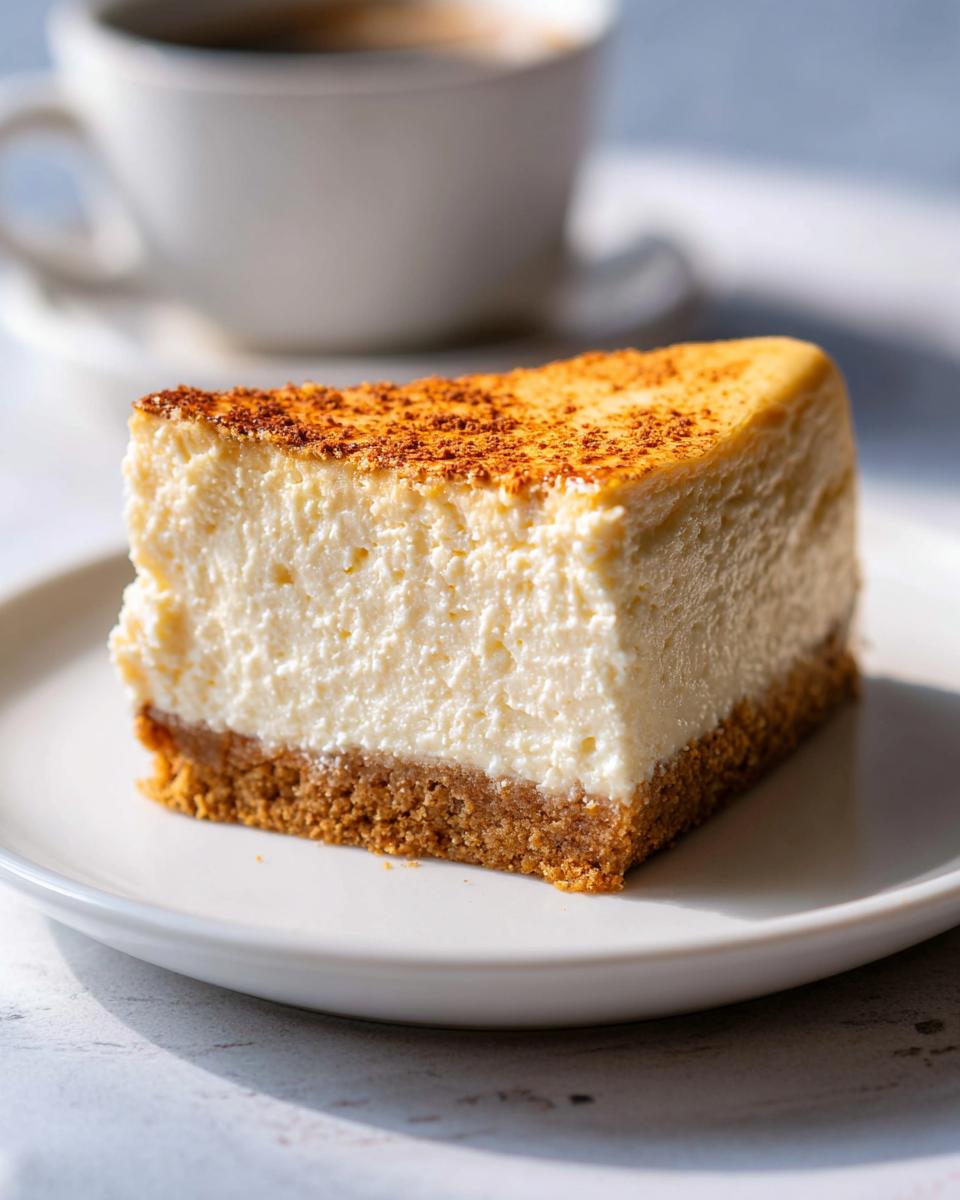
This cheesecake is amazing all on its own, but if you want to dress it up for your special occasion sweets, I always keep this handy:
- 1 serving of berry sauce, just for drizzling.
Step-by-Step Instructions for the Classic New York Baked Cheesecake
Phew, we’ve got the ingredients sorted! Now comes the actual baking part, and this is where technique really matters if you want that totally smooth, crack-free surface. This whole process requires patience, but follow these steps exactly, and you’ll nail this baked cheesecake recipe every single time. Remember, we are going for that dense, luxurious texture that makes this dessert famous! Some folks find it easier to follow along with established recipe guides, like this one I keep saved when I need a refresher on classic techniques: a trusted source for New York style cheesecake.
Preparing the Pan and Baking the Crust
First things first: we need to prep that pan so water never sneaks in! You have to wrap your 9- or 10-inch springform pan using heavy-duty aluminum foil. I mean *really* wrap it—go all the way up the sides and overlap the sheets. If you leave any seams exposed on the bottom, water *will* find its way through, and you’ll end up with a soggy mess. Trust me, double-wrap it for insurance! After that, press your crumb mixture evenly onto the bottom. Pop that into a preheated 375°F oven for 10 minutes until it just sets. Pull it out and let it cool down while you focus on the filling.
Mixing the Creamy Classic New York Baked Cheesecake Batter
Now, turn that oven temp down to 325°F—that low and slow bake is key! Time to mix the batter. Remember what I said about room-temperature ingredients? This is where they pay off. Beat the cream cheese, sugar, and flour on medium speed until it’s just smooth—I mean about 1 minute. Scrape that bowl down really well! Then gently add the flavorings like vanilla and lemon zest. Next, add the eggs, one at a time, mixing on low speed after each addition, just until it disappears. Do not over-mix once the eggs are in! Over-mixing introduces too much air, which causes cracks later. Finally, fold in that sour cream gently. It should look creamy and uniform, not fluffy.
Baking with the Water Bath Technique
Your oven must be down to 325°F now! Set that foil-wrapped cheesecake pan inside a large roasting pan. Now, boil some water—you need it hot! Pour the boiling water directly into the roasting pan until it comes about an inch up the side of your cheesecake pan. That hot water acts like a gentle insulator, creating steam that cooks the cheesecake evenly and stops the edges from overbaking before the middle sets. Bake this beauty for about 1 hour and 30 minutes to 1 hour and 45 minutes. You’re looking for the edges to look set, but the very center will still wobble slightly when you give the pan a little nudge. Perfect!
Cooling and Chilling for the Best Classic New York Baked Cheesecake
This is the second most important step after mixing, so don’t rush it! First, take the roasting pan out of the oven, but leave the cheesecake *in* the water bath. Let it sit there on the cooling rack until that water is just warm—that should take about 45 minutes. This slow cool-down prevents drastic temperature drops that cause shrinking and cracking. Once the water is warm, take the springform pan out of the bath and carefully peel off that foil wrapping. Now, cover it loosely with plastic wrap and absolutely transfer it to the refrigerator. This Classic New York Baked Cheesecake needs a minimum of 8 hours, but seriously, overnight is best for that dense, incredible texture we love.
Tips for Achieving a Perfect Classic New York Baked Cheesecake Every Time
Look, even with the best recipe in the world, cheesecake can be temperamental. It’s not hard, but it demands respect! If you’ve ever ended up with a slumped, cracked disc of sadness, I’ve got a few insider secrets that will give you that gorgeous, restaurant-quality finish every single time.
Rule number one relies back on mixing: Don’t incorporate air! I can’t stress this enough when making a rich batter for a new york cheesecake. Use the lowest speed possible once the eggs are in. You want smooth, not fluffy. Too much air expands rapidly in the oven and then collapses like a sad balloon when it cools, causing those nasty cracks.
The second major key involves cooling. We already talked about the water bath, but don’t get cocky when you pull it out! Never, ever take that cheesecake directly from the hot oven environment to the countertop. That sudden temperature shock is guaranteed cracking fuel. Make sure you follow the protocol: cool in the residual heat of the water bath for 45 minutes, then cool on the counter for an hour, then chill overnight. Slow and steady wins the race for a truly creamy dessert.
Finally, make sure your springform pan is truly protected. I know I banged on the foil earlier, but I’ve seen people use thin foil—nope! You need heavy-duty stuff. If you feel any softness or moisture around the base when you lift it out of the roasting pan, guess what? You’re going to have a soggy bottom crust. Wrap it tight enough that you could practically swim in that foil cocoon!
Follow these steps, and you’ll achieve that dense, perfectly smooth texture that makes this such a fabulous special occasion sweet.
Serving Suggestions for Your Special Occasion Sweets
Okay, you’ve nailed the bake, you’ve waited patiently overnight (and believe me, that waiting is the hardest part!), and now it’s time for the presentation. This Classic New York Baked Cheesecake is so rich and classic on its own that it truly needs very little fuss, but we want it to look like the star of the show, right?
Since we kept the recipe focused on that incredible dense texture, a little topping goes a long way. The recipe calls for an optional berry sauce, and I highly recommend leaning into that! If you’re making a whole spread, maybe for New Year’s Eve when you want something truly elegant yet manageable, a bright jewel-toned sauce cuts through the richness beautifully. I usually whip up a quick batch of mixed berries simmered until thick—it takes maybe 15 minutes. You can see some of my thoughts on planning elegant meals here if you’re hosting!
When it comes time to slice and serve these special occasion sweets, presentation is all about cleanliness. Make sure you run a long, thin, hot knife through it, wiping the blade clean between every single slice. Those sharp, clean edges show off just how perfectly dense your bake is!
If you are serving a crowd, another great trick is to serve individual slices on small plates with just a light dusting of powdered sweetener around the edge—it looks professional but takes zero effort. Or, for a dramatic flair, serve the whole cake slightly chilled and let people drizzle their own berry sauce as they scoop out their slice. Honestly, the flavor profile is so good, you really can’t go wrong! It’s just divine.
Storage and Make-Ahead Guide for Classic New York Baked Cheesecake
One of the best things about making a phenomenal Classic New York Baked Cheesecake is that it actually tastes even better the next day! This is a huge win for anyone who hates baking or cleaning up on the actual day of a party. You can totally make this ahead of time with zero stress.
You can whip this beauty up to two days before you plan to serve it. Just leave the cheesecake right there in the springform pan—that’s the best container for it! Make sure you wrap it really tightly with plastic wrap. I mean, really seal that thing up so it doesn’t pick up any weird fridge smells. It keeps beautifully chilled in there.
Freezing This Creamy Dessert
Now, if you need to keep it longer, freezing is your best friend. But listen closely, because you can’t just throw it in the freezer unwrapped, or you’ll get freezer burn, and that would ruin the texture!
Here’s my method when I know I won’t see the cheesecake for weeks:
- First, put the unwrapped cheesecake in the freezer for just a short time—maybe an hour or so—until it’s firm to the touch. This stops the soft parts from getting squished when you wrap it.
- Once it’s firm, take it out and wrap it super, super tightly. I usually use several layers of heavy-duty aluminum foil, or frankly, I just slide the whole thing into a heavy-duty freezer bag, squeezing all the air out.
- It will stay perfect in the freezer for up to three months. I know, that’s a long time you can keep a perfect baked cheesecake recipe on hand for emergencies!
Thawing Your Make-Ahead Cheesecake
When party time rolls around, don’t try to rush the thaw! Take the wrapped cheesecake out of the freezer and move it straight into the refrigerator. It needs a good overnight rest down there—so maybe give it about 12 hours to slowly come back to life. Don’t unwrap it until it’s completely thawed and chilled through. That slow defrost ensures the texture stays completely creamy and doesn’t get any weird condensation issues. Slice it up warm like that, and honestly, nobody will ever guess you made it days ago!
Frequently Asked Questions About This New York Cheesecake
I get so many messages whenever someone tries this recipe, and honestly, most questions pop up because people are terrified they’ll mess it up! It’s completely natural to feel nervous when perfecting a classic like this new york cheesecake. That’s what I’m here for—let’s tackle the hiccups so you can focus on enjoying those special occasion sweets.
Why did my Classic New York Baked Cheesecake crack?
Oh, the dreaded crack. It’s the bane of every cheesecake baker’s existence! Usually, cracking comes down to two main culprits, both related to temperature and air, which we covered in the tips section but bears repeating. If you over-mixed the batter, you pumped too much air in, and that air expands and then collapses when the cake cools too fast. So, always mix gently, especially after adding those eggs! The second reason is rapid cooling. If you go straight from that hot oven to a chilly counter, the cake dramatically shrinks, causing cracks. That’s why the slow cool-down in the water bath is non-negotiable for this Classic New York Baked Cheesecake!
Can I skip the water bath when making this baked cheesecake recipe?
Here’s my honest, seasoned baker answer: If you want the texture of a true, authentic, dense New York style cheesecake, then no, you really shouldn’t skip the water bath for this baked cheesecake recipe. It’s not just about keeping water from leaking in—it’s about creating a moist, steamy environment in your oven. The steam cooks the delicate protein in the eggs slowly and evenly from the sides and bottom. Without it, the edges of the cheesecake bake way faster than the center, leading to a dry perimeter and a sunken, gooey middle. The water bath guarantees that uniform, unbelievably creamy interior we are fighting for!
The key to success is usually just patience and respecting the process. If you want more general baking Q&As from my kitchen archives, feel free to browse through all my recipe FAQs here for extra guidance!
Estimated Nutritional Snapshot for Classic New York Baked Cheesecake
Alright, let’s talk numbers for a second. I know many of us are keeping a close eye on macros—especially when indulging in something this decadent—and that’s totally fair! This recipe, even when adapted for keto-friendly sweeteners, still delivers that incredible, slow-burn richness you expect from a classic New York slice.
Remember, these numbers are just an estimate based on the recipe and ingredient sizes I used. If you swapped out your sweetener or used full-fat vs. heavy cream in the topping, things might shift slightly. But this gives you a fantastic baseline for budgeting your treats!
For one generous slice (serving 10 total slices), here is what we are looking at:
- Calories: Approximately 659
- Fat: Around 43g
- Carbohydrates: About 59g (Keep in mind, most of these carbs will come from non-fiber sources unless you used specific keto swaps throughout!)
- Protein: Roughly 11g
- Saturated Fat: About 24g
- Cholesterol: A higher number at 233mg, which isn’t surprising given the cream cheese and egg content!
- Sugar: 49g (Again, this varies wildly depending on the sweetener you choose to use in place of traditional sugar!)
- Sodium: Approximately 464mg
- Fiber: A small amount at 1g
This is seriously rich stuff, so one slice is usually more than enough, which is perfect for keeping things sensible while still enjoying this amazing Classic New York Baked Cheesecake. If you’re digging into the details of how this fits into your daily intake, you can check out some of my general tips on keeping things calorie-smart here: making calorie-smart recipe swaps. Enjoy that slice!
Classic New York Baked Cheesecake
Ingredients
Equipment
Method
- Preheat the oven to 375°F and set an oven rack in the lower middle position. Wrap a 9- or 10-inch springform pan with one large piece of heavy-duty aluminum foil, covering the underside and extending all the way to the top so there are no seams on the bottom or sides of the pan. Repeat with another sheet of foil for insurance. Spray the inside of the pan with nonstick cooking spray.
- Combine the graham cracker crumbs, melted butter, sugar, and salt in a medium bowl. Stir until well combined. Press the crumbs into an even layer on the bottom of the prepared pan. Bake the crust for 10 minutes until set. Remove the pan from the oven and set aside.
- Reduce the oven temperature to 325°F. Set a kettle of water to boil.
- Beat the cream cheese, sugar, and flour together in the bowl of an electric mixer fitted with the paddle attachment or beaters on medium speed until just smooth, about 1 minute. Scrape the bottom and sides of the bowl to ensure the mixture is evenly combined. Add the vanilla, lemon zest, lemon juice, and salt; beat on low speed until just combined. Add the eggs one at a time, mixing on low speed until incorporated, scraping the bowl as needed. Mix in the sour cream. Make sure the batter is uniform but do not over-mix.
- Check to make sure your oven has cooled to 325°F, then set the cheesecake pan in a large roasting pan. Pour the batter on top of the crust. Pour the boiling water into the large roasting pan to come about 1 inch up the side of the cake pan.
- Bake until the cake is just set, 1 hour and 30 minutes to 1 hour and 45 minutes. If the cheesecake starts to look too golden on top near the end, cover it loosely with foil. The cake should not look liquidy but will wobble slightly when the pan is nudged; it will continue to cook as it cools.
- Carefully remove the roasting pan from the oven and set it on a wire rack. Cool the cheesecake in the water bath until the water is just warm, about 45 minutes. Remove the springform pan from the water bath and discard the foil. If needed, run a thin-bladed knife around the edge of the cake to prevent sticking, then cover with plastic wrap and transfer to the refrigerator to cool for at least 8 hours or overnight.
- Remove the sides of the springform pan before serving. You can serve the cheesecake directly from the base of the pan. To transfer it to a serving platter, run a long, thin spatula between the crust and the pan bottom, and then use two large spatulas to carefully transfer the cheesecake to a serving dish. Slice with a sharp knife, wiping the knife clean between slices. Serve with berry sauce, if desired.


