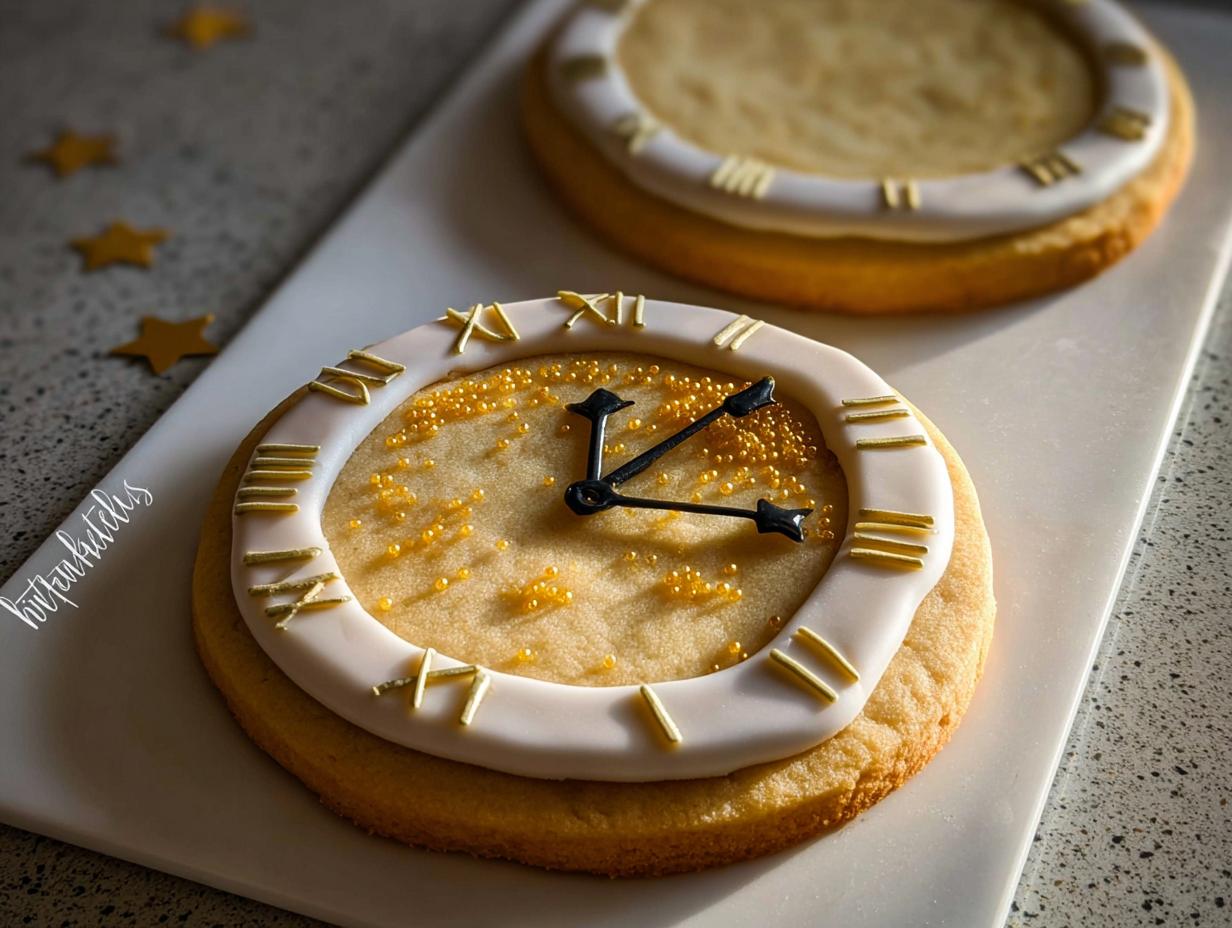
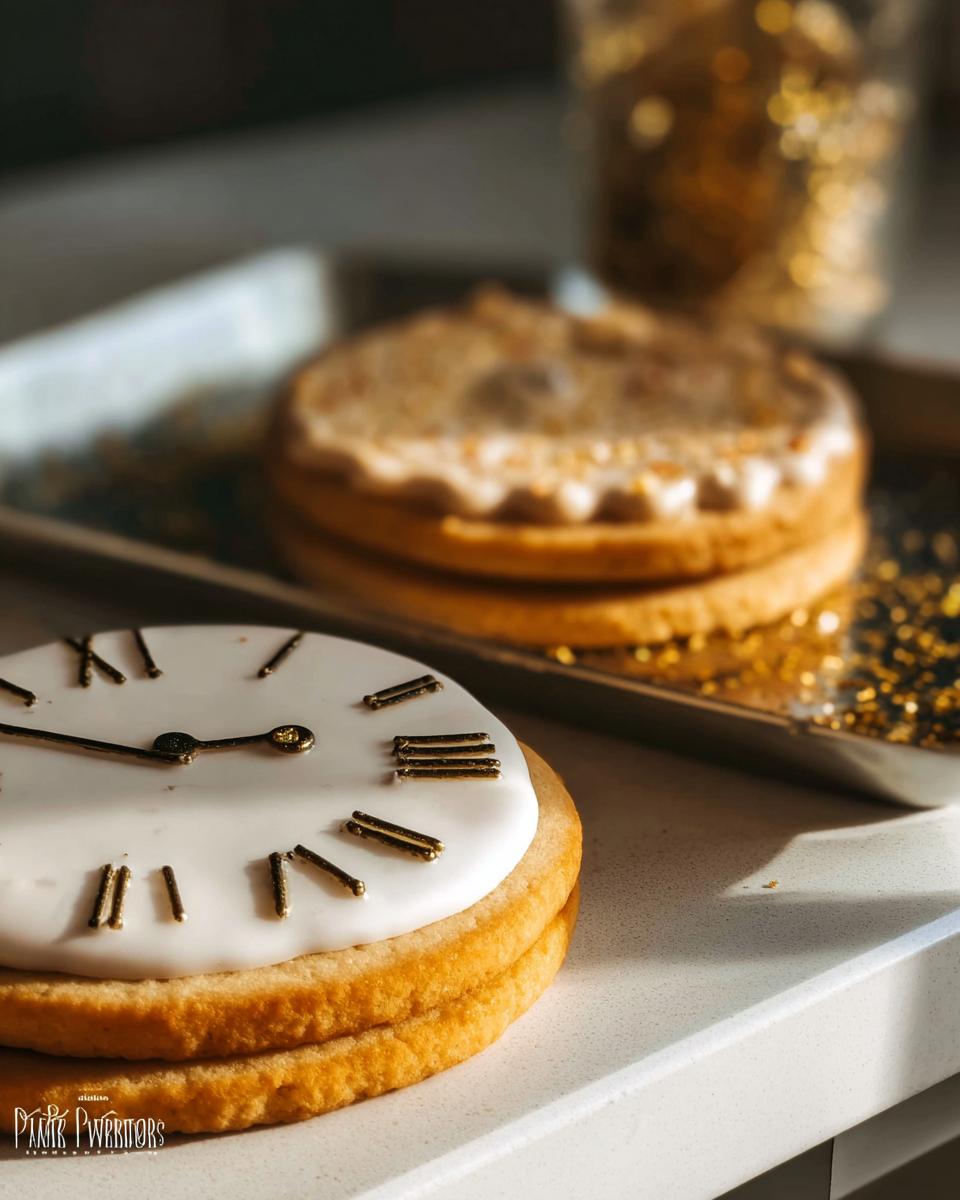
When it comes to planning a party or just making a regular Tuesday feel special, nothing beats diving into dough with your kids! Forget boring sugar cookies; we’re aiming for something interactive, fun, and, yes, totally compliant with our low-carb life. That’s why I developed these incredible Clock Face Countdown Cookies.
I’m Jenny Miller, and as your self-proclaimed Master of Keto Confectionery Arts, I promise you these look complicated, but they are truly simple, especially when you need a healthy way to build excitement for an upcoming event.
One sunny afternoon, I was desperately brainstorming ideas for my kids’ upcoming birthday party. I wanted something special yet totally keto-friendly that would also serve as a fun countdown to the big day. That’s when this idea hit me! As we spent the afternoon decorating cookies to represent the few days left until the celebration, our kitchen just filled with laughter and a little bit of flour dust. Honestly, it wasn’t just about the cookies; it was about creating these amazing memories together. It truly reinforced my belief that every milestone deserves a little sweetness—without sacrificing our health goals!
Why You Will Love These Clock Face Countdown Cookies
Honestly, these are my secret weapon for getting the kids excited about sticking to our routine, and they turn out so cute! You really need these in your baking arsenal, especially if you’re hosting a themed party.
- They’re super adaptable! Whip up your dough early and use these for birthdays, holidays, or just marking the days until summer vacation.
- Seriously fun for kids! Younger bakers adore decorating the faces while older ones can handle the tricky piping for the hour and minute hands.
- They fit perfectly into your low-carb lifestyle since we’re using sugar substitutes to keep them keto-friendly. No guilt here!
- The cookie base is sturdy! It holds up beautifully under even the thickest layers of royal icing, which is essential for counting down accurately.
It’s just easy, fun baking that creates a genuine memory. Trust me, these Clock Face Countdown Cookies are worth the effort!
Essential Equipment for Clock Face Countdown Cookies
Listen, you don’t need a professional bakery stocked high, but you do need a few pieces of gear to nail the perfect round or square clock shapes. Having the right tools makes the dough handling phase so much smoother, especially when you’re dealing with a keto dough that needs chilling.
Make sure you pull out the following items before you start mixing, okay? If you need tips on meal timing around your baking adventure, check out my thoughts on perfect dinner ideas later on!
- Your trusty stand mixer—it makes creaming that butter swift and easy.
- A reliable rolling pin for getting that perfect 1/4 inch thickness.
- Round or square cookie cutters for that classic clock shape.
- Plenty of baking sheets lined with parchment paper, trust me on this!
- Good old plastic wrap for that vital chilling time.
Gathering Ingredients for Perfect Clock Face Countdown Cookies
Now, since these are keto-friendly Clock Face Countdown Cookies, the quality of your ingredients really matters. If we skip out on the sugar, we need the other stuff to be top-notch to keep that classic cookie flavor.
I often find that using high-quality butter makes a real difference in texture, even when we aren’t using traditional sugar. Don’t forget that for the keto version, you’ll need to swap out the white sugar for a granulated keto sweetener, like erythritol or monk fruit blend, but stick to the measured amounts listed here for structure!
If you are really trying to stock up your keto kitchen basics, I wrote a whole guide about my 27 essential keto pantry items that might come in handy for future baking!
For the Cookies Dough
Here is what you need to gather before you even think about turning on the mixer. Make sure that butter is waiting out on the counter so it gets perfectly softened!
- 1/2 cup butter, softened
- 2/3 cup white sugar (or your preferred granular keto sweetener substitute)
- 1 egg
- 1 egg white
- 1/4 tsp vanilla extract
- 1 2/3 cup all-purpose flour (or your favorite keto 1:1 blend)
- 3/4 tsp baking powder
- 1/4 tsp salt
Step-by-Step Instructions for Clock Face Countdown Cookies
Okay, now for the fun part! While I love talking about keto swaps—you should totally check out my guide on how to make amazing keto mac and cheese if you get a break later—we need to focus on the technique for these cookies. Good technique means less spreading and cleaner edges for decoration!
Mixing the Clock Face Countdown Cookies Dough
If you pulled out that stand mixer like I told you to, this part is swift. Start by creaming that softened butter and your sugar substitute together until they look nice and fluffy. Then toss in the egg and vanilla extract. Just mix until they totally disappear into the wet stuff.
In a separate bowl, whisk up your dry ingredients—the flour, baking powder, and salt. Don’t skip the whisking! We want everything evenly distributed. Now, here’s important: add those dry ingredients slowly to the wet. Mix on low speed until you see a cohesive dough form. Stop mixing right then; over-mixing is what makes cookies tough!
Chilling and Shaping the Clock Cookies
Don’t even try to roll this dough out now, you’ll just end up with a sticky mess because the fat is too warm. Wrap that dough up tight in plastic wrap—this is non-negotiable! It needs to chill in the fridge for at least 60 minutes, but honestly, I find it rolls out like a dream the next day. That chilling time is crucial for happy rolling!
When you’re ready to bake, preheat that oven up to 400 degrees Fahrenheit (200 Celsius) and get your baking sheets ready with parchment paper. Flour your surface lightly, and roll that chilled dough out to about 1/4 inch thick. If it’s too thin, it will bake too fast; too thick, and the numbers won’t show up well.
Now, punch out those clock shapes! Make sure you’re cutting straight down and lifting straight up to keep those edges crisp.
Baking and Cooling Your Countdown Cookies
Gently place your cutouts onto the parchment-lined sheets. Pop them into that hot oven and set a timer for 7 minutes. You are looking for the edges to just barely turn a light golden color. They bake fast, so watch them!
As soon as they look ready, take them out. Let them sit still on the hot baking sheet for just a few minutes—this lets them firm up a bit so they don’t break. Then, transfer them gently to a wire rack to cool completely. Seriously, they have to be totally cool before the icing touches them, or you’ll have melted clock faces!
Expert Tips for Perfect Clock Face Countdown Cookies Decoration
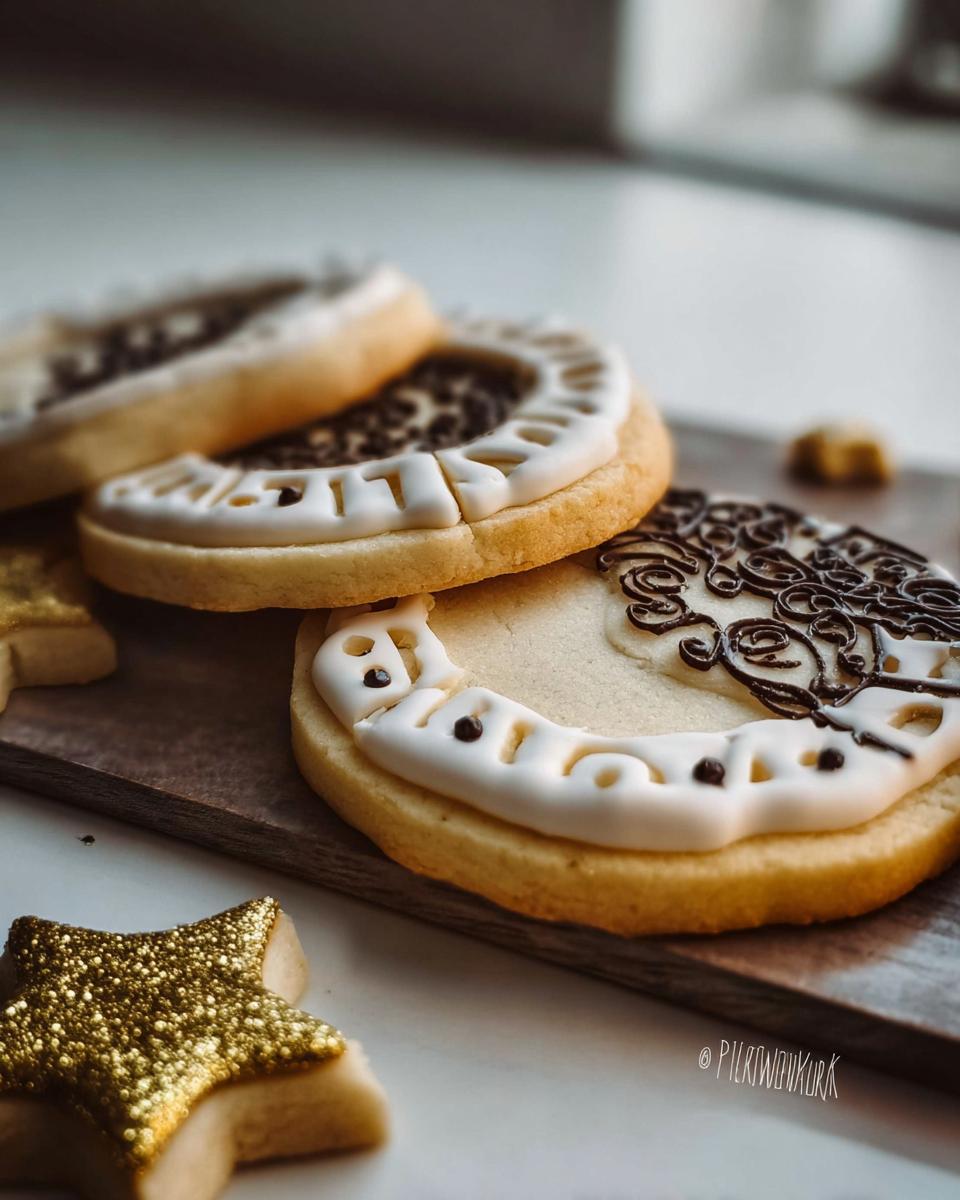
Decorating these cookies is where the real magic happens! You absolutely have to use Royal Icing for this project. It dries hard and crisp, which is exactly what we need when we’re drawing tiny details like clock hands.
My biggest tip for smooth icing? If you’re mixing homemade royal icing (or using a powdered mix), make sure you pass it through a fine-mesh sieve. Seriously, just get over the laziness and sieve it! It removes all those little lumps that clog up your piping tips. If you struggle with meal planning around your baking time, you might find my guide on what makes perfect Thanksgiving green beans helpful for structuring your day!
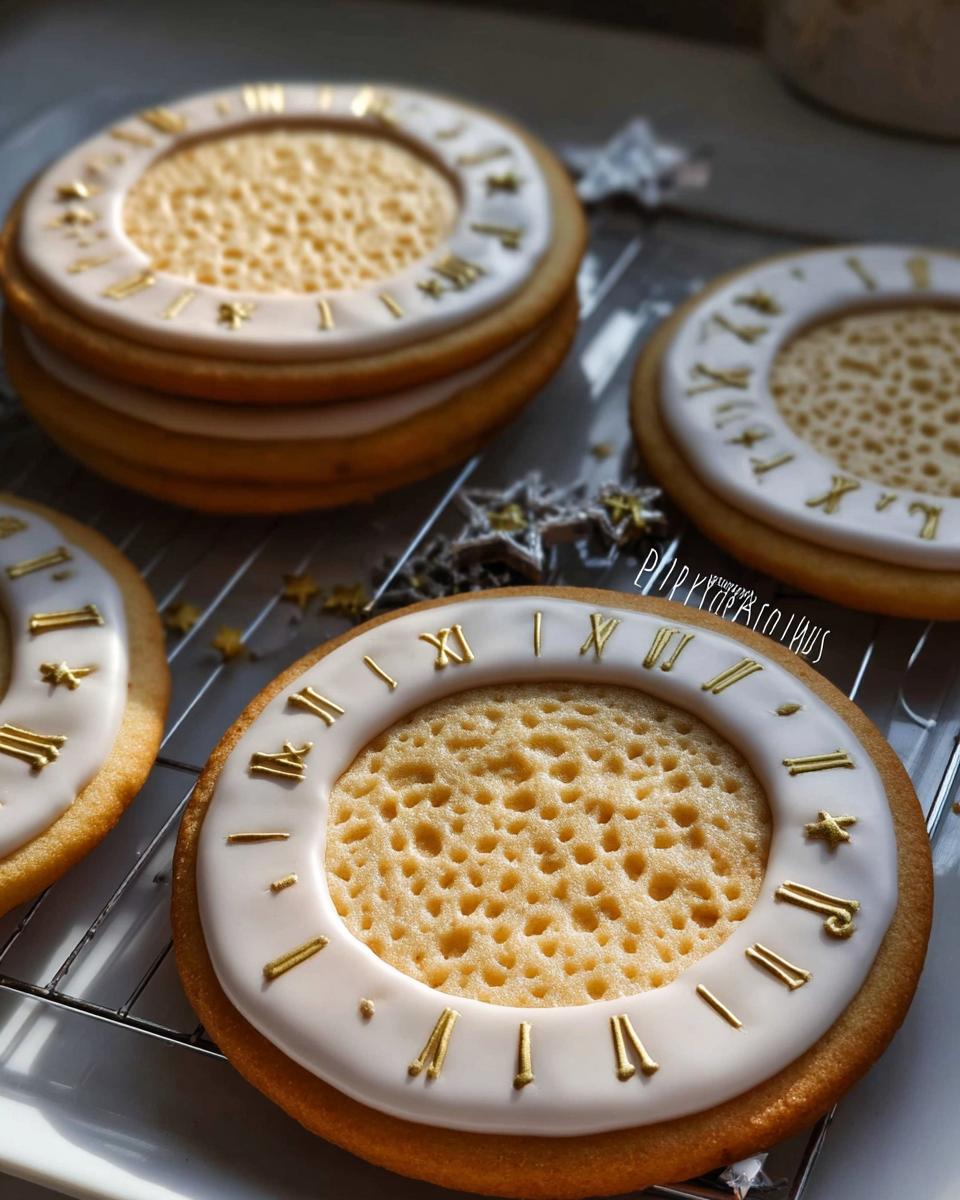
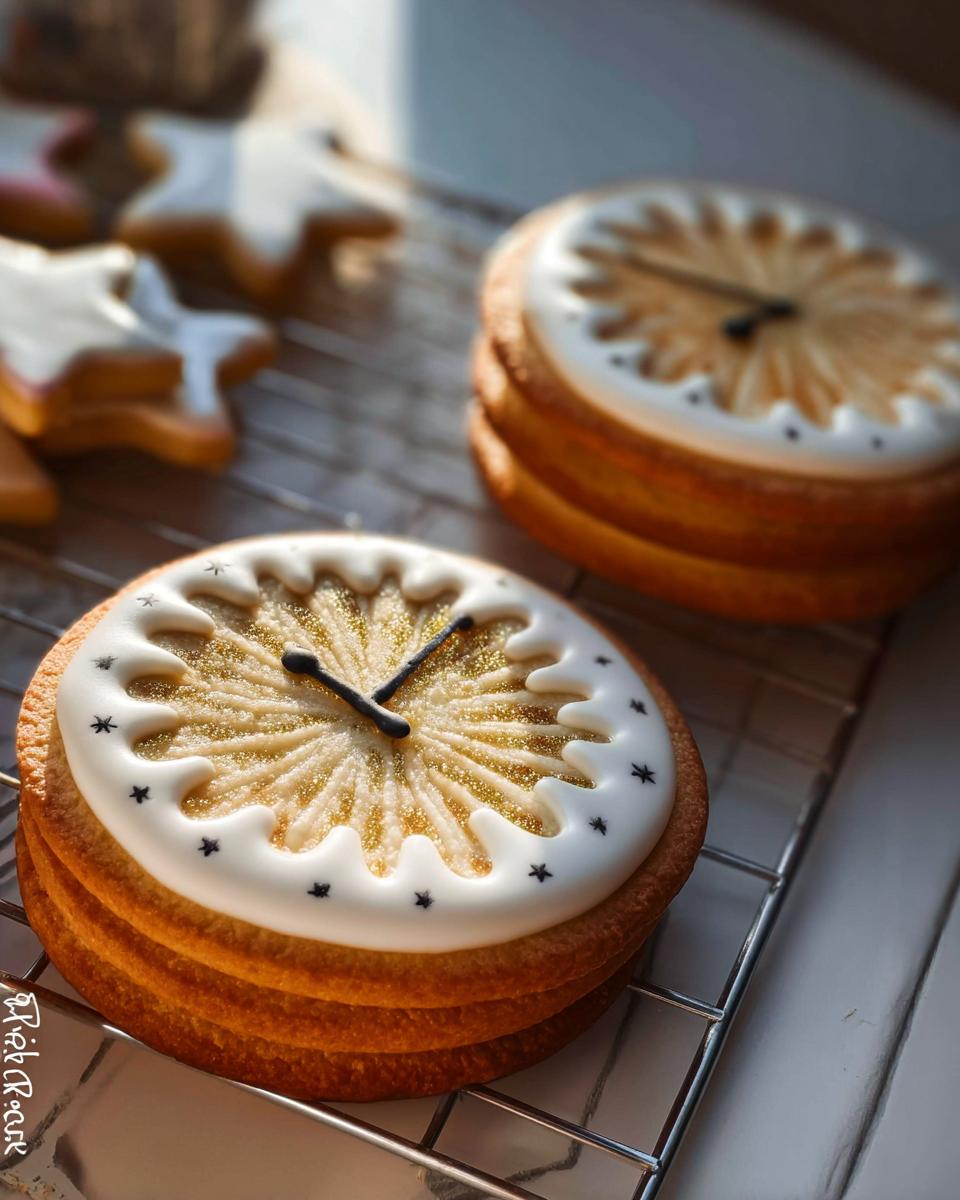
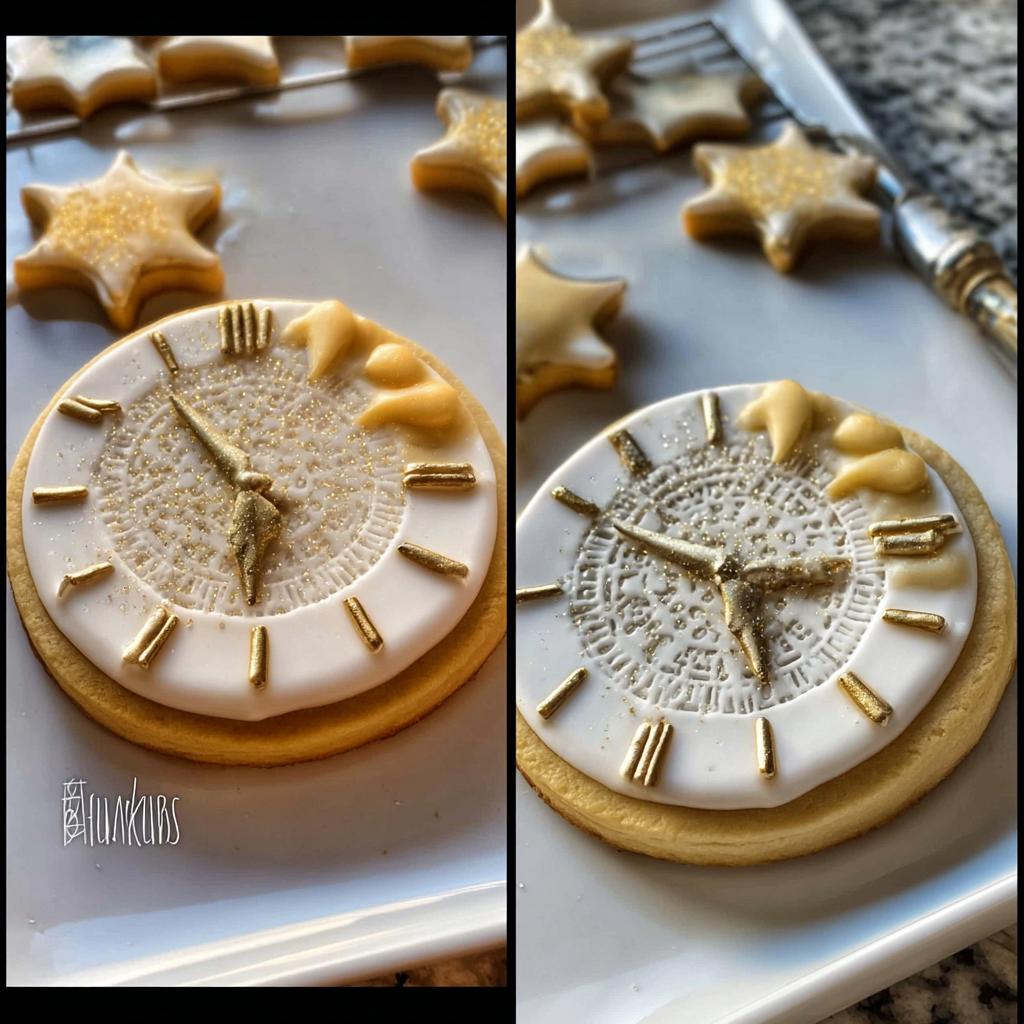
For the clock face itself, I always start with a base flood coat of white icing, let it dry completely—patience! Then, use a small round tip (maybe a Wilton #2 or #3) to draw the numbers. For the hands, keep things simple—just two thin triangles or small rectangles. If your icing seems too thick when piping, don’t panic! Just stir in a tiny drop of water at a time until it flows smoothly off the mixer paddle but still holds a slight peak.
When you are ready to mark the countdown on the actual hands, consider marking the hour hand differently from the minute hand so they are super clear. If you’re looking for more general holiday piping inspiration, I found some fun ideas over at this site!
Ingredient Notes and Substitutions for Clock Face Countdown Cookies
Since we ditched the regular sugar in favor of keeping these Clock Face Countdown Cookies keto-friendly, let’s talk substitutions for a minute. This is where a lot of people get nervous, but honestly, it’s pretty straightforward!
If you are using a keto flour blend, make sure it is truly a 1:1 replacement with xanthan gum included, or your dough might get a little wonky. If you’re trying to simplify things after a long week, remember that you can always look at my guide for 5 ingredient dinner ideas to keep the rest of your menu easy!
For the primary sweetener, using something like monk fruit or erythritol is usually best for that crisp cookie edge we need. They measure fairly close to sugar. If you’re using almond flour instead of wheat, you might need a tiny bit less because almond flour absorbs moisture differently. Always mix your dry ingredients really well so you don’t end up with pockets of weird texture in your cookie.
Frequently Asked Questions About Clock Cookies
I get so many questions when people start trying their hand at these themed treats! It just shows how much people love having fun with their baking. Here are some of the things popping up most often about our Clock Face Countdown Cookies.
If you’re looking for more general baking advice for keeping the rest of your nutrition on track, I shared my thoughts on the ultimate dinner ideas guide recently!
Can I make these Clock Cookies ahead of time?
Absolutely, yes! I usually bake the cookie shapes a couple of days ahead of time and keep them in a single layer in an airtight container at room temperature. They stay crisp! If you decide to decorate them before storing, make sure the royal icing is completely, 100% dry—let it sit out for a whole day if you have to. Store decorated ones gently in a single layer too, or they might stick together.
What if my Countdown Cookies spread while baking?
Ugh, spreading is the worst when you need crisp edges! This almost always comes down to one of two things: either your butter was too soft when you mixed it (it should be bendable, but cool!), or you didn’t chill that dough long enough. That 60 minutes of chilling time is a minimum requirement for these Countdown Cookies to hold their shape. If they still spread, try chilling the cut-out shapes again on the baking sheet for 15 minutes before they hit the oven!
Storing Your Finished Clock Face Countdown Cookies
Alright, you’ve put in all that work decorating your beautiful Clock Face Countdown Cookies, so let’s make sure they stay perfect until the big event! The key here is airtight storage—no humidity allowed near that Royal Icing, or it gets sticky fast.
Once the icing is completely rock hard—seriously, give it hours if you iced them thick—stack them carefully in a single layer inside a sturdy, airtight container. If you need to stack them higher, put a small square of parchment paper between the layers. They hold up wonderfully at room temperature for several days. Planning ahead? Store the undecorated cookies using my tips from busy weeknight dinner prep—it frees up your timeline!
Sharing Your Baking Creations
Now that you’ve conquered the dough, chilled it perfectly, and maybe even managed the tricky royal icing piping, I really, really want to see what you came up with! These Clock Face Countdown Cookies are meant to be celebrated, whether they are counting down to a major birthday or just marking a fun weekend baking project.
Don’t be shy! Snap a picture of your beautifully decorated clock faces—especially if you nailed those tiny hands—and show them off. Drop a comment down below and tell me how the cookie rolling went, or if your little helpers made a huge mess (mine usually do, and that’s half the fun!).
Also, if you tried this recipe out and it quickly became a favorite in your house, please give it a rating! It helps other bakers know they are in good hands when they click over to try my keto creations. You can always find more fun projects and recipes just like this one over at my main recipe hub. Happy baking, everyone!
Clock Face Countdown Cookies
Ingredients
Equipment
Method
- If you have a stand mixer, cream together the softened butter and white sugar until well combined. Add the egg and vanilla extract, then stir until fully incorporated.
- In a separate bowl, whisk together the all-purpose flour, baking powder, and salt. Gradually add the dry ingredients to the wet ingredients, mixing until a cohesive dough forms.
- Wrap the dough tightly in plastic wrap. Chill in the refrigerator for at least 1 hour, or preferably overnight, until firm.
- Preheat your oven to 400 degrees Fahrenheit (200 degrees Celsius). Line baking sheets with parchment paper.
- On a lightly floured surface, roll out the chilled dough to about 1/4 inch thickness. Use your desired cookie cutters to shape the dough into clock faces or other festive shapes.
- Place the shaped cookies onto the prepared baking sheets, leaving some space between them. Bake for 7-8 minutes, or until the edges are lightly golden.
- Allow the cookies to cool on the baking sheets for a few minutes before transferring them to a wire rack to cool completely. Decorate as desired once fully cooled.