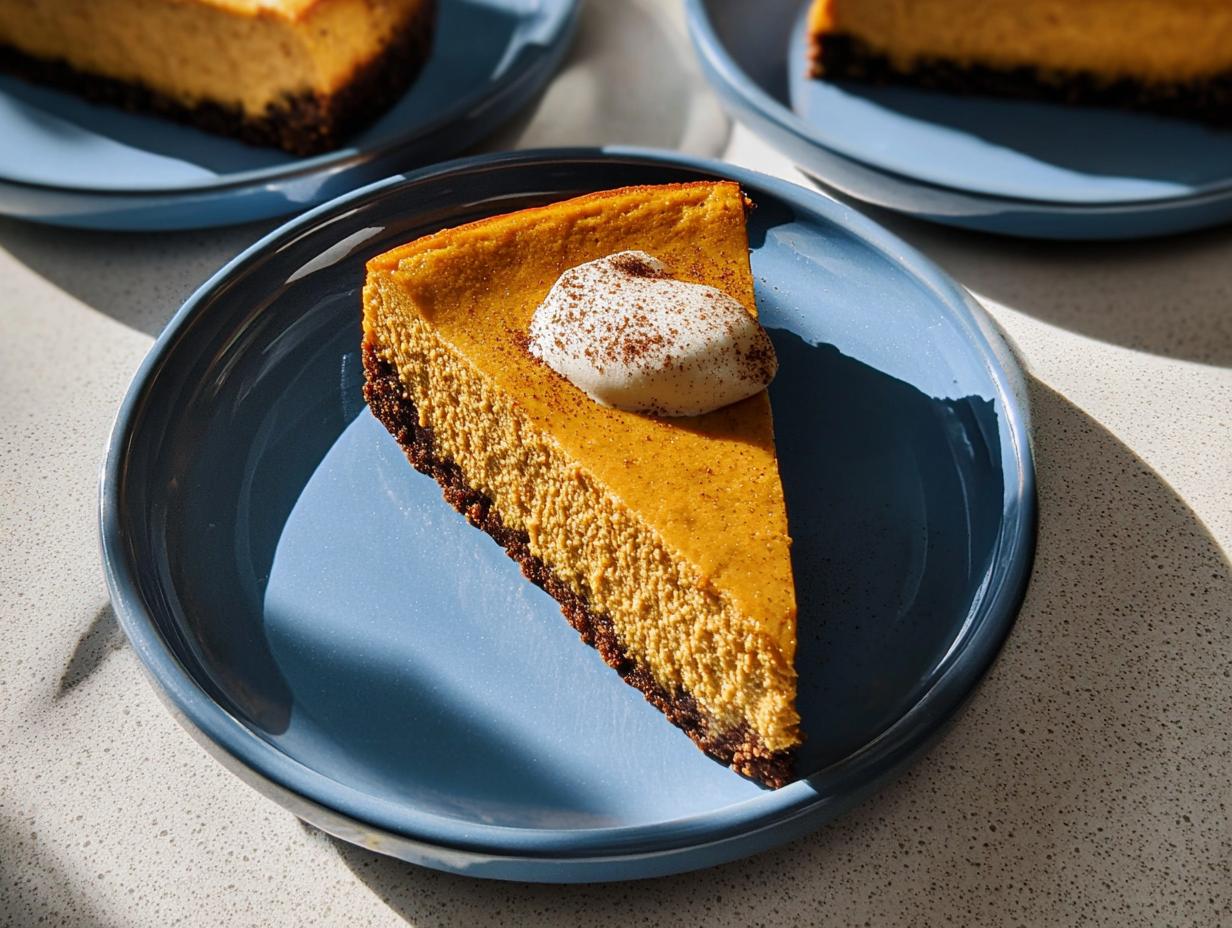
Oh my gosh, are you ready for the absolute best part of autumn to hit your kitchen? Because when those crisp leaves start falling, my cravings immediately turn to spice, cream, and cozy desserts. I’m Jenny Miller, and when I started my journey into keto confectionery, I thought I’d have to give up my favorite holiday treats forever. Wrong! Today, I’m sharing my triumph: the unbelievably rich and creamy Pumpkin Spice Cheesecake with Gingersnap Crust. I’ll never forget the first time I experimented late one October night, determined to make a keto-friendly gingersnap crust that actually tasted right. Success tastes like this!
This recipe isn’t just dessert; it’s proof that we can celebrate the season without the guilt. Trust me, as a devoted lover of low-carb treats, this is the one you need for your holiday baking recipes. Stop dreaming about those nostalgic fall flavors and let’s bake!
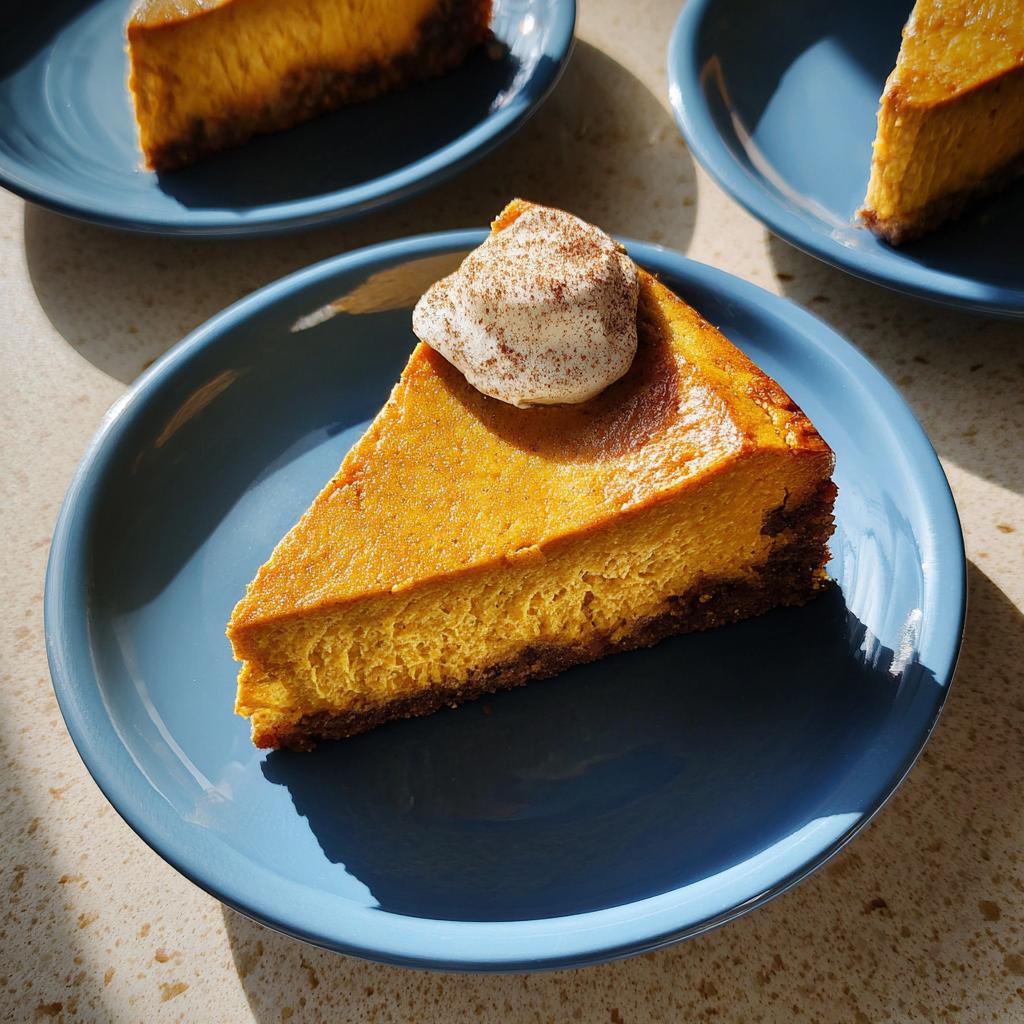
Why This Pumpkin Spice Cheesecake with Gingersnap Crust is Your New Favorite Fall Dessert Ideas
Okay, so why is this my absolute go-to when company comes over? Because it hits every single note without any of the worry! Seriously, it tastes decadent but keeps things wonderfully low-carb. It’s an absolute stunner when you bring it out.
- The gingersnap crust has that perfect spicy snap against the smooth filling.
- It’s incredibly rich—you only need a small slice, which is great!
- This is a shining star among holiday baking recipes because it holds up so well when made ahead of time.
Yes, it’s cheesecake, but trust me, the technique isn’t scary. We’re making magic here!
Essential Equipment for Your Pumpkin Spice Cheesecake with Gingersnap Crust
You don’t need a whole professional kitchen for this beauty, but there are a few tools that make the job way easier, especially for getting that gorgeous gingersnap crust right. Please don’t try to substitute these!
First up, you absolutely need a 10-inch round springform pan. These pans are a baker’s best friend because they let the cake stand tall without tipping over, but you can easily pop the sides off when it’s time to serve.
Next, we are relying on gadgets for speed. A food processor is non-negotiable for crushing those crisp gingersnaps into the perfect fine crumb. And of course, you’ll need your trusty mixer for getting that filling perfectly smooth and creamy.
Now, here’s a little secret for next-level cheesecake baking—especially when you’re dealing with a recipe this rich. You *must* consider making a water bath, also called a bain-marie. Trust me on this one; wrapping your springform pan tightly in heavy-duty foil and setting it inside a larger roasting pan filled with hot water while it bakes provides gentle, moist heat. This is my number one tip for ensuring a super smooth texture for your pumpkin cheesecake and keeping those dreaded cracks away. It seems like extra work, but it’s worth every second!
Gathering Ingredients for the Gingersnap Crust and Filling
Alright, let’s talk about what actually goes into this masterpiece. Since this recipe is based on a classic—even though we’re making it keto-friendly in spirit when we bake it for ourselves—the ingredients have to be spot-on. Don’t even think about skipping the measurements; precision matters when you’re working with something as temperamental as cheesecake!
I always make sure my dairy is ready to go. Remember, room temperature ingredients blend so much better, which is step one for a beautiful, uncracked pumpkin cheesecake. If you want to check out some of my favorite pantry staples that make baking easier, I put together a list of essential keto pantry items.
For the Gingersnap Crust
This crust is what gives us that signature fall flavor right from the base. You’ll need:
- One and a quarter cups of gingersnap cookie crumbs (that’s about 191g if you’re weighing).
- A quarter cup of all-purpose flour (around 30g).
- Just about a half teaspoon of ginger for that extra kick.
- Two tablespoons of brown sugar, packed nice and tight (28g).
- And four tablespoons of good, melted butter (57g).
For the Rich Pumpkin Filling
This is where the beautiful, spiced texture comes together. Everything here needs to be softened up nicely!
- Start with three full packages of cream cheese—that’s 8-ounce blocks each, making 680g total—and it HAS to be at room temperature!
- One and three-quarters cups of granulated sugar (347g).
- The spice blend: one teaspoon of cinnamon, half teaspoon of ginger, a quarter teaspoon of nutmeg, and trust me, don’t skip the tiny pinch of cloves—just an eighth of a teaspoon.
- A quarter cup of flour again (28g), and one teaspoon of pure vanilla extract.
- One full cup of pumpkin purée (227g).
- Five large eggs, also at room temperature, added one by one.
- Finally, half a cup (113g) of sour cream, also softened, which we add by hand at the very end.
Step-by-Step Instructions for Perfect Pumpkin Spice Cheesecake with Gingersnap Crust
Alright, this is where the real kitchen magic happens! Making a perfect cheesecake, especially one with a spicy crust like our gingersnap crust, is all about timing the heat. Don’t let the word ‘cheesecake’ scare you, though. We just need a little patience, and always, always scrape down those bowls!
First things first: get your oven preheated to 350°F. Remember, we are using a 10-inch springform pan, so give it a light grease so nothing sticks to the bottom.
Preparing and Pre-Baking the Gingersnap Crust
Grab your food processor! Toss in all those gingersnap crumbs, the flour, the ginger, and the brown sugar. Pulse it all until it looks like everything is having a good tumble together. Then we pour in the melted butter and pulse again until it binds. You want it to feel like wet sand.
Press that mixture firmly into the bottom of your springform pan and even push it about an inch up the sides. Now, pop it into that 350°F oven for just 10 to 15 minutes. You want to bake it until you physically smell that wonderful gingersnap aroma filling your kitchen. Immediately after it comes out, drop that oven temperature way down to 300°F. We’re making a shift in strategy now! For more inspiration on these classic flavors, check out the original King Arthur recipe.
Mixing the Creamy Pumpkin Cheesecake Filling
Time for the filling, and this sequencing is key for that smooth, beautiful pumpkin spice cheesecake. Put your room-temperature cream cheese in the mixer first. Let it run on low until it looks totally lump-free—this takes a few minutes, don’t rush it!
Next, slowly add in your sugar, flour, and all those amazing spices—cinnamon, nutmeg, cloves—mix for another two or three minutes. Be sure to stop the mixer and scrape those sides down at least twice! Seriously, the stuff stuck to the bottom will ruin the top consistency!
Add the vanilla and the pumpkin purée, mixing until just combined. Now, the eggs: one at a time, making sure each large egg is fully incorporated before adding the next one. For the very last step, forget the mixer! Stir in that room-temperature sour cream gently by hand. We want smooth, not airy!
Baking and Achieving the Ideal Texture for Pumpkin Spice Cheesecake
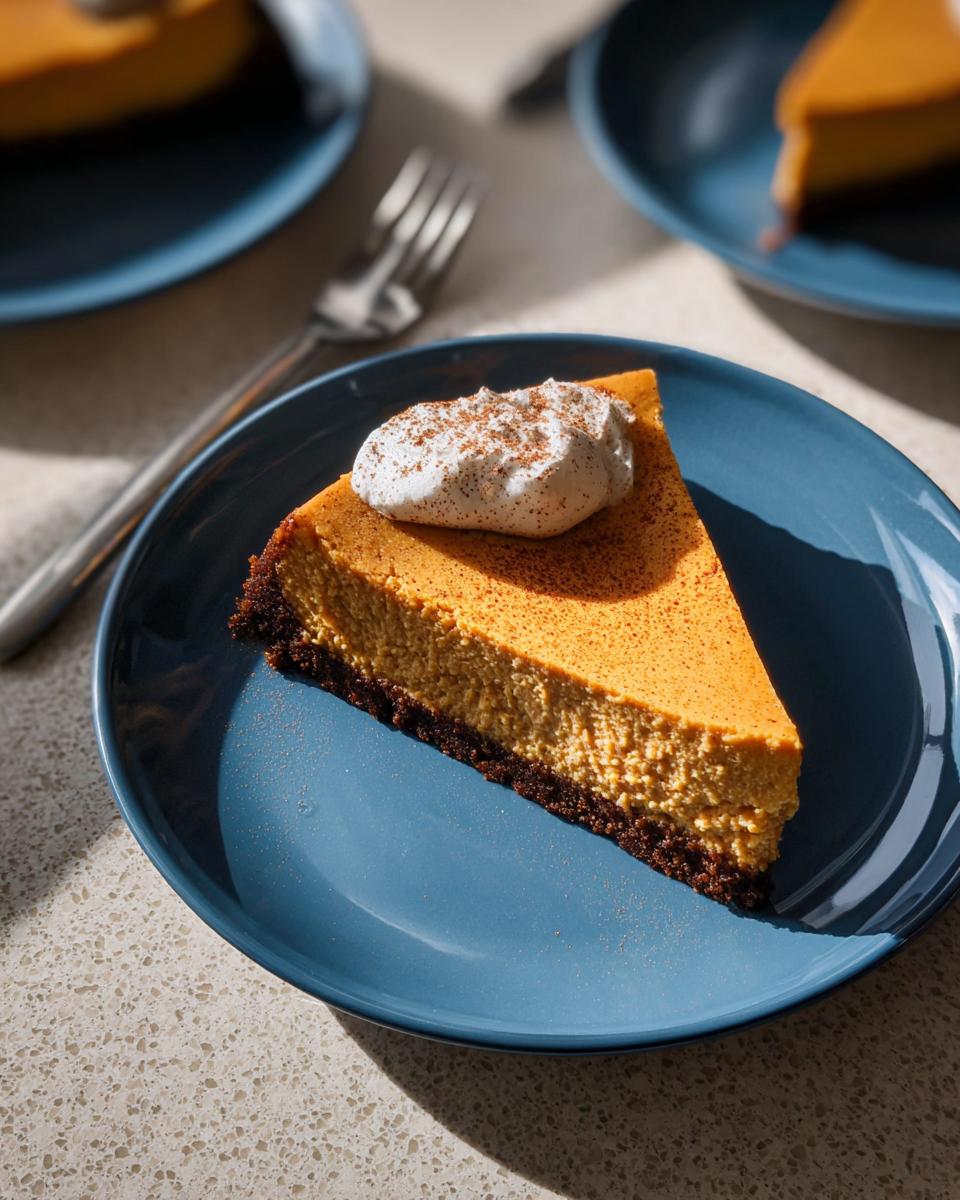
Pour that velvety filling over your pre-baked crust and slide it into the lowered 300°F oven. It needs about 50 to 60 minutes. You know it’s done when the center—about a two-inch circle—still has a gentle wobble when you nudge the pan. We are looking for an internal temperature of 170°F when you check one inch from the outside edge.
This is the most important step to prevent those heartbreaking cracks! Turn the oven completely off, but do *not* take the cake out. Prop the oven door open just a tiny bit—I use a wooden spoon handle for this—and let that pumpkin cheesecake chill slowly inside the closed oven environment for a full hour. This slow transition from hot to cool is the secret to that ideal texture. After that hour, then you can carefully remove it, let it cool on the counter, and then into the fridge for that long chill!
Tips for Success When Making Pumpkin Spice Cheesecake with Gingersnap Crust
Look, cheesecake sounds fancy, but honestly, it’s mostly about being prepared. If you nail these few things, you won’t have any issues at all, and you’ll get that perfect slice every time. We’re aiming for creamy perfection here, not a kitchen disaster!
First, let’s talk temperature again because I can’t stress this enough. Your cream cheese, your eggs, even your sour cream—they all need to be completely at room temperature. If you try to mix cold cream cheese, it’s going to end up lumpy, even if you run your mixer forever. And nobody wants a lumpy pumpkin cheesecake! Take stuff out about an hour before you plan to start mixing the filling.
Second, dealing with cracks. Yes, we covered the slow cooling in the oven, which is crucial, but another tip is to mix on low speed and only mix until combined. Overbeating adds too much air, and that air wants to escape while baking, which causes the top to puff up and then crash down when it cools. Keep the mixer slow, and treat that filling gently, especially after adding the eggs.
Finally, the chilling time. This isn’t like cookies you can just wait 20 minutes for! This pumpkin spice cheesecake with gingersnap crust needs time to fully set up so that gingersnap crust stays firm underneath. You absolutely need to plan for 4 to 8 hours in the fridge. I usually make mine the day before I plan to serve it. It tastes even better the next day, honestly!
Storage and Reheating Instructions for Your Pumpkin Cheesecake
Okay, you made it! Everyone ate their fill, and now you have glorious leftovers. Good for you! This rich holiday baking recipes favorite does better if you plan ahead slightly for storage, rather than just slapping a piece of plastic wrap over the whole thing.
Since we’re dealing with a decadent, homemade pumpkin cheesecake, you have to treat it right in the fridge. Once you’ve removed it from the springform pan—after that mandatory 4 to 8 hours of chilling—slice what you plan to eat soon. Cover just the remaining portion tightly with plastic wrap or foil right where the cut edges begin. Never press the plastic directly onto the top of the cheesecake, or you risk smearing that beautiful texture!
You can keep leftovers stored this way in the refrigerator for about 4 days. Honestly, it stays incredibly moist thanks to our spiced filling. I find that if I’m making this for a party, I bake it two days ahead, chill it overnight, slice it the morning of the party, and keep the slices covered in the fridge. Easy peasy!

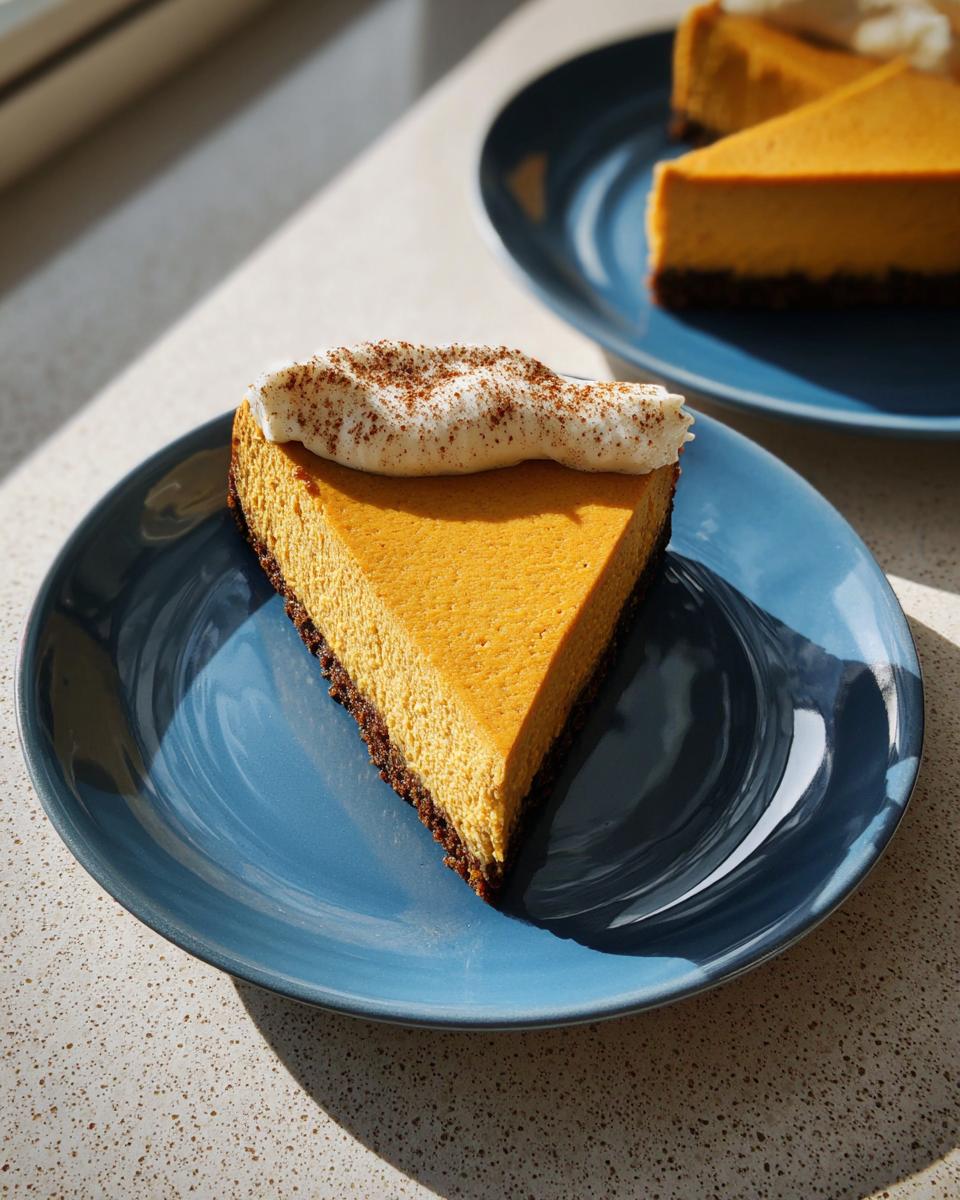
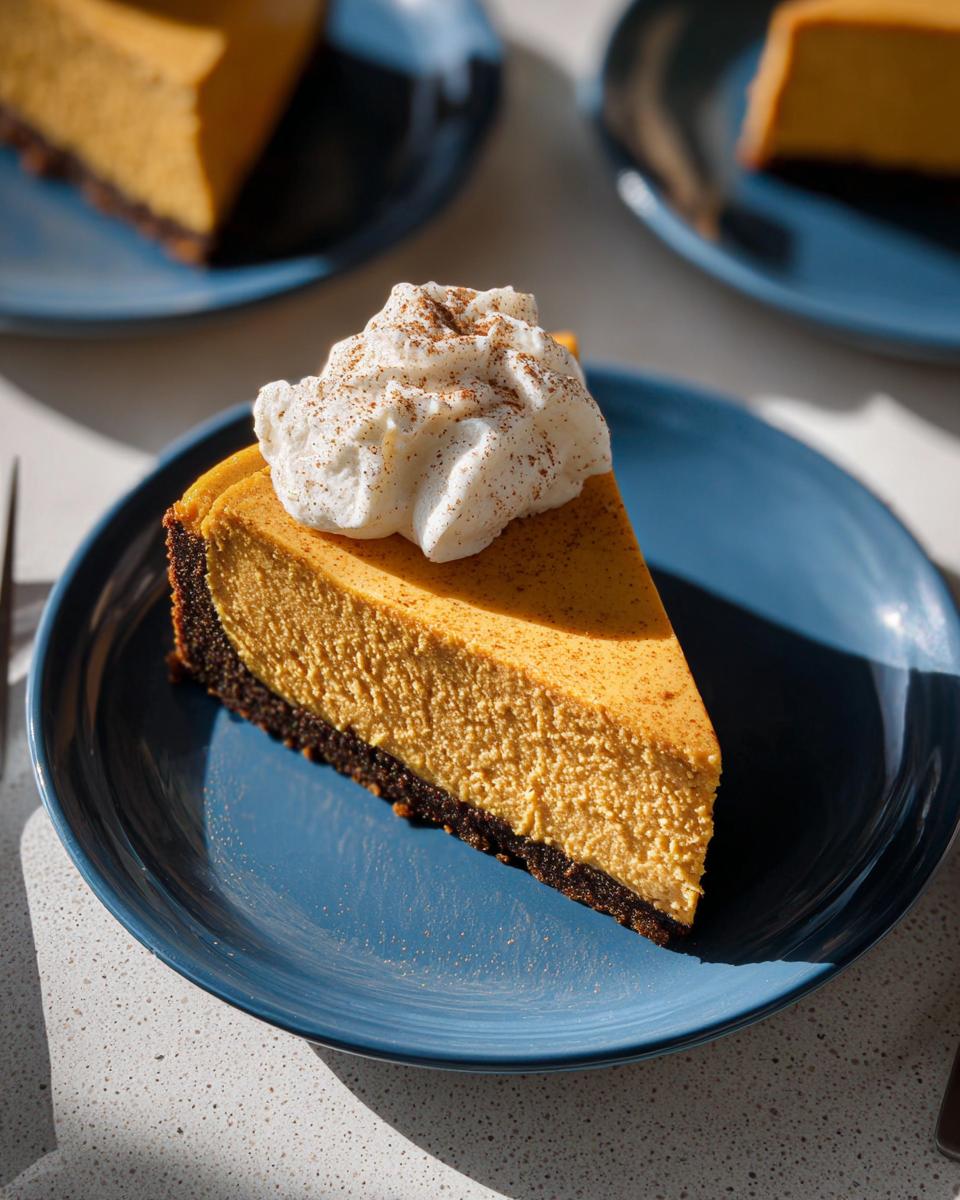
Now, about serving: Cheesecake should always be served chilled. Letting it sit on the counter for maybe 15 minutes before cutting a slice is fine, but it really locks in that creamy, dense texture when it’s cool. Since this recipe is packed with flavor, you don’t need any toppings, but if you want to refresh those slices you cooked ahead, here’s a quick trick I learned when mastering make-ahead desserts. For an extra-special treat later, I sometimes warm up a spoonful of pecan topping just slightly before drizzling it over individual slices, almost like a sauce. For more make-ahead magic, you should check out my thoughts on make-ahead dessert strategy!
Frequently Asked Questions About This Fall Dessert Ideas Recipe
I get so many questions when I post this, which just goes to show how much everyone loves pumpkin cheesecake in the fall! It’s natural to want to tweak a recipe, especially when you’re trying different dietary paths. Here are the things I hear most often about making these fall dessert ideas work perfectly in your home kitchen.
Can I make the gingersnap crust keto-friendly?
That’s such a good question for my fellow low-carbers! The recipe, as written here, uses traditional flour and sugar for the crust, which is what gives that classic texture. If you’re following a strict keto lifestyle, you can absolutely adapt the crust!
You’ll want to ditch the non-keto ingredients and use something like crushed store-bought keto gingersnaps, or you can easily make your own using almond flour, butter, a keto sweetener, and lots of ginger and cinnamon. It won’t be *exactly* the same as the original, but it keeps that beautiful spiced flavor profile and saves you the sugar load. As long as you press it firmly, it works just as well structurally!
What is the best way to prevent cracks in my pumpkin cheesecake?
Oh, the dreaded crack! This is the number one concern when baking any cheesecake, keto or not. Look, I know it’s tempting to yank it out the second the timer goes off, but you absolutely cannot rush cooling this dessert. Remember what I said about the oven?
The key is temperature shock prevention. First, make sure all those dairy ingredients—the cream cheese and sour cream—are completely at room temperature before you even start mixing. Second, you must do that slow cool-down process: turn the oven off, crack the door, and leave that cheesecake in there for a full hour. That gentle transition is what keeps the top smooth and crack-free, ensuring you get that show-stopping look for your holiday baking recipes celebration.
How far in advance can I prepare this holiday baking recipes favorite?
One of the best things about this recipe is that it’s practically *designed* to be made ahead of time! It’s perfect for busy holiday schedules. You need a minimum of four hours of chilling time after the slow cooling process to allow the filling to firm up properly. So, 4 hours is the absolute minimum.
However, for the deepest flavor and the absolute firmest slice, I highly recommend making it completely the day before you plan to serve it. This gives the spices time to fully marry with the cream cheese layer, and you won’t have to worry about a thing on the big day, other than maybe making sure no one sneaks a pre-dinner slice!
Sharing Your Perfect Pumpkin Spice Cheesecake with Gingersnap Crust
Well, look at you! You successfully navigated the world of rich, spiced cheesecake and conquered that amazing gingersnap crust. Doesn’t that taste incredible knowing you made it all yourself? I truly hope this recipe has become one of your own go-to fall dessert ideas!
Now that you’ve had your fill (or are waiting for that glorious 8-hour chill to finish!), I really want to hear about it. Did your spices come through just right? Did that slow oven cool down work its magic to keep your pumpkin cheesecake perfectly smooth? Head down to the comments section right now and give this recipe a star rating!
I absolutely live to see your successes! If you snap a picture of your beautiful, spiced masterpiece—maybe sitting next to a cozy mug of coffee or already on the holiday table—please share it on social media and tag me! It honestly makes my entire baking week to see my recipes finding a home in your kitchens. Happy baking, friends, and I’ll see you in the next deliciously guilt-free creation!
Pumpkin Spice Cheesecake with Gingersnap Crust
Ingredients
Equipment
Method
- Preheat the oven to 350°F. Lightly grease a 10" round springform pan.
- For the crust: Combine all of the crust ingredients in the bowl of a food processor and pulse until evenly mixed. Press the mixture into the bottom of the springform pan, and at least 1" up the sides of the pan. Bake for 10 to 15 minutes, just until you smell the gingersnaps.
- Remove the crust from the oven, and reduce the oven temperature to 300°F.
- For the filling: Place the cream cheese in the bowl of your mixer. Blend on low speed for a few minutes, until no more lumps remain.
- Add the sugar, flour, and spices and mix for an additional 2 to 3 minutes. Stop the mixer at least twice to scrape down the sides and bottom of the bowl.
- Add the vanilla and pumpkin and mix to combine. Add the eggs one at a time, mixing well after each egg is added.
- Stir in the sour cream by hand. Pour the mixture into the prepared pan/crust and bake for 50 to 60 minutes.
- The cake is ready when the center 2" of the cake is still a bit wobbly. The temperature measured 1" from the side of the cake will read 170°F. Turn off the oven, prop open the door, and allow the cake to slowly cool in the oven for one hour.
- Remove the cake from the oven and chill, lightly covered for 4 to 8 hours before serving.